
Jump to a section9
Steve Angello talks about working in audio: it’s easier to manipulate, and it forces you to commit to decisions. MIDI only gets you so far. Eventually, you need to print to audio to tap into editing and warping possibilities.
Here are 8 of our absolute favorite techniques, tips, and strategies to help you take full advantage of Ableton Live and Logic Pro’s powerful audio editing and warping capabilities, which will help you create the exact sound you are looking for in your productions.
For a post-production checklist, check out our 8 Step Finishing Checklist.
1. Ableton Warp Modes
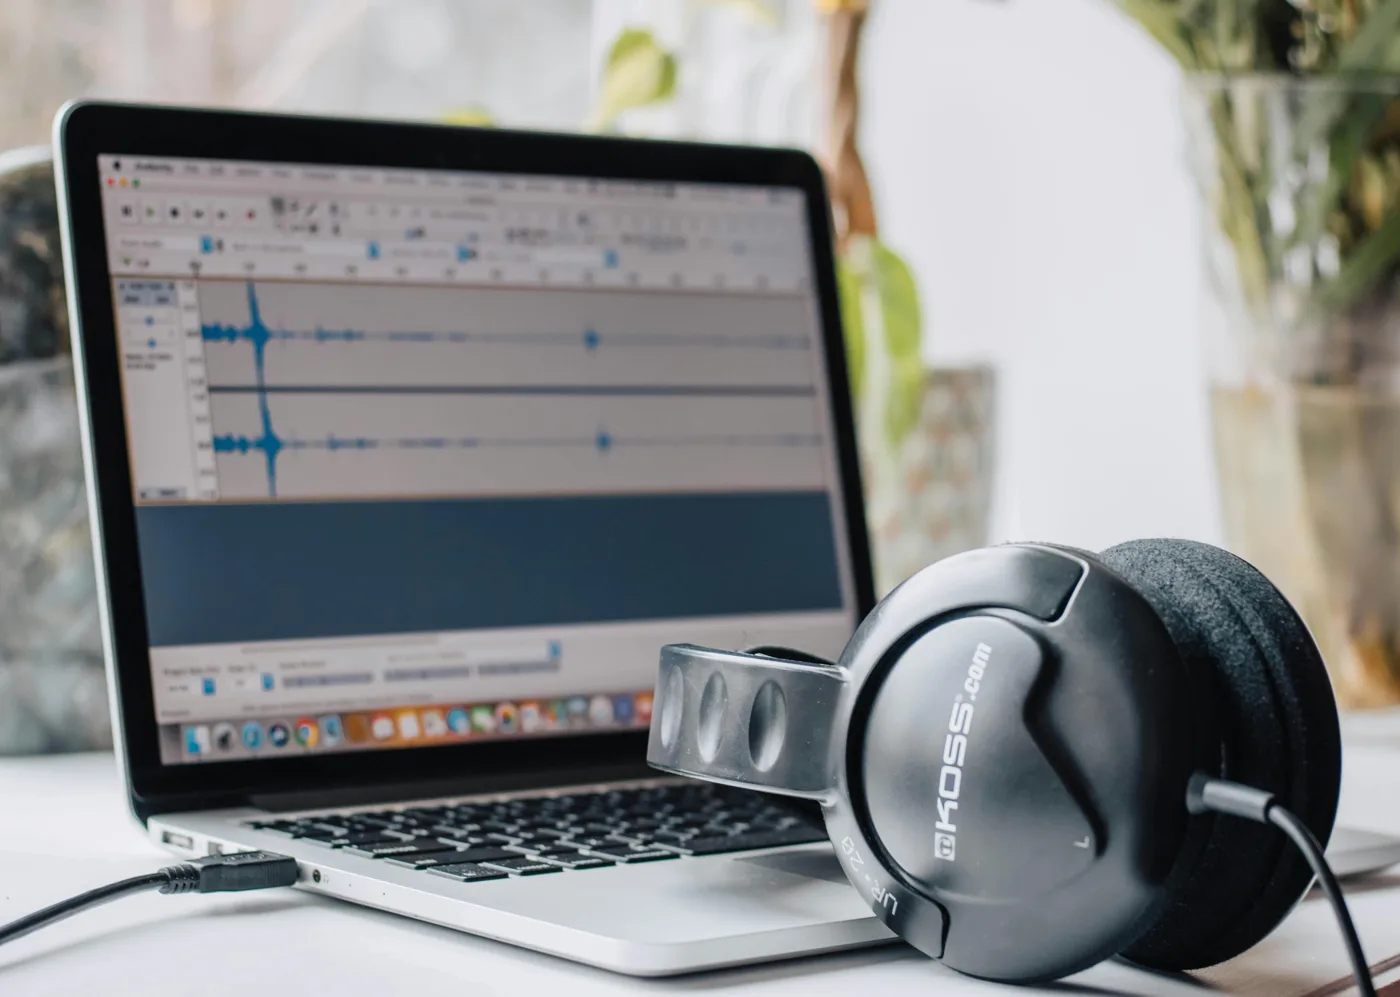
First and foremost, Ableton is an audio manipulation program. It was built from the ground up to deal with time-stretching and manipulating audio to the fullest extent. The warp section within Ableton is extremely important in understanding how to avoid nasty clicks and pops in your audio, as well as producing the highest possible audio result.
Segment BPM: Set the segment BPM to the BPM of the original piece of audio. Once this is done, your DAW’s global BPM will then warp/change the speed of the audio correctly.
Warp Modes:
- Beats: Great for drums and percussion elements. Really the go-to warping mode for all things transient heavy.
- Tones: Used probably the least, but used for clearly pitched audio, monophonic material that isn’t changing pitch.
- Texture: Similar to Tones but for polyphonic material.
- Re-Pitch: Back before we had time-synced warping we had re-pitching. When you pitch samples up they get faster, and when you pitch down the samples slow down.
- Complex: My most used warping mode. Basically the most effective warping mode for a variety of complicated sounds.
- Complex Pro: More accurate than Complex but at the expense of your CPU. The best warping mode for the most complicated audio (vocals, full songs, etc.)
Settings: Make sure you check out the Warp/Fades settings in Preferences. Here is where you can turn off auto warping and set the default warp mode.
2. Flex Tool in Logic
Just like Ableton, Logic has its own way to warp audio using the Flex Tool. To engage the Flex Tool, simply turn it on in the tools menu and click on a piece of audio to engage flex timing. Very similar to the warp modes described in the Ableton warping section, Logic has some similar or equivalent modes.
- Monophonic: Similar to Ableton’s Tones for monophonic warping
- Polyphonic: Similar to Ableton’s Textures for polyphonic warping
- Rhythmic and Slicing: Similar to Ableton’s Beats for all things drums and percussion
- FX Modes: Unique to Logic, but can create interesting tape stop and warping effects
Pro Tip: Always set your Flex mode BEFORE making manual timing adjustments. Switching modes after you’ve already placed flex markers can scramble your edits and force you to start over.
3. Prepping Remix Stems
Getting stems set up for a remix can be challenging if you don’t follow a few simple steps. Here is a checklist of what you can’t afford to NOT do:
- Drag stems into a new session on each of their own individual tracks.
- Organize the stems by groups so that you can easily find them. Use colors that work for you and make sure the tracks are properly labeled.
- Make sure to find the original BPM of the song being remixed in order to change the BPM of your project. Once you know the original BPM, you can turn on warping for every stem and type in the original segment BPM.
- Check the warp modes for every stem and make sure you are selecting the optimal warping mode. For example: Drums should be Beats, Vocals should be Complex Pro, etc. (You can make this faster by highlighting groups at a time and setting the warping modes.)
- Group all the stems together so that you can hide them when you’re not using them.
To learn more steps to finishing up a remix, check out our 8 Step Finishing Checklist.
4. Quantizing Audio in Logic
Using the Flex Tool in Logic to quantize your loops can be really helpful to quickly make any drum loop fit in time with your track. With the Flex Tool engaged and Slice Mode on, you can shift the audio to a specific grid by selecting from the quantize options in the quantize section.
Logic isn’t perfect at this, and sometimes warp markers don’t get engaged in the right place. You’ll need to manually fix these spots in the Flex Tool editor. It’s as simple as clicking and dragging to create a warp marker and place it on the grid.
5. Quantizing Audio in Ableton
Quantizing audio in Ableton is no different than quantizing MIDI. Once you have a piece of audio selected you can select all the warp markers you’d like to quantize and press Cmd U to quantize them to the active grid. The real trick here is to select the proper grid size for what the song calls for.
For example, if you’re writing in 4/4 at 100 bpm and you have 8th notes in your melody that you’re trying to quantize, make sure to select an eighth note grid. Ableton won’t always get this right, and sometimes you’ll have to adjust the moved warp markers into the right spot. This is really about getting Ableton to do a tedious process for you. Having to manually warp each drum hit of a loop can be tiresome. With quantizing you can quickly have Ableton warp it properly as long as the warp markers are aligned correctly.
6. Flex Pitch
Flex Pitch in Logic is basically a lite version of Melodyne. It allows you to change the pitch of a melodic piece of audio by mapping it to a MIDI like interface, and then letting you adjust the pitch and vibrato of these new MIDI like slices. When engaging Flex Pitch, you can adjust the timing, pitch, formats, and vibrato fairly quickly.
Flex Pitch is by no means a perfect solution to dramatic audio editing, but it can be an effective and quick fix for minor pitch and timing issues.
7. Creative Warping
Warping audio doesn’t always have to be transparent. Sometimes the audio artifacts and weirdness created with warping can have cool sound design applications and work for your track. In your DAW, it’s really easy to just break all the rules we have just discussed in order to do something unexpected with a given sound.
Try using the “wrong” warp mode on a sound. You can also just create additional warp markers and stretch and mangle the audio however you want! There are really no rules here. I would just always keep in mind that destructive audio moves like these do sound unnatural if they’re not in the right context. So just make sure you are being conscious of what you’re doing.
Pro Tip: Try setting Complex Pro on a drum loop and cranking the warp markers wildly apart. You’ll get glitchy, textured artifacts that can work beautifully as sound design elements, fills, or transitions.
8. NI Battery
Native Instruments Battery is a great third-party alternative for adjusting the pitch and warping of samples. Essentially a glorified sampler, it allows you to quickly adjust the pitch and envelope of an audio sample no matter what DAW you’re in. This can be really helpful if your DAW doesn’t have a quick way to change the pitch of an audio sample.
There are also several unique warping features with Battery that allow for interesting sound design opportunities. You can time stretch and pitch bend samples with ease. Try looking at the Engine section of Battery for a closer look into these unique features.
If you want more of these kinds of production hacks, this video covers seven of our absolute favorites.
Solid techniques don’t exist in a vacuum. Everything connects once you start looking at your DAW as a creative tool, not just a technical one.
Work in Audio. Everything Else Follows.
Love him or hate him, Steve Angello is speaking the truth when it comes to the necessity of working in audio. At the end of the day, audio editing and warping is an extremely powerful toolset to have at your disposal, both in practical use-cases, like corrective measures, but also in creative and compositional use cases.
Heads up: some of the links below are affiliate links. If you buy through one, we earn a small cut (costs you nothing extra). But we'd point you at this exact gear whether we made a dime or not.