
Jump to a section12
I know why you want to learn how to master a song. It’s simple: if you want your music to sound on par with the pros, it needs to be mastered well.
Related tool: Mix Master Flow: Three producers. 145M+ combined streams. 9 full tracks mixed and mastered in real time. Then finish yours.
When I was starting out as a producer, I couldn’t tell you how many times I thought I had a well-produced song, but it still sounded too quiet, too muddy, and lacked that professional polish and shine. It drove me nuts. But once I figured out how to master a song, I was able to get over this hurdle and bring my productions to a whole new level.
Before we get into it, there is something I have to mention up front: nowadays, it’s tempting to just use an online, automated mastering service. But the truth is, I don’t know a single professional producer who has ever used one. Maybe these services had someone help build the algorithm, but automated services just don’t get you the results you need.
Why? Because mastering takes precision. Each track needs to be mastered differently. The way you master can become part of your signature sound.
You can master a song in any DAW. Yep, that’s right, Ableton, Logic, FL Studio, whatever you’re using. And the best part? Mastering itself isn’t that hard, so long as you have a bit of guidance.
Here is how you master a song in any DAW.
1. Pick Good Reference Tracks
You don’t need to reinvent the wheel every time you master a song. Find a couple songs that are stylistically similar to the song you’re mastering and put them into your project file. I regularly flip back and forth between my track and my references to try to match the loudness, frequency spectrum balance, and stereo width of the references.
Generally speaking, I like to use 2 or 3 reference tracks and then master my track to be somewhere in the middle of all of them.
Pro Tip: Don’t overthink your reference selection. Grab two or three songs from your genre that you genuinely love the sound of, drop them into your DAW at the start of every session, and A/B constantly. Your ears will calibrate faster than you think.
2. Give Yourself Headroom
Everyone always talks about this magical thing called “headroom”. All it means is that the pre-master version of your track is quiet.
Give yourself at least a few dBs of headroom on your premaster. This means the absolute loudest peak in your entire song should be well below 0dB. In fact, I shoot for -3dB.
But this is so important, I’m going to repeat it: the single loudest peak in your entire track should be well below 0dB before you touch a mastering plugin.
I usually end up somewhere between -3dB and -6dB, meaning the absolute loudest part of the drop on my premaster is hitting somewhere between -6 and -10dB on my track volume meter.
3. Set Up Your Metering Plugins
If you want to learn how to master a song, you should be trusting your ears throughout the process.
That said, visual tools help confirm what your ears are hearing and help calibrate them in different studio environments. On your master output, set up three types of metering plugins. We’re going to use these to compare our track to our reference tracks:
1. Loudness Meter: pick a metering plugin that can measure loudness in LUFS. The short of it is that LUFS is a super accurate perceived volume measurement and it’s the metric that streaming services rely on to calibrate loudness between songs.
2. Spectrum Analyzer: we want to be able to look at different frequencies of our track and make adjustments as needed. Add in a spectrum analyzer so we can see the frequency spectrum of our track and the references.
3. Stereo Visualizer: these are useful for two reasons: 1) visualizing the stereo width of your song, and 2) understanding how much phase cancellation might be happening in the track.
4. Put on Your Limiter
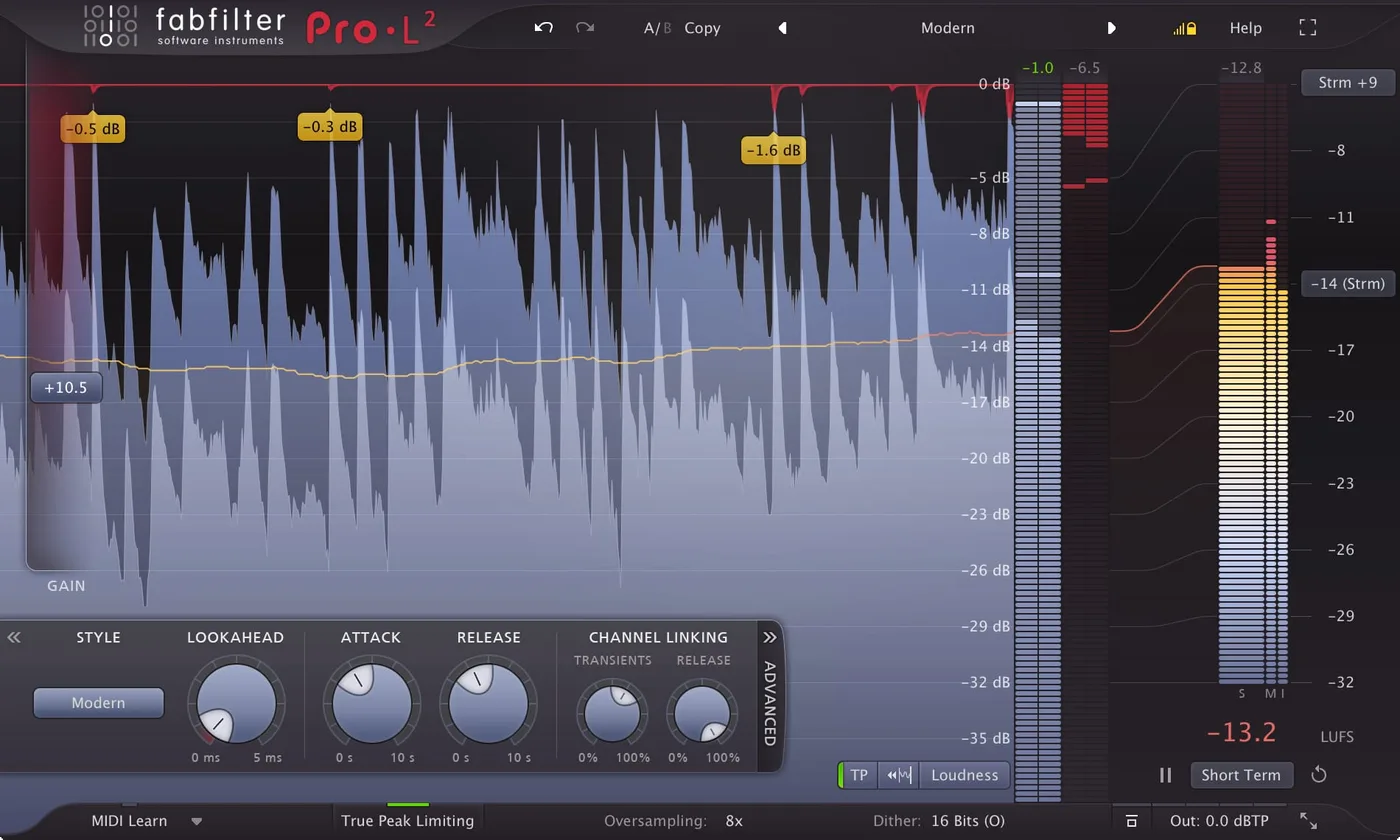
FabFilter Pro-L 2 is the go-to for most professional mastering engineers, but your stock DAW limiter works fine to start.
This is a little non-conventional, but it’s something we swear by at Hyperbits HQ. Start your mastering chain by adding your Limiter to the END of the chain. I mean, add the limiter at least 5 or 6 plugin slots down the chain, we are going to add plugins in before it.
At the end of the day, your master output is going to be coming through that limiter, so you want to hear what that final output sounds like at every step of the mastering process (instead of just slapping on the limiter at the end and potentially screwing up what you’ve done so far).
Dial input gain into the limiter until you are getting about 2-4dB gain reduction at the loudest part of your song.
Now, check this against the references. Do you have a lot of loudness work to do (don’t worry, we’ll get there)? On your Loudness Meter, how loud are you compared to the references (in terms of the LUFS values)?
Plugin Recommendations:
Free: Stock DAW Limiter
Paid: FabFilter Pro-L 2
5. Add the Inflator
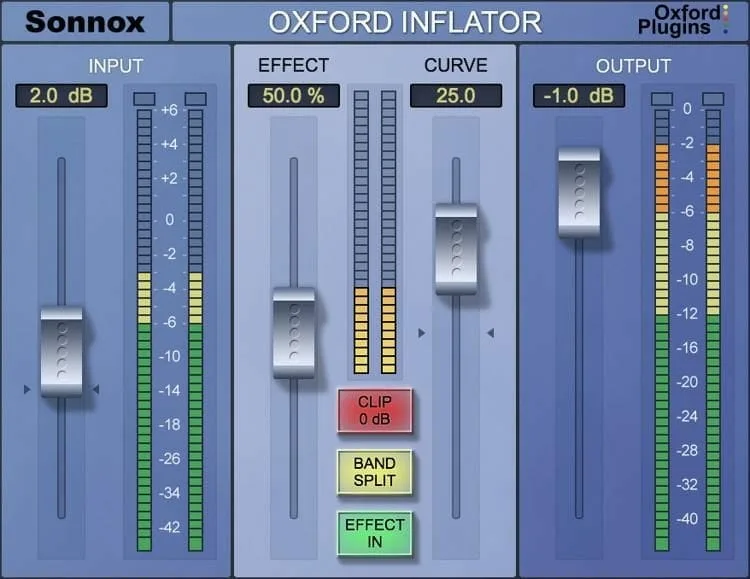
Sonnox Oxford Inflator is this close to a magic plugin. If you don’t have it, you can skip this step. It isn’t a dealbreaker by any means. But oh boy, do I love it.
Add it to the beginning of your chain (remember, your Limiter remains the last plugin on the chain). Turn off the clip feature and dial in somewhere between 20-40% of “Effect” on the Inflator. Creamy, smooth loudness without all the fuss. Booyah.
I talk about it at length in the Hyperbits Masterclass, because it can be used for much more than just mastering. And again, this should be the very first plugin on your master chain.
Plugin Recommendations:
Free: None :(
Paid: Sonnox Oxford Inflator. For a less expensive option, the closest I’ve found is the Fielding DSP Reviver.
6. Reductive EQ
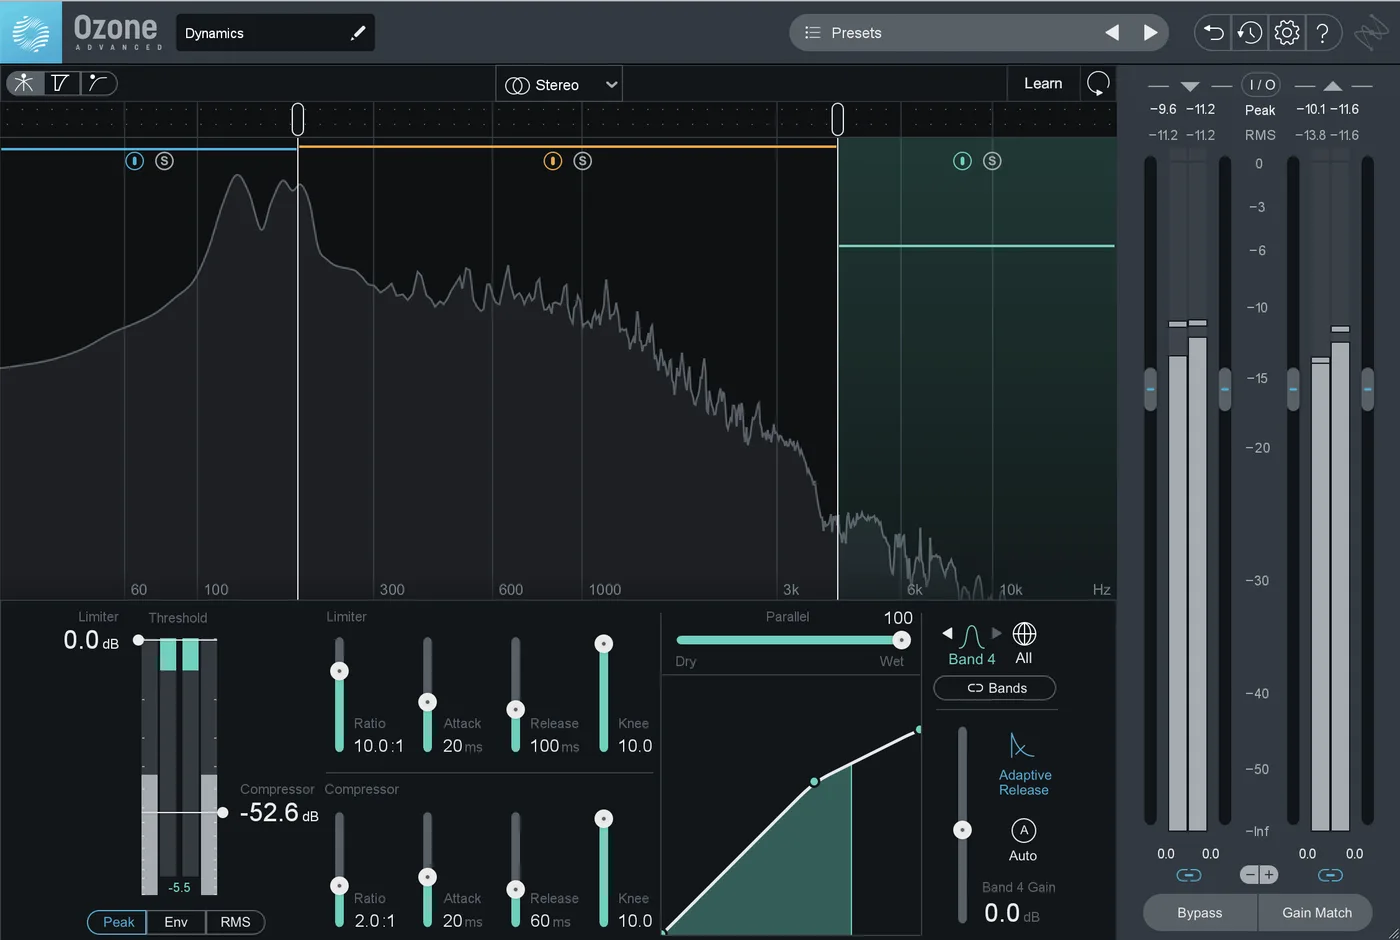
Next, you’re going to take away some of the frequencies in your track that you don’t need anymore. Remember, any instrument-specific EQ you should be doing as part of your mixing process. If you need to EQ your snare drum, go back to your project file and do it there. Don’t try to fix it during mastering.
Here, we just want overall EQ for the whole track. Do this in two steps, with two separate plugins:
1. Small notch reductions: look for 2-4 frequencies in your track that sound harsh and resonant. To do this, add on a parametric EQ, grab one of the nodes, and boost it up 15+ dB with a narrow Q (try 10 for the Q value). Slowly sweep through the frequency spectrum until you find a frequency that doesn’t sound so nice, and then reduce it.
I like to reduce somewhere between 1-2dB with a Q value of somewhere between 5-10. Do this at least a couple times in the frequency spectrum. Some common problem areas tend to be around 200 Hz, 1kHz, and 4-5kHz (but this varies a LOT song to song).
2. High Pass Filter: Next, I want to get rid of any unnecessary low end rumble in the track. Grab a parametric EQ, flip it into mid-side mode, and add two high pass filters: one for the mids, one for the sides.
Mids: try to high pass somewhere around or just above 35Hz with a low decibel/octave value (I usually use 12dB/octave).
Sides: attempt to high pass up to somewhere between 150-200Hz. Still opt for a lower dB/Oct value, but it doesn’t have to be quite as low as the mids (18dB/octave is fine).
For you more advanced producers, you may know that high passing at such low frequencies (especially in the mids) can cause some phase issues. I’m not going to get into that here, but generally speaking, high passing how I wrote above works well in most cases.
If you have NO idea what that means and want to seriously nerd out for the next 20 minutes, the FabFilter team made a video on this that genuinely changed how I think about phase. Worth your time.
Plugin Recommendations:
Free: Stock DAW EQ
Paid: FabFilter Pro-Q
7. Compression
This is the step where you can straight up make or break your master.
Good compression on your master smooths out the dynamics, makes everything a little louder, and adds some nice warmth. Bad compression kills your dynamic range, makes the loud parts sound quiet, and distorts your track.
Once again, we’re going to do this in two stages.
1. Regular compression: add a compressor onto the master chain. Look for a slow attack (~30ms), a quick release (~10ms), and a low ratio (1.5:1 or 2:1). Dial in about 1.5-2dB gain reduction on the loudest part of your track.
Then, and this is important, dial back in the amount you are reducing as Makeup Gain (i.e. if you are getting 1.5dB gain reduction on the compressor, add 1.5dB makeup gain). This makes sure that the input gain ultimately reaching the limiter stays more or less the same.
For extra loudness, you can repeat this step twice (i.e. add two separate compressors, each reaching 1.5-2dB gain reduction and makeup gain). If you do this, though, use two different compressor plugins (we like stacking an API-2500 and then an SSL).
Plugin Recommendations:
Free: Glue Compressor (Ableton), Logic Compressor (try the Opto setting)
Third Party: Waves or UAD SSL Compressor, Waves or UAD API-2500, Waves Fairchild 670
2. Multiband Compression: next, I like to compress each frequency band on its own with multiband compression. Grab a multiband compressor and split it into four bands. The same principles apply: low ratios, 1-2dB gain reduction (on each band), 1-2dB makeup gain (on each band).
Shoot for lower ratios on the lows and highs and slightly higher ratios on the mids. A sample breakdown of the bands could look like this:
- Band 1: 20-175Hz, Ratio 1.5:1, 1dB gain reduction/makeup gain
- Band 2: 175Hz - 1.5kHz, Ratio 3:1, 1.5dB gain reduction/makeup gain
- Band 3: 1.5kHz - 8kHz, Ratio 4:1, 1.5dB gain reduction/makeup gain
- Band 4: 8kHz - 20kHz, Ratio 2:1, 1.5dB gain reduction/makeup gain
Plugin Recommendations:
Free: Apple Multiband Compressor
Third Party: FabFilter Pro-MB, iZotope Ozone Dynamics
Here’s a full walkthrough of how to master tracks like the pros, including how the compression chain works in practice:
Worth watching before you move on to saturation and stereo width. The visual of the chain makes the compression stages click faster than reading them.
8. Saturation
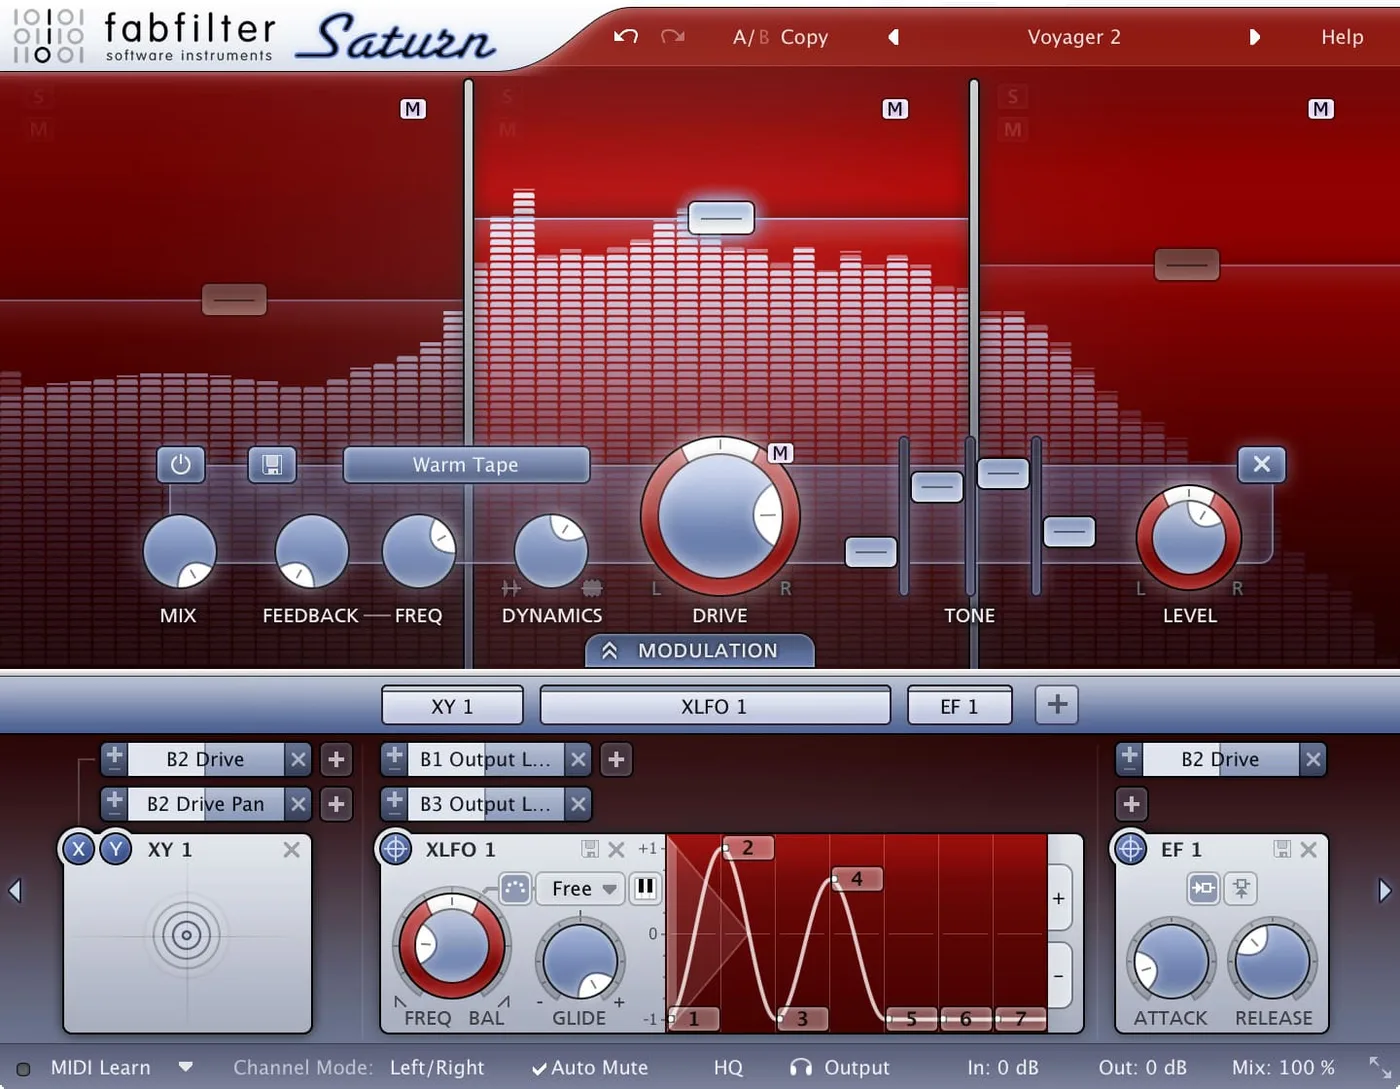
FabFilter Saturn handles this well, but honestly, even a stock DAW saturator gets the job done here.
I don’t like to do much saturation on my master chain because I feel that this should largely be done while you’re mixing. But a little bit can sometimes create a nice extra boost in warmth, especially if you aren’t using analog-modeled plugins in other parts of your mastering chain.
Almost always, I do this as multiband saturation where I saturate somewhere between 10-20% in each band and with a wet/dry of only around 10-20% wet (so a net of somewhere around 1-4% saturation).
Again, keep this super subtle. We don’t need to add in extra harmonics across the board because we should be doing all that as part of the mixdown process.
Plugin Recommendations:
Free: Stock DAW Saturator, Softube Saturation Knob
Paid: FabFilter Saturn
9. Stereo Width Adjustments
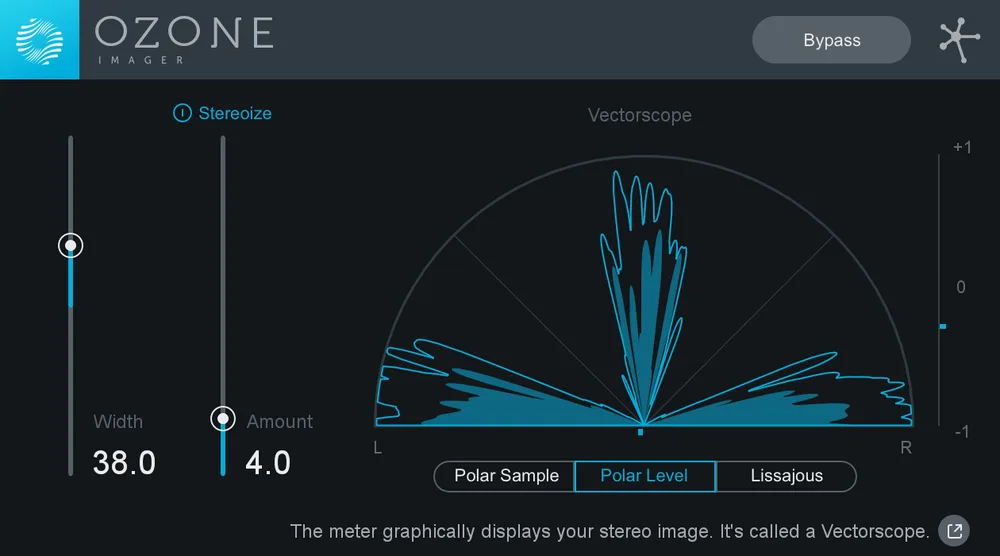
iZotope Ozone Imager is free and genuinely excellent for this step.
This is another step where you shouldn’t feel the need to make huge adjustments while mastering. Your stereo width should mostly come from your mixdown. The stereo image work we do here is just the icing on the cake.
You’re going to make two moves:
1. Widen the top shelf: above 8-10kHz, widen your image somewhere between 5-20%. Remember, subtlety is key.
2. Narrow the bottom end: reduce your width at least 20% below 150Hz or so. You generally don’t need width in the low end, so just tighten it up.
Plugin Recommendations:
Free: iZotope Ozone Imager
Paid: You can stick with the Ozone Imager for this one.
Pro Tip: Check your stereo width in mono before you finalize. Hit the mono button on your master and listen for anything that disappears or sounds thin. If something important collapses in mono, you’ve got too much phase issue in that frequency range.
10. Limiter Adjustments
How much input gain are you getting into the limiter now? It’s likely that your chain added some extra dBs of input, so you might need to reduce the amount of input gain so your limiter isn’t distorting.
Overall, I like to shoot for a maximum of 3-5dB gain reduction on the limiter. We shouldn’t be able to actually hear any distortion, and we want to try to preserve the integrity of the mix as much as possible.
In your limiter settings, set your output volume to -0.2dB. This ensures that you don’t get any digital clipping on your output. 0.2dB is essentially inaudible to the human ear, so you won’t lose much perceived loudness.
If your limiter has options for oversampling and dithering, set oversampling as high as it will go and set dithering to 24dB (don’t worry too much about the details here).
11. Final Metering Tests
The final step is checking your metering plugins and your references. For loudness, shoot for somewhere between -6 to -9 dB in LUFS. You can use a free loudness meter for this, or sharpen with our favorite loudness meter by Mastering the Mix called Levels.
A/B your master against your references and ask some questions: how do the stereo images compare? Do the frequency spectrums look similar to each other?
You can even use the “snapshot” feature in some spectrum analyzer plugins or take screenshots on your computer to compare the frequency spectrum of your track against your references.
To go deeper on mixing and mastering fundamentals, check out our complete guide to mixing and mastering electronic music.
Practice Until It’s Second Nature
Learning how to master takes practice, and every song is different. Think of these steps as a rough guide to get you started. The key is using your ears to decide when to tweak certain steps of the process.
Making those tweaks with confidence will get easier with more practice. Mastering in itself isn’t inherently difficult. It’s just wrapped in a ton of highly technical steps that are extremely easy to mess up.
But over time, you’ll be able to master tracks in as little as a half hour or less, without thinking twice about it. So whether you’re in Logic, Ableton, or FL Studio, try out these mastering steps on your next track and see what you notice.
Heads up: some of the links below are affiliate links. If you buy through one, we earn a small cut (costs you nothing extra). But we'd point you at this exact gear whether we made a dime or not.