


Jump to a section8
It takes a ton of practice to get great at mixing. There’s no substitute for hours behind the screen, and the pros know that better than anyone.
But the good news? Getting your mix sounding close to theirs is more doable than you think. You don’t need a degree in audio engineering. You just need the right fundamentals.
Below are eight technical steps that will get you started. Make sure you stick around for numbers five, six, and seven. Those are my top three processing tips.
1. Organization: Preparing to Mix

Mixing is hard. The last thing you need is a bloated project file choking your CPU. Start fresh by exporting stems, meaning every sound and instrument as a separate WAV file.
Logic calls it bouncing, Ableton calls it exporting, but the universal term is printing. Export those stems into a new project. Make sure nothing is clipping on individual stems and keep the master bus clean.
Turn off normalization. Yes, it takes time. Yes, it’s worth it. You’ll be organized, your CPU will thank you, and applying mixing plugins becomes painless.
2. Intentional Referencing

Find two or three professionally mixed songs in your genre, download them (buy them, no YouTube rips), and throw them in your project. These are your reference tracks. Unsure if your hi-hats are loud enough?
Your vocal too dark? Flip back and forth between your mix and your references. Every song is a chance to learn something. So reference, reference, reference.
Pro Tip: Match the loudness of your reference tracks to your mix before comparing. If your reference is louder, your brain will always think it sounds better, even if it doesn’t.
I made a full breakdown of how to reference like the pros, and it’s one of the most practical workflows you can steal.
Referencing is the single fastest way to train your ears. The more you compare, the more obvious the gaps in your mix become.
3. Order-of-Importance Approach

You have stems and references. Now start with what matters most. For an electronic track, that’s usually vocal or kick. Mix that first. Then move to the next most important element. Keep going.
Here’s the key: once you’ve nailed an important element, adjust the lesser-important stuff around it, not the other way around. Don’t move your kick and vocal to fit some random layer.
4. Delete, Delete, Delete

Beginners stuff way too much into a mix. Less is more. After you’ve mixed your core elements, look at all those supporting sounds.
You probably don’t need most of them. Top mixing engineers start by asking: what can I delete? It’s hard to cut your own work. But do it anyway.
5. Processing Key #1: Gain Staging

Porter Robinson said you can get 90% of a good mix just from gain staging. Use references to set your volume levels in order of importance: kick first, then vocal, etc. Insert a Utility/Gain plugin as the first insert on each channel (save fader automation for later).
Turn things down to make room instead of boosting everything louder.
Pro Tip: The goal is to make room for each element by reducing volume, not by making everything louder. This approach preserves headroom for mastering.
6. Processing Key #2: Saturation
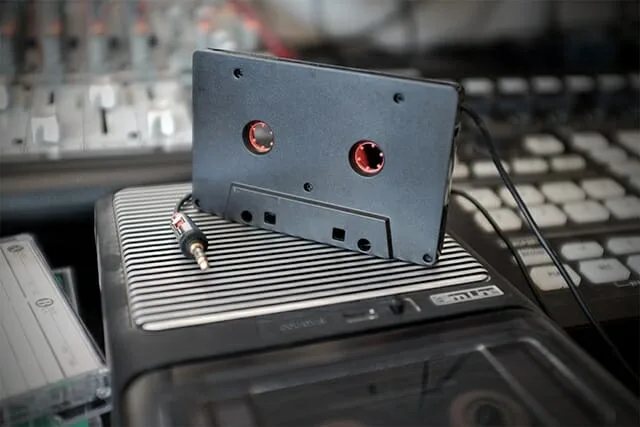
Saturation is essential for a warm, polished mix. After gain staging, add saturation. Use the makeup gain feature on plugins like Soundtoys Decapitator or FabFilter Saturn.
If saturation adds 3dB, dial back 3dB on makeup gain so you don’t wreck your levels.
For more on this, check out our top 20 saturation plugins for electronic music.
7. Processing Key #3: Reductive EQ
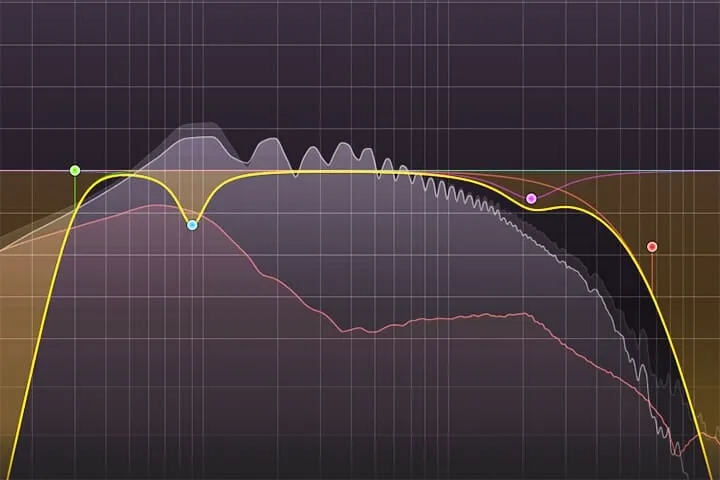
Everything sounds muddy now. Time for EQ, specifically reductive EQ. Get rid of frequencies that suck, especially in the lows and low-mids. Start with a high-pass filter to remove rumble.
Then dip somewhere between 150-400Hz to kill mud. Use your DAW’s stock EQ or FabFilter Pro-Q. Finally, hunt for resonant frequencies: boost by 15dB+ with a narrow Q, sweep to find ugly peaks, then reduce them 3-10dB and widen the Q.
This approach adds clarity without sounding phasey or unnatural.
8. Mastering
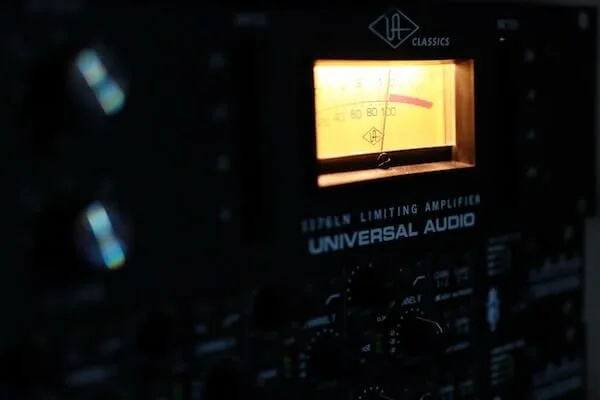
Ok, this technically isn’t part of mixing, but I still need to talk about it. The key to getting a great master is having a great mixdown. Simple as that. So don’t stress too much about the intricacies of mastering.
In general, your mastering chain should be the icing on the cake of your mixdown. For mastering, we want small, subtle changes that make modest enhancements to your mixdown. I can’t spell out a perfect solution for mastering in every track (which, by the way, is exactly what I do in the Hyperbits Masterclass), but generally, look to add:
- Modest reductive EQ
- A little compression (1-2dB)
- Some “secret sauce” (i.e. the Sonnox Inflator)
- A limiter (FabFilter Pro-L2 is tough to beat)
Related tool: Mix Master Flow: Three producers. 145M+ combined streams. 9 full tracks mixed and mastered in real time. Then finish yours.