

Jump to a section6
I always tell my students this: when I hear a vocal that sounds amateur, it’s almost always not compressed enough. In fact, I find that only rarely do producers and vocalists compress their vocals too much.
But, vocal compression is an art form. To create a professional vocal, you need to apply significant amounts of compression. However, it is absolutely necessary that you do so in a manner which allows the vocal to retain a natural, human feel.
This article is the only guide you’ll ever need for vocal compression. I’m getting into my favorite plugins, secret tips and tricks. And I’ll even show you exactly how to compress a vocal from scratch.
Let’s get started.
What is Compression?
In short, compression reduces the difference in volume between the loudest and quietest parts of a piece of audio. In other words, compression narrows the dynamic range of audio. When the volume of the audio exceeds a certain threshold, a compressor reduces the audio’s volume by a specified amount.
Compression is one of the most important topics in music production. I’ve written about it extensively. If you want to learn compression in general, check out our guides on How to Use a Compressor and Multiband Compression.
Why is Compression so Important for Vocals?
The human voice has an enormous dynamic range. Meaning there is a large difference between its quietest and loudest moments. As electronic producers, we’re used to VST synths and samples. Those have extremely narrow dynamic ranges. So vocals throw a new set of challenges at us that we don’t face anywhere else.
Have you ever heard of the loudness war? Even the New York Times is talking about it. The idea behind the loudness war is that over the years, music has become louder and louder. And if you don’t make loud music, you fall behind.
Guess what: they’re lying. Music is not louder than it used to be. Music is just more compressed than it used to be.
By narrowing the dynamic range, compression keeps the audio close to maximum volume more of the time. Fewer quiet moments. So the whole song sounds louder.
In order for your vocal to compete against the compressed nature of other sounds in modern music, we need to compress it. A lot. Otherwise, your vocal will sound amateur and lack the professional feel you’re looking for.
Plugin Recommendations for Vocal Compression
When it comes to vocal compression, having a few key plugins in your toolkit will make your job much, much easier. Below is my list of essential plugins for vocal compression.
Classic Style Compressors
Many hardware compressors, primarily designed in the 1960s and 1970s, are regularly used for vocal compression today. They tend to give a timeless, elegant feel to a vocal. And fortunately for us, many are available in plugin form.
1. 1176
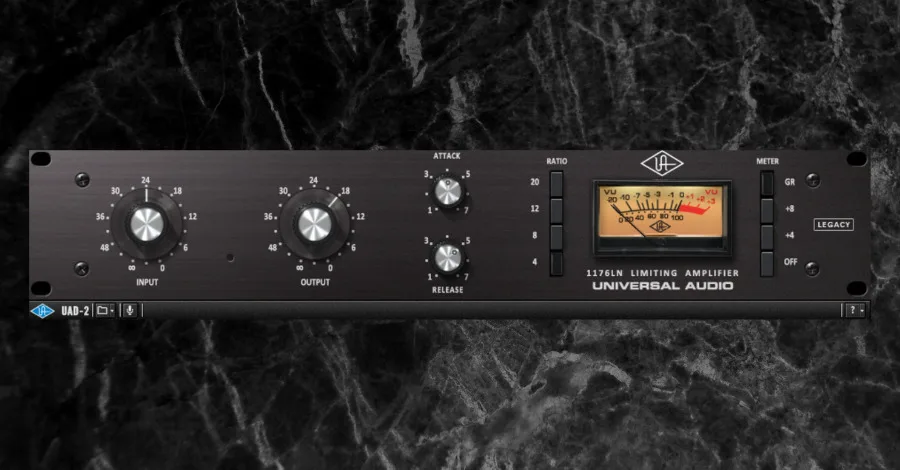
Universal Audio’s 1176 Peak Limiter was first designed in 1967 and remains an essential vocal compression tool. Many plugin companies make 1176 style compressors, including Waves and UAD.
1176 compressors are fast and aggressive. They can perform significant amounts of compression while still allowing the vocal to remain natural and musical. For many producers (including me), it’s a desert island compressor, all because of that fast attack. You can dial it from 20 to 800 microseconds. That lets it catch transients instantly, so you control the dynamics without dulling the vocal.
2. LA-2A
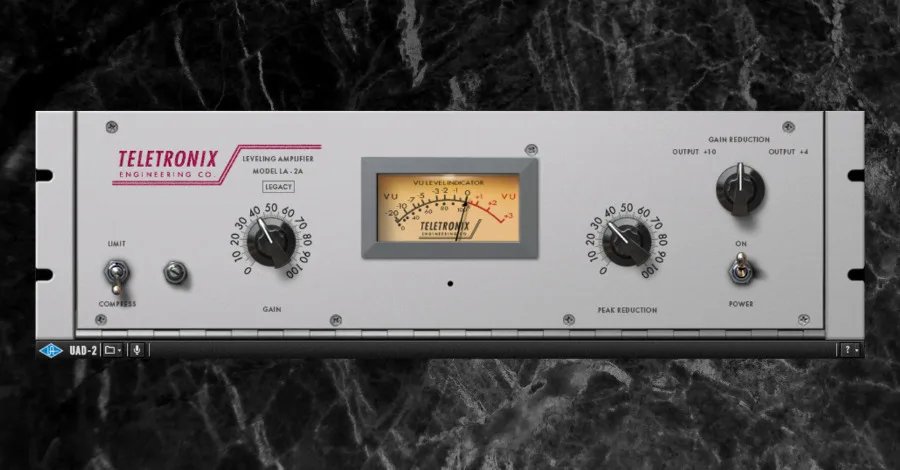
The Teletronix LA-2A was originally designed in the early 1960s and has a slower, smoother character than the 1176. But make no mistake, you can get away with huge amounts of compression while still letting your vocal feel musical.
In fact, the LA-2A is renowned for its warm and musical character. Its analog circuitry adds a warmth that’s genuinely hard to get any other way. That’s why it’s such a popular vocal compressor.
It’s also gentle and transparent. The optical gain reduction reacts smoothly to the signal, so you get precise control over the dynamics. No pumping, no breathing artifacts.
Modern Plugins
More recently, plugin companies have created new tools that stretch beyond hardware-emulation compressors to allow for further effective vocal compression.
1. Waves R-Vox
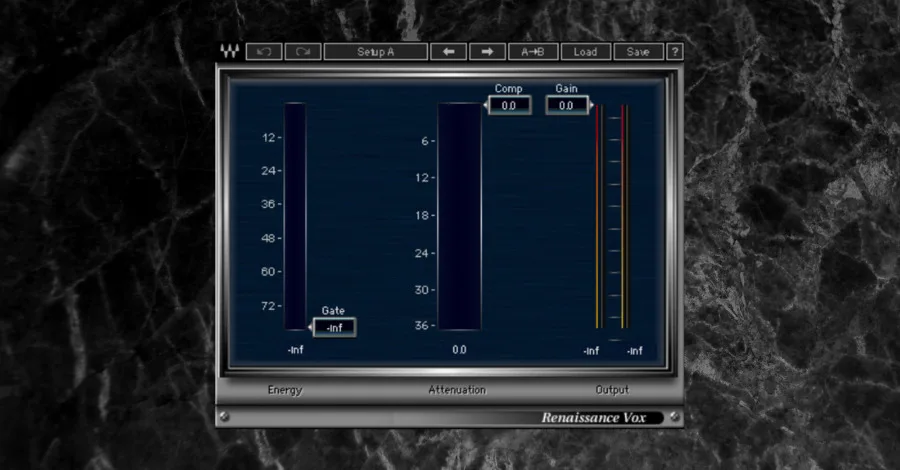
Waves R-Vox is a one-stop-shop vocal compression plugin that provides compression, gating (reduction or removal of very quiet sounds), and limiting (a form of more extreme compression) all at once. And better yet, its “under the hood” approach means that as the producer, you only have to deal with a couple plugin parameters. That translates to easy, effective compression.
Don’t let the simplicity fool you. R-Vox compresses smoothly and transparently, so you keep the natural character of the voice while still reining in the dynamics.
2. Soothe2
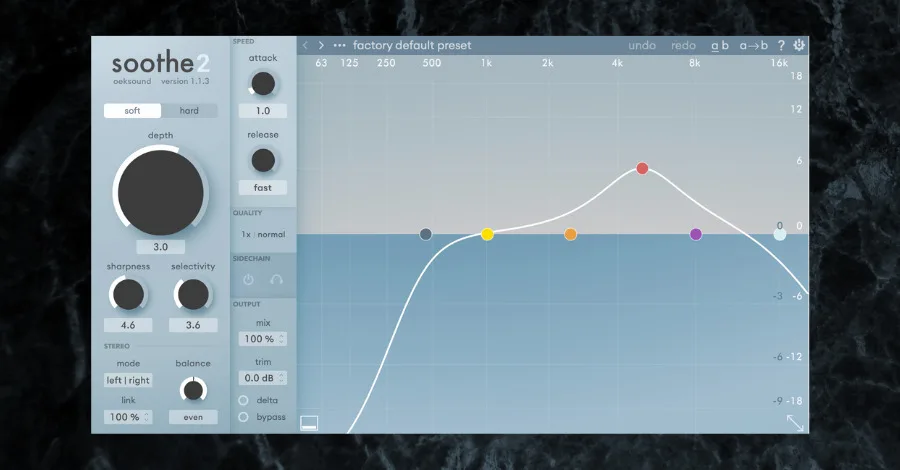
Soothe2 by oeksound is a dynamic compressor, and it’s the only one of that variety I’ll recommend to you here. Dynamic compressors apply different amounts of compression to different frequencies. This is a unique style of compression that allows for a very smooth and natural final product. For vocals, it’s particularly useful in taming boomy low mid-frequencies and harsh high frequencies.
Believe it or not, Soothe2 was built with vocals in mind. It delivers precise compression with barely any artifacts or coloration, so the voice still sounds like the voice.
It also reshapes problem resonances, the ones that cause harshness or sibilance. The result is smooth and balanced, and a lot easier to polish.
3. JJP Vocals
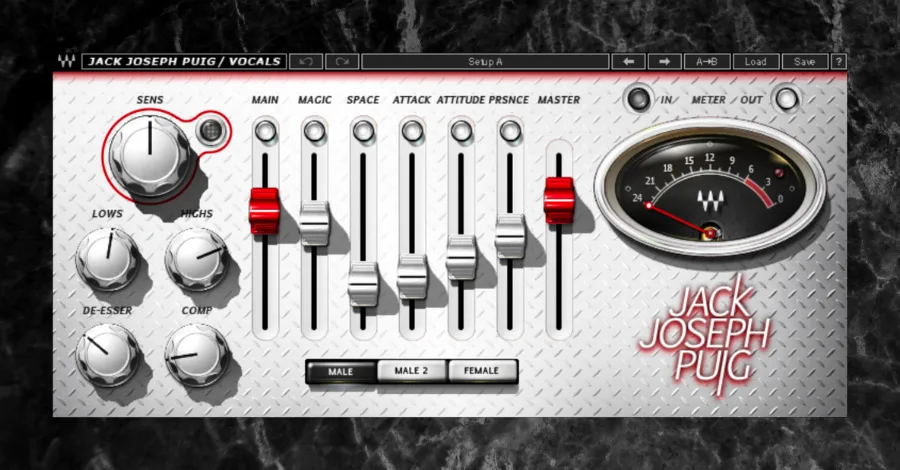
Waves JJP Vocals is a great one-stop-shop tool for mixing vocals. Joseph Jack Puig, a Grammy Award winning mixing engineer, partnered with Waves to create this suite of mixing plugins. And in particular I love the single-knob compression you can apply from the default preset. It’s simple, but it just sounds good.
It’s also dead easy to use. Simple controls, a clean interface, and you dial in the sound fast. You get EQ, compression, de-essing, and more in one place. And the presets cover everything from leads to backing vocals.
4. Melodyne
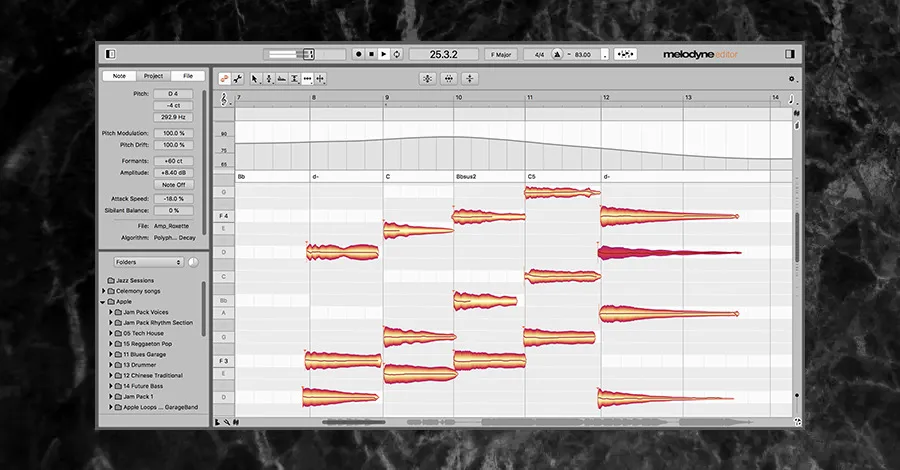
Melodyne by Celemony grants you unrivaled access to all the musical details in your vocal audio, note by note. While it is known for its advanced pitch correction capabilities, which can be particularly useful for correcting off-key notes in vocal recordings, arguably one of the biggest benefits has nothing to do with pitch correction.
This is because Melodyne includes automatic volume adjustments to a vocal performance just like with compression. But more transparent, with simple-to-use parameters to control dynamics.
This feature inside Melodyne is arguably THE most transparent compression tool that exists in the music production world. If you aren’t using Melodyne for vocal compression, it’s time to jump on this serious tool.
Pro Tip: You need at least Melodyne Assistant to access the amplitude/leveling macro feature.
Other Plugins to Know About
1. Soundtoys Decapitator
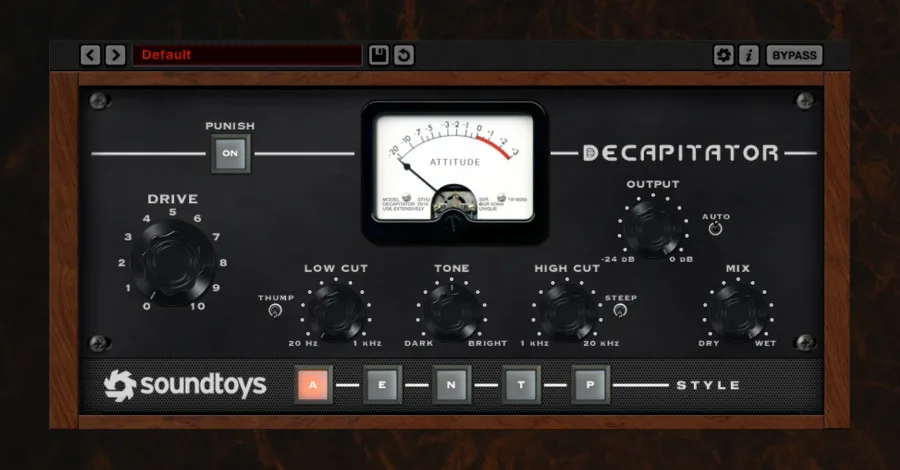
Soundtoys Decapitator is a saturation plugin that also applies compression to the audio signal as a side effect. For vocals, I like the T setting, which emulates the Thermionic Culture Vulture, providing a warm smoothness to a vocal’s dynamic range.
If you want a thinner vocal to sound warm, thick. And full, Decapitator can be a great solution to provide both saturation and compression.
2. CLA Vocals
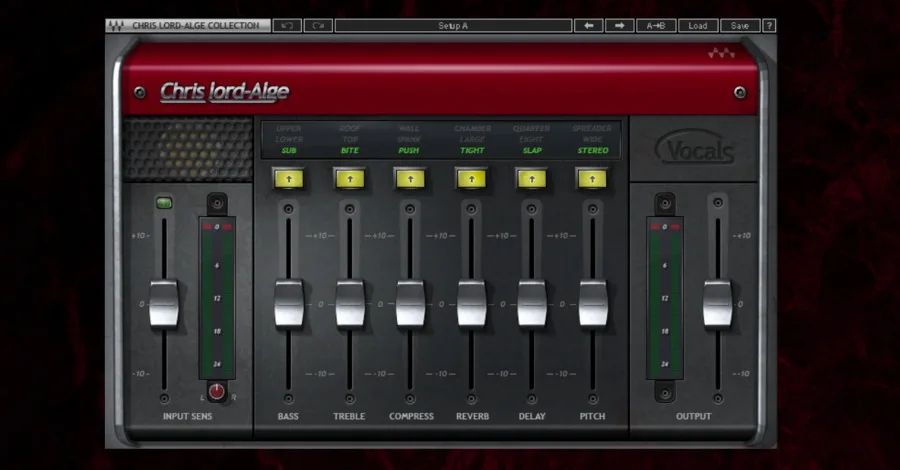
Waves CLA Vocals, made in partnership with Chris Lord-Alge, is another one-stop-shop vocal mixing plugin similar to JJP Vocals. Many people prefer this plugin to JJP Vocals, so I’d recommend trying out both to see which you prefer.
It gives you the same warm character that’s kept the LA-2A and 1176 popular for decades. If you want vintage-style vocal compression, this is an easy pick.
Like the others here, it compresses precisely and transparently. The controls are intuitive, so you adjust to taste without losing the natural character of the voice.
4 Keys to Compressing a Vocal
Once you have a good collection of essential vocal compression plugins, you can get down to business and compress some vocals. There are four important concepts I want you to keep in mind when you approach vocal compression.
1. Spread Compression over Multiple Compressors
Many producers miss this. In general, I usually end up with 20-30dBs gain reduction in total on a vocal. But, only rarely am I doing more than 10dBs gain reduction with a single compressor.
Use multiple compressors in a row to compress your vocal, and only perform moderate compression with each. This creates a more smooth and natural sounding final product. If one compressor is overworked, your vocal will sound jumpy and unnatural.
2. Compress Vocals on Both the Individual Tracks and the Vocal Bus
When producing a vocal, you’ll often be working with many layers: doubles, harmonies, adlibs, etc. I recommend compressing these individual vocal layers first. Then, place them all in a bus or group, and apply additional compression on the bus.
The individual track compression enables you to control the unique dynamic range of each individual layer. The bus compression glues these layers together. The result is a vocal group that sounds both consistent and cohesive.
3. De-essing is Essential
De-essing reduces the harshness of high frequency sibilance in a vocal. De-essers are simply just another form of compression, where they only compress the frequency band where you find S’s (usually around 5-6kHz). I like to de-ess about 6-10dBs, which usually is sufficient for taming the hard S’s and T’s in a vocal.
For a deeper look at de-essing techniques, check out our complete guide to de-essing.
4. Add a Limiter to Your Vocal Bus
This last bit is often overlooked by most beginner and intermediate producers alike. The final compressor on your vocal bus should be a limiter. When adding a lot of compression, sometimes the transients of your vocal can become loud relative to the rest of the vocal. To address this, add a limiter. Limiters provide a high level of compression and can reduce the dynamic range of transients that other compressors might miss.
Pro Tip: When adding gain using the Pro-L2, simply hold ‘option’ on a mac as you slide the gain up so the vocal doesn’t get any louder. This way, you are only reducing a few transient peaks, not adjusting volume in any way.
Vocal Compression in Action
There are many processing chains you can apply to compress a vocal. Below, I’m going to show one example. Curious about other processing chains? I talk all about those and many strategies for vocal compression in the Hyperbits Masterclass (in fact, we spend a whole week only talking about vocals).
Before we go step by step, here’s a full walkthrough of this exact vocal processing chain. Easier to see it in motion before reading the breakdown.
Now let’s break it down step by step.
Step 1: Record Your Vocal
Here is the raw vocal we’re starting with. This recording is straight from the microphone.
Step 2: De-Ess
First, I’m applying de-essing to the vocal. This tames the singer’s harsh sibilance.
Step 3: 1176
The 1176 is the workhorse compressor in this chain. I’m applying heavy compression, 10-12dBs gain reduction, and making the compressor work fast with a medium attack and a quick release.
Step 4: Decapitator
Next, I’m using Decapitator to add saturation and more compression. I don’t want any extensive distortion here. The goal is to add subtle warmth and moderately reduce the dynamic range.
Step 5: Soothe2
We go to Soothe2 next. Using the Vox I preset, I’m compressing this vocal through the low mids (250hz) and high mids (4kHz) to reduce boominess and provide a smoother presence to the vocal. I love cycling through Soothe2’s high quality presets to find one that works great for my vocal.
Step 6: Limiter
Finally, I apply a limiter to catch any extra peaks that might be poking through the other compressors. Subtlety is key here: I usually go for a maximum of 2-3dBs gain reduction.
Compress It Until It Sounds Like a Record
Vocal performances can have a wide dynamic range, making it difficult to achieve consistent and transparent compression. If the compression is too aggressive, it can lead to a loss of clarity and character in the vocals, while if it’s too gentle, the dynamic range may still be too wide, making it difficult to balance the vocals in the mix.
Since vocal performances can vary greatly from take to take, achieving consistent results with vocal compression can be very difficult. In addition, different vocalists will have different ranges and tonalities, which can make it difficult to find a one-size-fits-all compression setting that works for all vocal recordings. There are also a number of technical challenges that can make vocal compression tricky, such as managing the interplay between the compressor and the microphone preamp, or dealing with the impact of background noise or room acoustics on the compression settings.
That said, vocal compression is an essential skill to master for modern music production. Remember, music today is loud and compressed. If you want your vocal to stand up against the best productions around, you need to make sure you’re compressing it properly.
Related tool: Start to Finish with Syence: Produce a vocal track from blank session to commercial master, step-by-step with Zach from Syence.
Heads up: some of the links below are affiliate links. If you buy through one, we earn a small cut (costs you nothing extra). But we'd point you at this exact gear whether we made a dime or not.