

Mixing Vocals: The Ultimate Guide to Professional Results in 2024
“The voice is the most powerful and expressive element in music. It has the ability to convey emotions and connect with the listener in a way that no other instrument can.”
— Adele
Mixing vocals is a crucial step in music production. Vocals are the focal point of a song and carry the melody, lyrics, and emotional expression, making them the most critical element in the mix. If the vocals are poorly mixed, the entire track will suffer, and the song’s message will be lost. It is essential to ensure that the vocals are blended well, regardless of the genre or style of music.
Mixing vocals is not just about adjusting volume levels; it involves adjusting various aspects of the vocal performance to achieve a cohesive and balanced sound. It also includes managing the frequency spectrum, spatial placement, and dynamics of the vocals to fit seamlessly into the mix.
Mixing vocals requires a combination of technical skills and artistic sensibility, and it takes years of practice to master. But here in this article, we’ll show you how to get professional results quickly by mixing vocals for your song and setting you on the path to greatness.
Preparing for Mixing

A clean recording is essential before the vocal mixing process because it sets the foundation for a successful sound. A clean recording means the audio is free of unwanted background noise, distortion, and other artifacts that can be distracting from your creative vision.
When a recording is clean, you can focus on the creative aspects of the mix, such as balancing levels, applying effects, and enhancing the overall sonic quality of the track. In addition, a clean recording allows you to work more efficiently. You won’t be spending your creative energy removing unwanted artifacts.
It’s also worth noting that even the best engineers can’t turn poorly recorded vocals into a masterpiece. Therefore, it’s essential to make sure you set yourself up for success in the beginning.
Some Common Problems to Look Out For
Background Noise
There are several common problems to watch out for when recording vocals that can negatively impact the final result. One of the most common issues is background noise, including sounds like HVAC systems, traffic, or even the hum of electronic equipment.
Turn off your HVAC systems or invest in a quieter system to mitigate some air noise. For traffic noise, music studios tend to be in places that block out that noise—for example, basements, thick windowless buildings, etc.
Electrical equipment can give off audible noise too. In addition, the electrical gear also can add noise to the audio signal inside your electrical lines. The best way to reduce electrical noise in your vocal recordings is to make sure you’re using XLR cables.
XLR cables have a clever system inside of them where they reduce noise by reversing the polarity of it. In the same way noise-canceling headphones work but inside the electricity itself.
Try to avoid using other types of audio cables like ¼ inch, RCA, USB, and AUX cables to record vocals. These cables don’t have the noise-mitigating effects that XLR has.
Room Reverb
Another problem to watch out for is room reverb. Room reverb occurs when sound waves bounce off a room's walls, ceiling, and floor, creating a natural echo effect. While some reverb can be desirable, too much can make a vocal track sound distant or muddy.
You can reduce room reverb via acoustic treatment or stock your room with heavy soft objects like couches, beds, thick curtains, and more. You can even make or purchase vocal booths that specialize in ‘deadening’ the space inside them.
Pops and Clicks
Pops and clicks are also common issues when recording vocals. Pops occur when air or saliva from the mouth hits the microphone diaphragm, causing a sudden sound spike. Clicks can occur when the vocalist moves their mouth or lips while recording.
Both of these are natural side effects of recording vocals. Pops and clicks can be easily fixed by using a pop filter or maintaining a consistent distance from the microphone while recording.
Applying EQ and Compression Ahead of Recording

Applying EQ and compression during the pre-recording process can help ensure the vocals are captured accurately and require minimal processing during the mixing phase. Here are some ways to apply EQ and compression when preparing to record vocals:
1. Use a High-Pass Filter
Apply a high-pass filter to cut off any low-end frequencies that are not necessary for the vocal performance. This can reduce the amount of background noise and improve the clarity of the recording.
A highpass set from 150 Hz to 200 Hz is a good starting point. Some vocals may need more or less, depending on the setup.
2. Add Some Presence
Boosting the presence range of frequencies around 5-8 kHz can help add clarity and detail to the vocal sound. This can help make the vocals stand out in the mix and cut through other instruments.
However, not all vocal microphones are made the same. Some microphones add high-end clarity from the get-go, while others sound duller. How much presence you add (or don’t add) will depend on which mic you use.
3. Use a De-Esser
Sibilance or harsh "S" and "T" sounds can be problematic when recording and mixing vocals. A de-esser can help reduce these sounds by compressing the high-frequency range around 6-8 kHz.
In the recording stage, it’s best only to use a light amount of de-essing as you’ll most likely be applying more in the post-processing stages.
4. Apply Light Compression
Light compression during the recording phase can help even out the dynamics of the vocal performance, making it easier to mix later on. Set the compressor with a low ratio and a gentle threshold to avoid over-compressing the vocals.
If you over-compress the vocals in this stage, it can be harder to work with later on in the process. It’s also worth noting that some microphones have a smoother recording profile than others. So depending on the mic, you may not need much (or any) compression.
5. Check Your Microphone’s Frequency Response
Different microphones have different frequency responses, which can impact the vocal sound. It’s important to understand the equipment you’re using to record. If you don’t understand the equipment, you risk potentially damaging them. Read the manual and get familiar with your tools.
Vocal Takes You Want To Capture

When recording vocals, it's important to understand how many takes you'll need and what kind of vocal performance you want to capture. Planning ahead can save you a lot of time and ensure you achieve the sound you want.
A common approach is to record multiple takes of the same vocal part, then use each take's best parts to create a final composite vocal track. You might record one take of the lead of a verse and then double it with a second take (panned center) to create a thicker, more interesting sound.
For the pre-chorus, you might want to record two more doubles to pan left and right in the mix. This can create a wider, more immersive sound that helps draw the listener into the song.
After capturing your main takes, you may also want to capture ad-libs to add additional emotion to the song. Ad-libs are improvisational vocal parts that are often used to fill in gaps between verses or choruses to add excitement and variation to a repetitive section of the song.
Ad-libs can be a great way to showcase the singer's talent and creativity and add depth and character to a song.
When planning your vocal takes, think about the overall structure and feel of the song. Consider the dynamics and emotions you want to convey and any key moments you want to highlight. Failing to plan is planning to fail.
Mixing Vocals by Setting Levels

Mixing vocals and setting the proper track levels relative to the other instruments is an essential part of creating a balanced, cohesive sound. Here are some steps to follow when selecting the levels of the vocal tracks:
1. Solo the Vocals
Soloing the vocal tracks will help you get a clear idea of their level and dynamics. You can get a picture of what parts are loud and which are soft. You can also use this to decide if more/less compression is needed.
In addition, use the meters in your DAW to ensure the vocal tracks are not clipping or peaking too high. This can add unwanted distortion to the sound.
2. Solo Other Instruments
Solo each instrument in the mix one by one, starting with the drums and bass and gradually adding in the other elements. Adjust the levels of each instrument so that they sit well together. Make sure there is enough space in the frequency spectrum for the vocals to cut through.
The presence of a vocal tends to sit in the 1 kHz to 5 kHz range so it’s good to make sure that there’s enough space in this area for the vocals to sit.
3. Listen to the Mix as a Whole
Once you have set the levels, listen to the mix as a whole with the vocals included. Adjust the vocal levels so they sit comfortably in the mix without overpowering or getting buried by the other instruments.
4. Pay Attention to the Chorus and Verses
When setting the vocal levels, pay particular attention to the chorus and verse sections. These are the parts of the song where the vocals are typically the most important, and you want to ensure they are clear and prominent.
A good rule of thumb for the lead vocals is to ask yourself, “Can I hear and understand every word the vocalist is singing?” If you hear certain words falling out or getting overpowered, that part may need more compression or volume automation.
5. Use Automation
Using compression to control a vocal's volume level and dynamics is ok, but sometimes you need to get more surgical. Some best-sounding songs use volume automation to correct dynamics issues instead of compressors.
Once you have set the vocal levels, use automation to make minor adjustments throughout the mix. You may want to raise the vocals slightly during a particularly moving part of the song or lower them during a guitar solo.
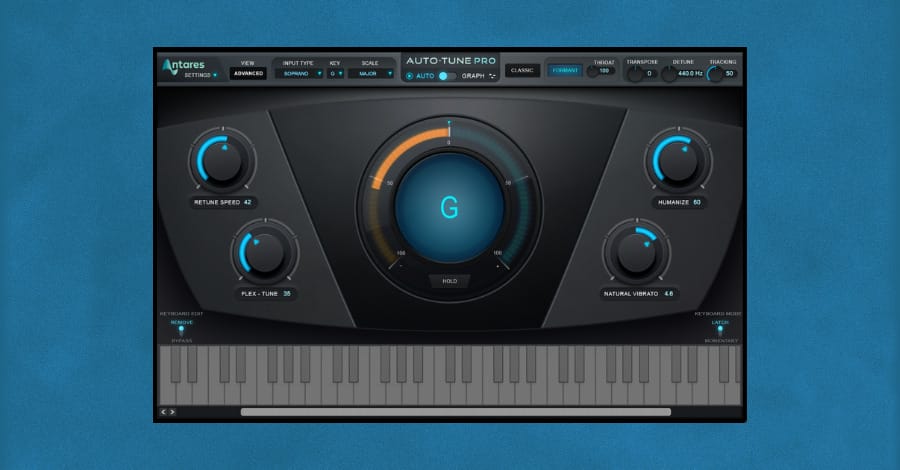
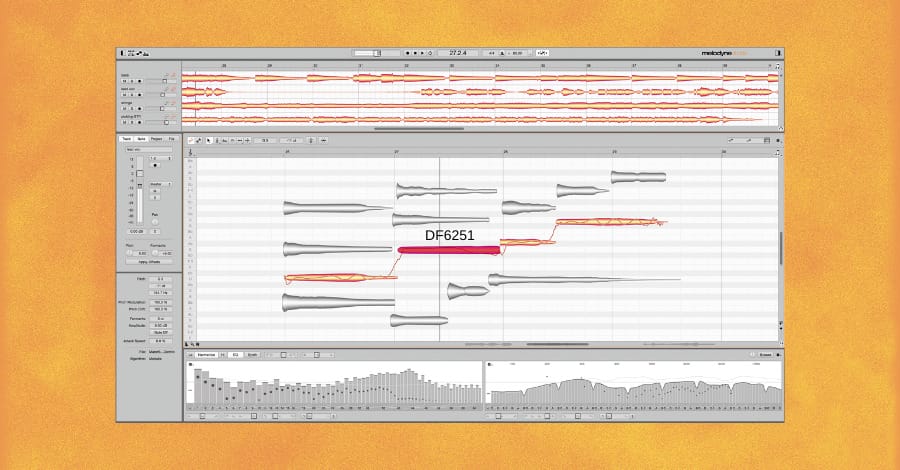
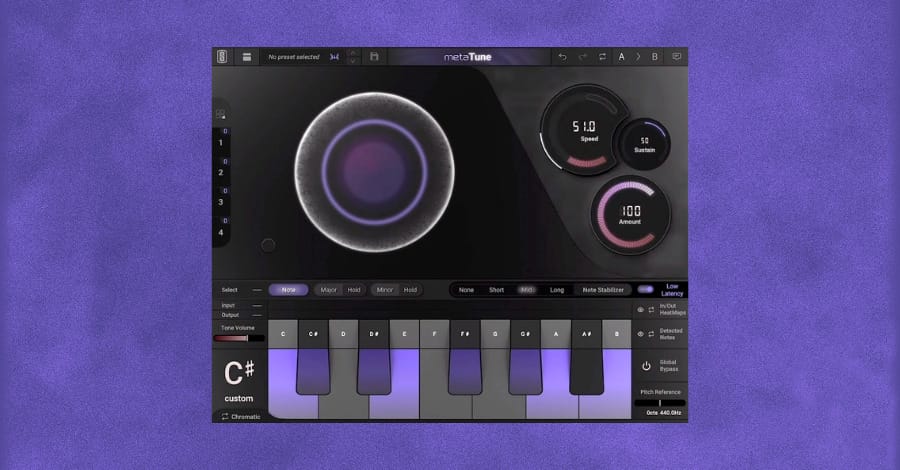
Tuning Vocals for Mixing
Antares Autotune
Melodyne
Slate metaTune
Native DAW Autotunes
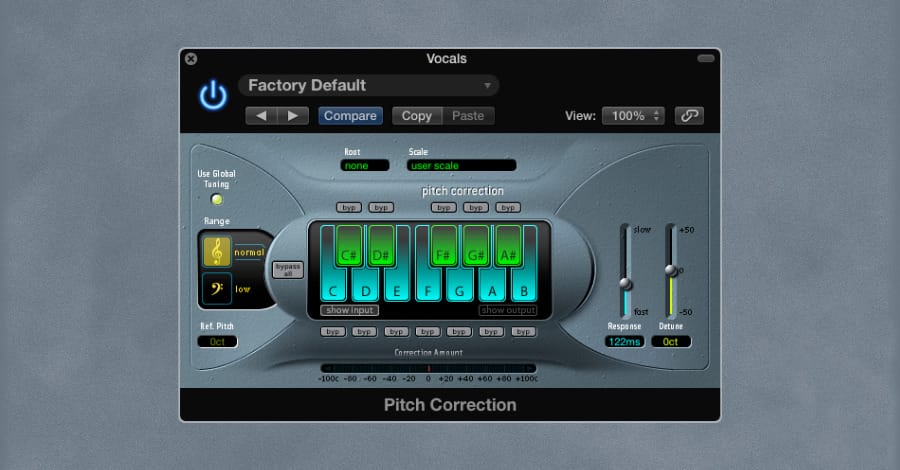
While stock DAW pitch correction plugins may not have the advanced features of third-party pitch correction plugins, it is a simple and effective way to correct pitch errors in recorded performances.
For example, Logic Pro’s pitch correction tool uses a straightforward algorithm that analyzes the pitch of an audio signal and adjusts it to the desired pitch in real-time. It also includes various parameters that allow users to fine-tune the pitch correction settings, such as the amount of correction, the speed of correction, and the key of the song.
While it may not be as powerful as other pitch correction plugins, the stock DAW pitch correction software is a convenient and cost-effective solution for basic pitch correction needs.
Mixing Vocals with Panning

Panning is crucial in creating a balanced and immersive mix when mixing vocals. By distributing different elements of the mix across the stereo field, panning can generate a sense of space and separation between the various aspects of a song, including the vocals.
When mixing vocals, panning can create a clear and cohesive soundstage. For example, panning the lead vocal straight up the middle can be placed at the center of the mix and given prominence over the other elements. Panning the backing vocals slightly to the left and right can be placed in a separate space in the mix, creating a sense of depth and separation.
Panning can also be used to create a more immersive listening experience. For example, panning a delay or reverb effect to one side of the mix can create the illusion that the sound is coming from a particular direction. This can be used creatively to add a sense of movement and depth to the mix, helping to draw the listener into the song.
However, it's essential to use panning in moderation and to avoid extreme panning that can make the mix sound disjointed or unnatural. The goal is to create a balanced and cohesive mix that serves the song and enhances the emotional impact of the vocals.
Panning Vocals for a Wide Pop Music Effect

Have you ever listened to a song you enjoy, and when the chorus kicks in, the vocals seem to ‘surround’ you? For example, listen to this part from Zedd’s “Stay The Night” ft. Hayley Williams.
The vocals start narrow in the center of the mix for the first phrase. Then all of the sudden, they pop out of the mix and sound wide and full. This effect is called “vocal doubling,” a common technique for mixing vocals.
Here are some tips for panning vocals for a wide pop music effect:
1. Use Multiple Vocal Tracks
Creating a wide vocal sound often requires using multiple vocal tracks. For example, you might have a lead vocal track, a double-tracked vocal, and several backing vocal tracks.
You need to sing the lead vocal in at least two extra solid takes to record doubled vocal tracks. The slight differences in each recording will prevent the audio from phasing with each other.
2. Pan the Lead Vocal Center
The foundation of your vocal stacks is the centered lead vocal. Whichever is your best vocal take, make sure this is front and center in your mix.
3. Pan the Double Tracked Vocals Wide
Double-tracking the lead vocal and panning it slightly to the left and right can create a wider vocal sound. You can experiment with different panning widths to find the best sweet spot for the mix.
In the Zedd and Hayley Williams song mentioned earlier, Zedd is hard-panning each doubled vocal to get that super wide effect.
4. Use Multiple Backing Vocal Tracks
In addition to your doubled lead vocal recordings, you should also record doubles of your harmonies. Experiment with panning your harmony tracks to create more sense of space and depth with the vocal.
5. Be mindful of the Mix Balance
When you start to experiment with this trick, it can be exciting with how awesome it sounds. However, being mindful of the overall mix balance when panning vocals is essential. It is too easy to make the vocals overly wide.
When vocals are too wide, they can overpower the other elements of the mix. Use your ears and judgment to find the right balance for the mix.

Mixing Vocals with EQ
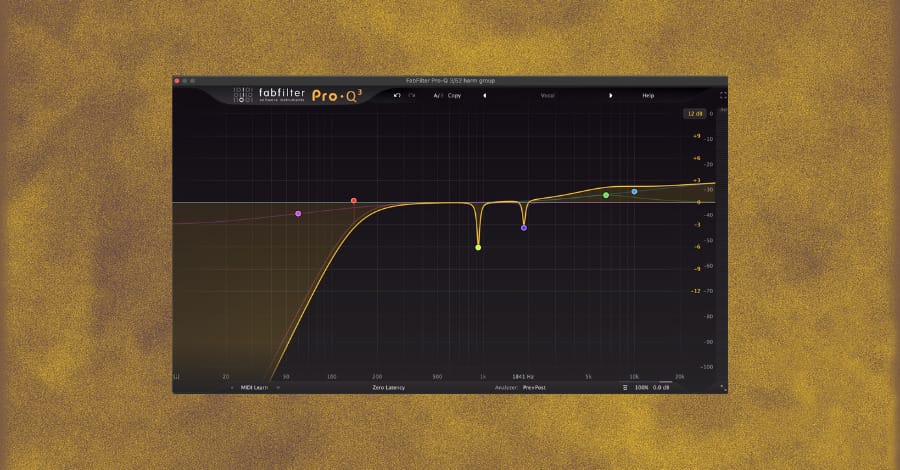
When it comes to mixing vocals, EQ is a valuable tool that can help shape the tone of the vocals and make them fit better in the mix. One of the main benefits of EQ is that it allows you to remove unwanted frequencies that can mask the vocals or make them sound muddy.
EQ can also be used to enhance the clarity and presence of the vocals by boosting the frequencies that give them character and energy. It can also be used to create separation between the vocals and other sounds in the mix.
Here are some steps to achieve a pro-sounding vocal when EQing:
1. Remove Unwanted or Problematic Frequencies
The first step in using EQ is to identify and remove any unwanted frequencies that can mask the vocals or make them sound muddy. For example, you can use a high-pass filter to remove low-frequency rumble or a notch filter to remove a specific frequency that is causing a problem.
A safe bet is to set your highpass to about 150 Hz. To find unwanted frequencies, create a notch filter in your EQ and create a boost. Then take that node and scan the frequency spectrum for harsh tones that stick out above all of the rest. We show our students how to do this in the Hyperbits Masterclass.
Our Favorite EQs for removing problem frequencies:
2. Enhance the Clarity and Presence
EQ can be used to enhance the clarity and presence of the vocals by boosting the frequencies that give the vocals their character and energy.
For example, boosting the high frequencies at 10 kHz and above can add sparkle and air to the vocals, while boosting the frequencies around 2 kHz can help the vocals have more presence in the mix.
Our Favorite EQs for enhancing clarity and presence:
3. Create Separation Between the Vocals and Other Instruments
Use EQ to create separation between the vocals and other instruments in the mix. For example, cutting the frequencies where the guitar or piano occupies can create more space in the mix for the vocals.
As another example, guitars typically occupy the 80 Hz to 1.5 kHz range while pianos can occupy mostly 100 Hz to 1 kHz. But every instrument is unique, and you’ll have to make EQ decisions based on your creative vision.
Check out our Ultimate EQ Cheat Sheet for info on where on the EQ spectrum various instruments typically live.
Our Favorite EQs for creating vocal separation in the mix:
4. Match the Vocals to the Song’s Style
Every song has its own style and vibe. This is where your artistic expression comes in. For example, if you prefer a warmer-sounding vocal, boost it between 300 Hz to 1.5 kHz. Warmer vocals can create a more intimate-sounding vocal that fits well with ballads.
If you’re going for a more aggressive and edgy style, boosting your vocal in the 1.5 kHz to 10 kHz range can give your more presence and fight.
Our Favorite EQs for vocal EQ matching:
5. Consider Dynamic EQ
Dynamic EQs differ from traditional, static EQs. Dynamic EQs adjust the EQ settings in real-time based on the audio signal. Instead of simply boosting or cutting specific frequencies, dynamic EQs adapt to changes in the audio signal and adjust the spectrum accordingly.
Two of our favorite Dynamic EQs are Trackspacer by Wavesfactory and soothe2 by oeksound. With Soothe, you can tame harsh or resonant frequencies that make a mix sound harsh or fatiguing to the listener.
With Trackspacer, you can enhance the clarity and presence of the vocal by sidechaining the vocal through Trackspacer to an instrument (or group of instruments). This plugin automatically creates space for the vocals in the frequency spectrum.
Trackspacer listens to the input sidechain signal and determines which frequencies to reduce for the vocal track. Even tiny amounts like 4-6% can help a vocal performance pop and separate from the rest.
Mixing Vocals with Compression
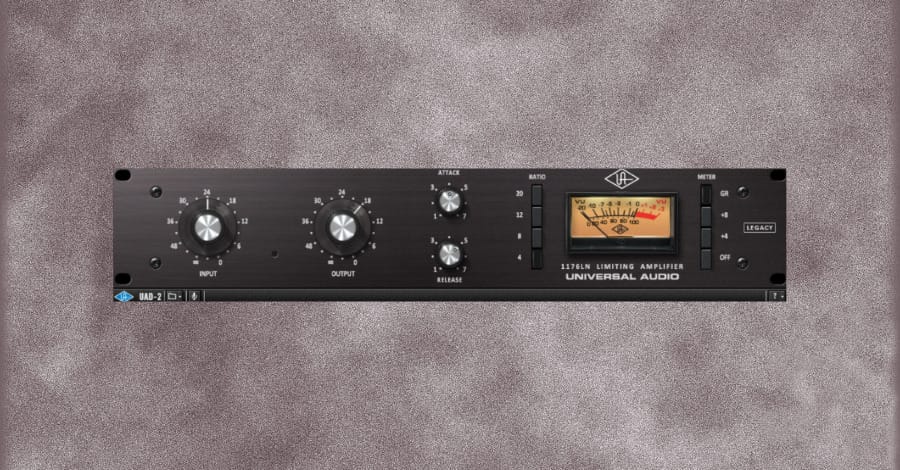
Compression is a crucial tool that can help control the dynamic range of vocal performance and make it sound more polished. It is used to smooth out the dynamics of the recording by reducing loud parts and making quiet parts louder.
Compression when mixing vocals allows the performance to sound more controlled and professional. Additionally, it helps increase its apparent loudness in the mix. Compression can also be used to sustain certain notes and control harsh syllables like “S” and “T” sounds.
Lastly, compression can be used as a “glue” effect; meaning compressing the vocals with other instruments creating a cohesive and unified sound.
Here are some steps on how to approach compression when mixing vocals:
1. Choose the Right Compressor
Not all compressors are equal, so you must pick a compressor that suits your style and vocal performance needs. You can achieve pro-level results with stock DAW compressors, but sometimes it’s helpful to reach out to VST compressors for added texture and effect.
Here are some examples of superb vocal compressors to check out:
2. Set the Threshold
Lowering a compressor’s threshold indicates when the compressor should activate when the peak level of the input audio reaches a certain point. It’s important to note that you should use more than one compressor on your vocal.
Set the threshold of each compressor so it reaches no more than 10db of gain reduction. Overall, you should see about 20-30 db of total gain reduction across your vocal compressors.
3. Set the Ratio
The compressor ratio is how much gain reduction should be applied after the input audio crosses the threshold. The higher the ratio, the more gain reduction there will be. We recommend you set the compressor ratio differently on each compressor in your chain.
As a starting point, set your first compressor to a ratio of 8:1. Use this compressor to catch and reduce any peaks and transients that are sticking out of your audio.
With your second compressor, set the ratio to 4:1. This compressor will catch additional peaks and control any wilder dynamics in the recording.
With your third compressor, set the ratio to 4:1 again but set the “knee” to about 18 db. This will create a smoother transition in the activation of the compressor. This compressor’s job is to smooth out the vocal even more.
For your last compressor, set the ratio to 2:1. This compressor will polish the dynamics and make it more presentable.
4. Adjust the Attack and Release Times
The attack time determines how quickly the compressor responds to changes in the vocal performance's volume. A faster attack time can help to control peaks and transients, while a slower attack time can preserve the natural dynamic of the vocal performance.
The release time determines how quickly the compressor stops reducing the volume of the vocal performance when it falls below the threshold. A faster release time can help maintain the performance's natural dynamics, while a slower release time can create a more sustained sound.
As a starting point, set your first compressor (8:1) attack time to 2 ms and release time to 17.5 ms.
On your second compressor (4:1 hard knee), set the attack time to 3 ms and release time to 17.5 ms.
On your third compressor (4:1 soft knee), set the attack time to 100 ms and release time to 500 ms.
On your last compressor (2:1), set the attack time to 100 ms and the release time to 1 s (1000 ms).
5. Adjust the Makeup Gain
After applying compression, the overall volume of the vocal performance may have decreased. Use the makeup gain control to bring the level back up to the desired level.
When you toggle the compressor(s) on and off, there should be no noticeable change in volume. You should only notice a difference in the dynamics of the audio if your makeup gain is set correctly.
6. Use Automation
Every vocal is different, and sometimes you need to be flexible. You may notice a word here and there that sounds ‘weird’ or has odd dynamics. This could be because the compressor settings aren’t set perfectly just for that one word or phrase.
Since you dialed in compressor settings that work for most of the vocal, you don’t need to go back to the drawing board to make sure your settings work for that one part too. You can use automation to correct the compressor settings just for that spot.
7. Listen Critically
The settings recommended above are a starting point. Every vocal is unique and will require different settings. Tweak your compression settings and listen carefully to the vocal. Most of the time, you will have to make tweaks to get it to sound just right.
8. Use Compression on your Bus/Groups Too
As you’re setting your compression on each vocal track, you also want to apply compression to the vocal bus. This compression should be lighter than the compression you use on the individual vocals, but we still recommend it.
At the end of your vocal bus processing, we recommend adding a limiter to catch any peaks missed by the compressors. This will give you more headroom in your mix and make it easier to achieve a louder master.
9. Consider Rhythmic Sidechaining
Another way to get the vocal to sit tightly into a track is sidechaining. Using VSTs like Volume Shaper and Kickstart can make your vocal feel like it's bouncing along with your song.
Use the kick (or snare) to trigger the volume shaper on the vocal track. The vocal’s volume will dip whenever the kick hits, gluing the vocal into the production.
BONUS: Compression with Melodyne
Melodyne offers unparalleled access to each musical detail in your vocal recording, allowing you to scrutinize each note individually. Although it’s known for its pitch correction capabilities, one of its most significant advantages has nothing to do with pitch correction.
Melodyne incorporates automatic volume adjustments to vocal performances, similar to compression but with greater transparency, featuring user-friendly parameters for managing dynamics.
Arguably, this element of Melodyne is the most transparent compression tool available in the music production industry. If you haven't yet used Melodyne for vocal compression, it's time to embrace this remarkable tool.
Effects & Processing
In order to enhance your vocals further, it’s time to add other effects and processing. Adding extra effects and processing improves the listenability of the vocals as well as makes them more exciting and engaging to the listener.
It's vital to use effects and processing judiciously and contextually to the music. More of any effect can quickly become overwhelming and distracting.
De-Esser
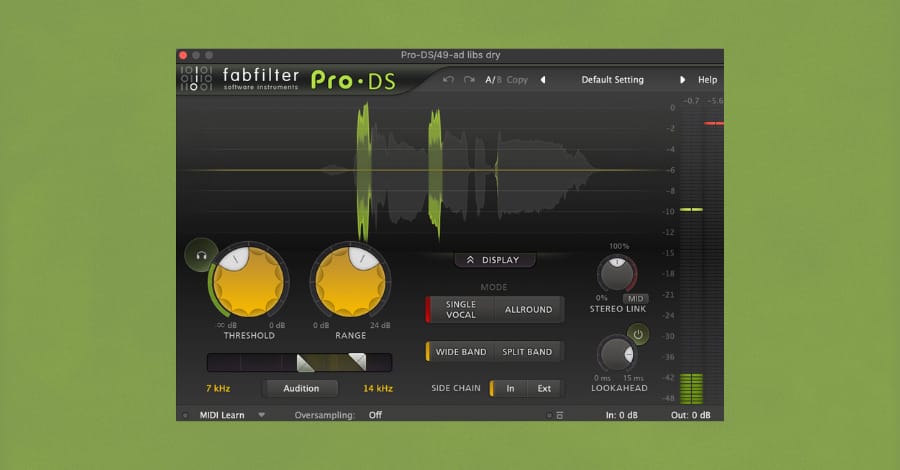
A de-esser is a type of audio processor that is used to reduce or remove harsh "s" and "t" sounds from vocal recordings. These sounds are often referred to as sibilance, and can be caused by the natural resonances in the human voice or by using certain microphones.
A de-esser works by selectively reducing the level of frequencies that are associated with sibilance. Typically, this involves detecting the sibilant frequencies using a specialized filter or detector and then reducing the level of those frequencies using a gain reduction circuit or similar process.
When using a de-esser, it's essential to adjust the settings carefully to avoid over-processing the vocals or introducing artifacts or distortion. A de-esser that’s set too harshly can cause the vocalist to sound like they have something caught in their mouth.
Our favorite De-Esser plugins:
Reverb
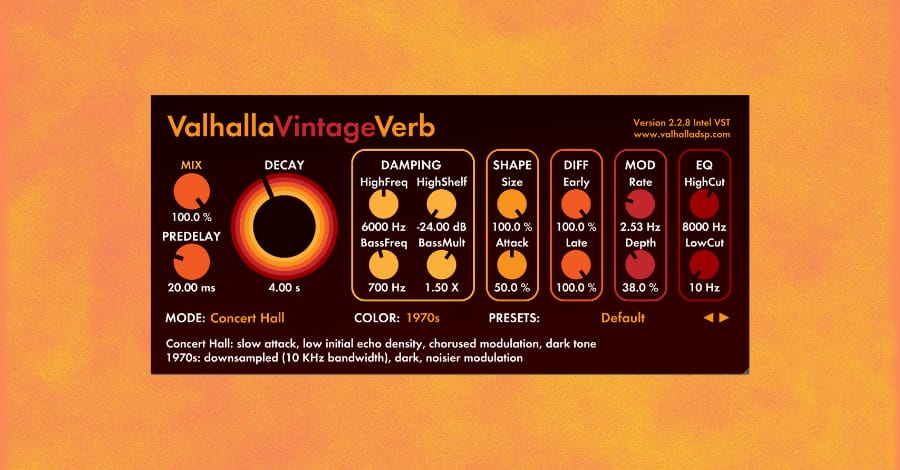
Reverb is an effect that simulates the sound of a space or room. It can create a sense of freedom and depth in the vocal performance. Adding a modal reverb makes the vocals sound more natural and blend better with the rest of the mix.
Conversely, adding a lot of reverb can create a more dramatic and ethereal effect. The amount and type of reverb you add are based on your tastes and creative vision. Most pop music uses more subtle reverb, while a genre like Trance has a more dramatic reverb effect.
Our favorite vocal reverb plugins:
Delay
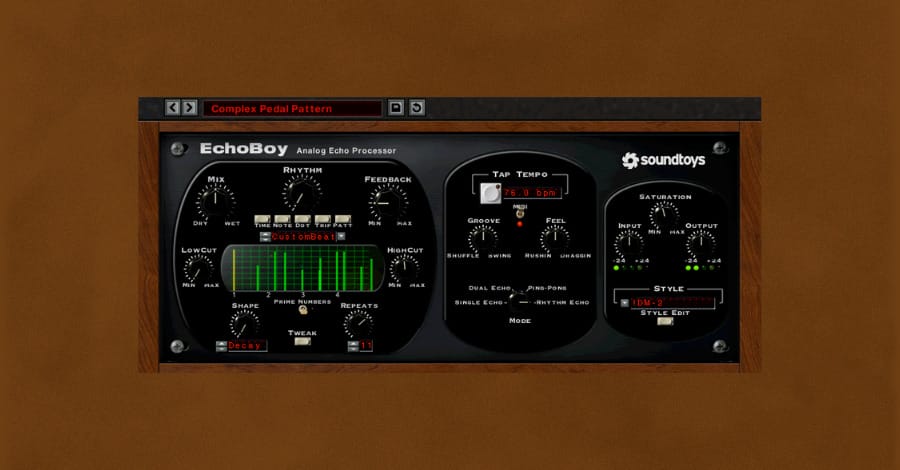
Delay is an effect that creates an echo-like effect by repeating the sound of the vocals after a certain amount of time. This effect can generate a sense of space and depth alongside reverb. It can also be used to add rhythmic interest to the vocals.
Adjusting the delay time and feedback settings allows you to create various delay effects, from subtle and natural to rhythmic and exaggerated. You can even incorporate automation on the delay only to certain words or syllables.
Our favorite vocal delay plugins:
Chorus
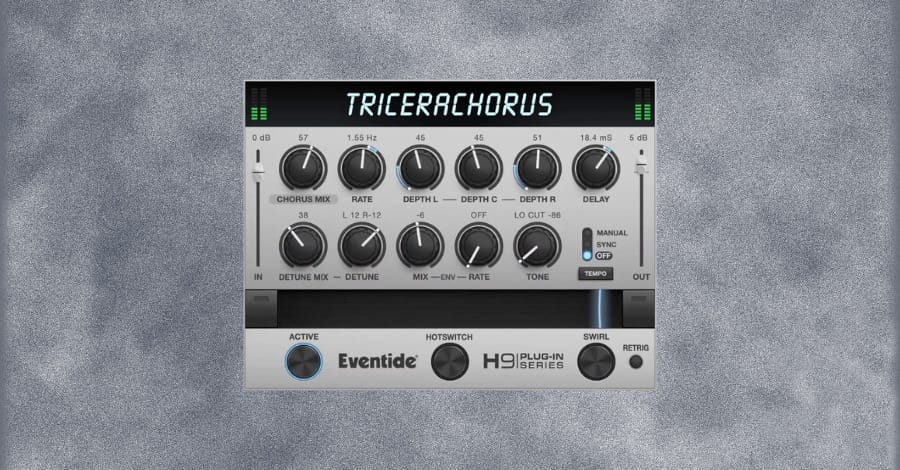
The chorus is an effect that creates a thick, lush sound by duplicating the vocals and slightly detuning them. This effect can be used to add depth and richness to the vocals and create a sense of movement and variation. Adjusting the chorus depth and rate settings allows you to create various chorus effects, from subtle and natural to bold and exaggerated.
If you are working with a vocal and don’t have enough takes to create a wider-sounding vocal, you can reach for a chorus effect to get something close.
Our favorite vocal chorus plugins:
Final Thoughts on Mixing Vocals
Mixing vocals is a crucial part of music production and can make a huge difference in a song's overall impact. You can create a polished and professional-sounding vocal mix that stands out from other pieces by paying attention to things like EQ, compression, panning, and effects.
Practice with your recordings and experiment with different settings to see what works best for your vocal style. Listen critically to other mixes and pay attention to how professional mixes use EQ, compression, effects, and panning. Try to identify specific techniques and apply them to your mixes.
Get feedback: Share your mixes with others and seek feedback from fellow musicians, producers, or mixing engineers. This can help identify areas for improvement and refine your skills over time.
Remember that mixing vocals is a subjective art, and there is no one "right" way to do it. Ultimately, the goal is to create a mix that sounds great and feels true to the emotional intention of the song. By experimenting with different techniques and finding your approach, you can create a vocal mix that brings out the best in the music and connects with listeners on a deep and meaningful level.
These Might Also Interest You:
The Top 10 Microphones for Vocal Production
Vocal Compression: The End All Guide for Music Producers & Vocalists

Hyperbits
FOUNDER, HEAD-HONCHO, THE BIG CHEESE
A bit about me in case you're new here: my music has been streamed over 52+ million times.
I've done official remixes for artists like Beyonce, Tove Lo, and Nick Jonas, signed record deals with Universal, Island, and Sony, and worked with brands like Target, Samsung, and Equinox. I've even DJed some of the world's biggest stages, like Electric Daisy Carnival, Terminal 5, Fonda Theater, and Echostage.
If you have questions about music production or the Hyperbits Masterclass get in touch. I'm here to help.