20 Mixing Tips For Producers and Engineers in 2024
"You’re not making music, you’re creating a space. You’re building a room, putting some objects in it, and seeing what happens to the objects over time." – Daniel Lopatin
I get it, mixing is intimidating. Not only will mixing make or break every single song you work on, but it’s a complicated craft that professionals take years and years to master.
But guess what? I have some good news for you: with a little guidance, I guarantee you can improve your mixdowns quickly and make your music sound more professional. All it takes is a little direction and coaching to get moving in the right direction.
In this article, I’m providing you 20 essential mixing tips that you can apply to your music today. These mixing tips cover a range of topics in mixing: EQ, compression, saturation, stereo width, and plenty more. They will help your music sound clearer, louder, warmer, and wider.
But before we get to the list, I need to first dispel one major myth…
'Mastering' on its own will NOT make your track sound professional!
Mastering is not this magical process that will make your music sound professional. Mastering is severely overrated in the minds of many producers — in fact, most masters do very little to a song other than increasing its loudness.
If there exists a process to make your song sound comprehensively better, it’s mixing! When you mix, you get to address every single sound in your song. You can adjust its loudness, EQ it, or add saturation, reverb, and delay. Mixing can truly transform your entire song.
Mastering, on the other hand, usually only permits broad, high-level changes to your song. This means that if your kick isn’t sounding great, you can do much more to fix it in mixing than in mastering. Putting your efforts into improving your mixdowns will help you improve your track the most.
That is why it is so important to focus on mixing. Now, let’s get to the tips. I’ve included tips in five categories: Conceptual Tips, EQ Tips, Dynamics Tips, Saturation Tips, and some bonus Stereo Width/Automation Tips.
1. You’re in the Business of Mixing, Not Fixing
One of the best mixing engineers I know said this to me.
"Plain and simple, you can’t make chicken salad out of chicken s#!*."
Mixing won’t take a boring song and make it a hit. Instead, mixing is about getting the best possible sound out of your source material. And if the song underlying the production isn’t that great, the song in the mix still won’t be that great. So remember, our goal is to get the best result out of the input material, not apply some magic fix to it.
2. Get Organized!
Executing a proper mix is about following a process — in fact, I view mixing as scientific whereas production is creative. Staying organized will help you quickly complete a great mixer. Here is what I recommend for staying organized:
- Step 1 - Export each sound from your DAW as a separate WAV file. Add all the new files into a new project file — this brand new “Mix Session” is where you will do your mixdown.
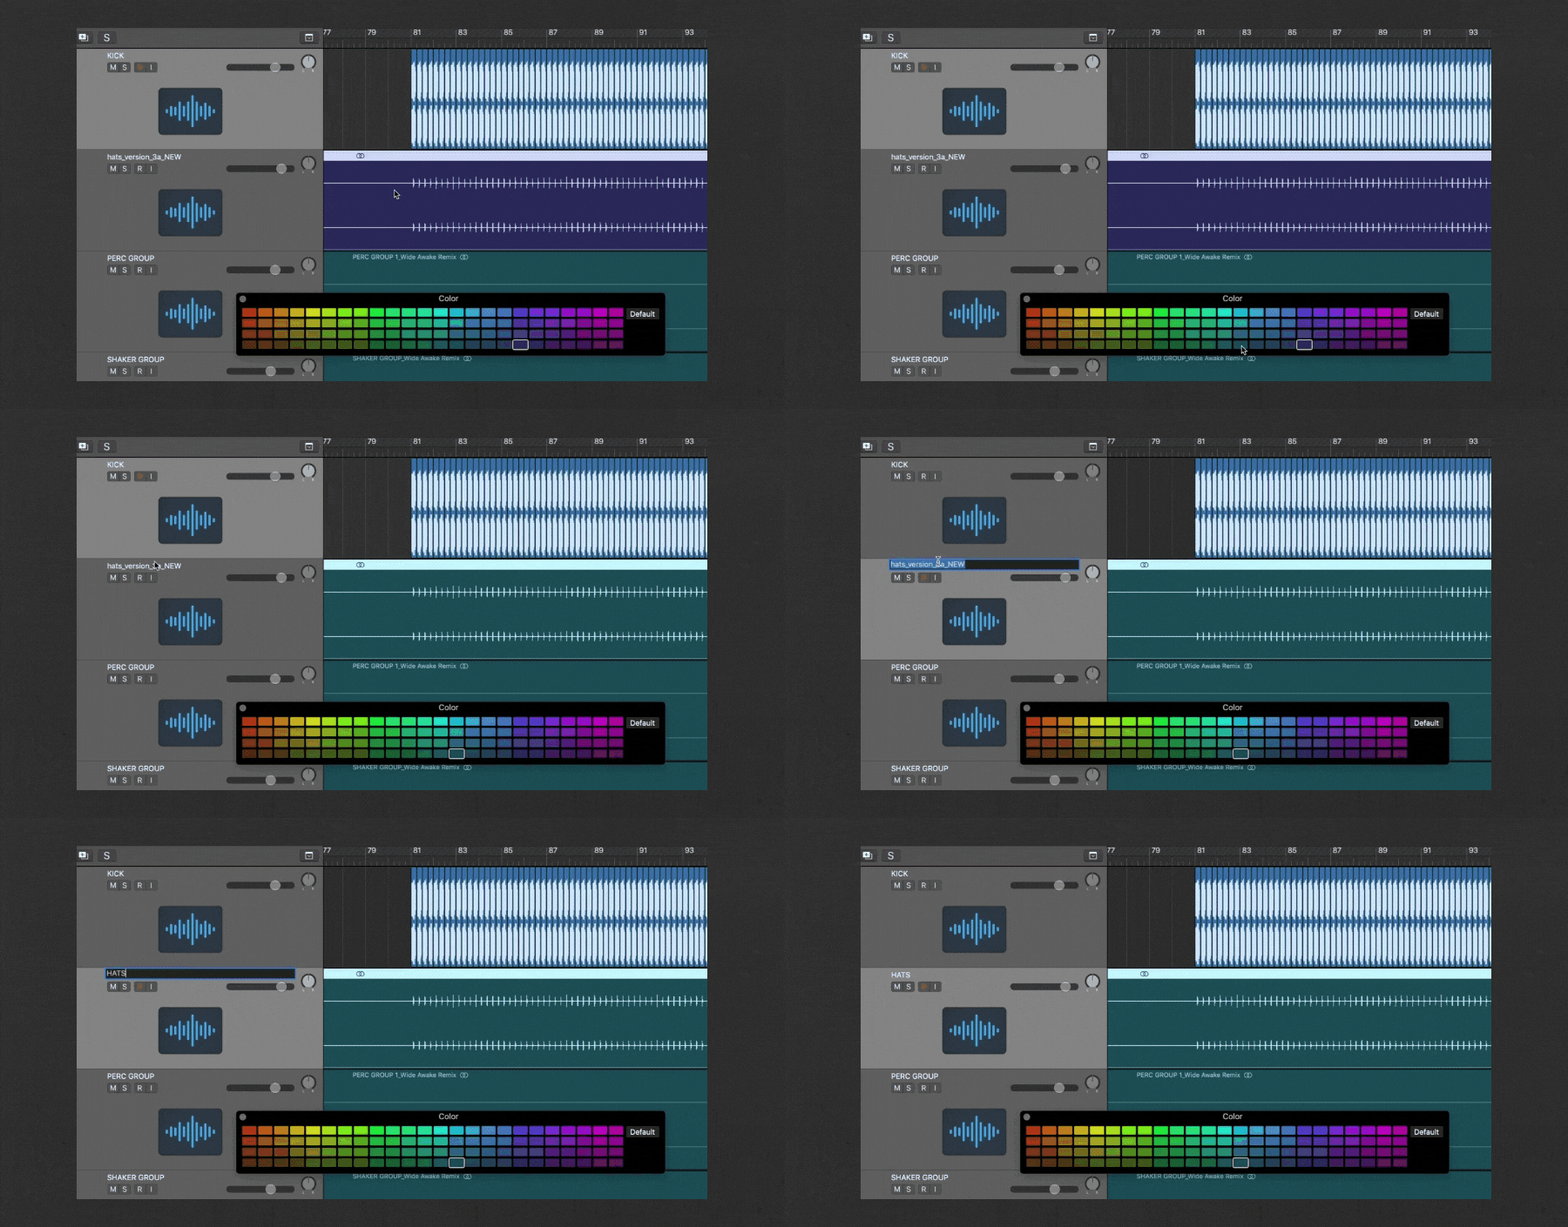
- Step 2 - Neatly label each stem.
- Step 3 - Arrange your stems in a logical order. I like to do my drums on top, then my vocals, leads and chords, basses, ear candies, and atmospheres and FX.
- Step 4 - Color code each of these groups in a way that’s aesthetically pleasing to you.
- Step 5 - Set markers for each section of the arrangement
- Step 6 - Handle any audio routing and grouping you can at this stage, as not doing so risks killing your flow state mix-mix.
3. Mixing in Order Of Importance
This step is crucial. The key to finishing your mixdown is mixing in order of importance. This means mixing the most important elements in your song first before moving to the least important ones. Once you’ve mixed the important stuff, we want to avoid going back to tweak it as much as we can. Here are the steps you should follow:
- Step 1 - Ask yourself this: “of all the elements I haven’t mixed yet, which is the most important one left?” I usually go for kick, sub-bass, a couple of important drums, and the vocal first.
- Step 2 -Mix that most important element (using the rest of the tips below!)
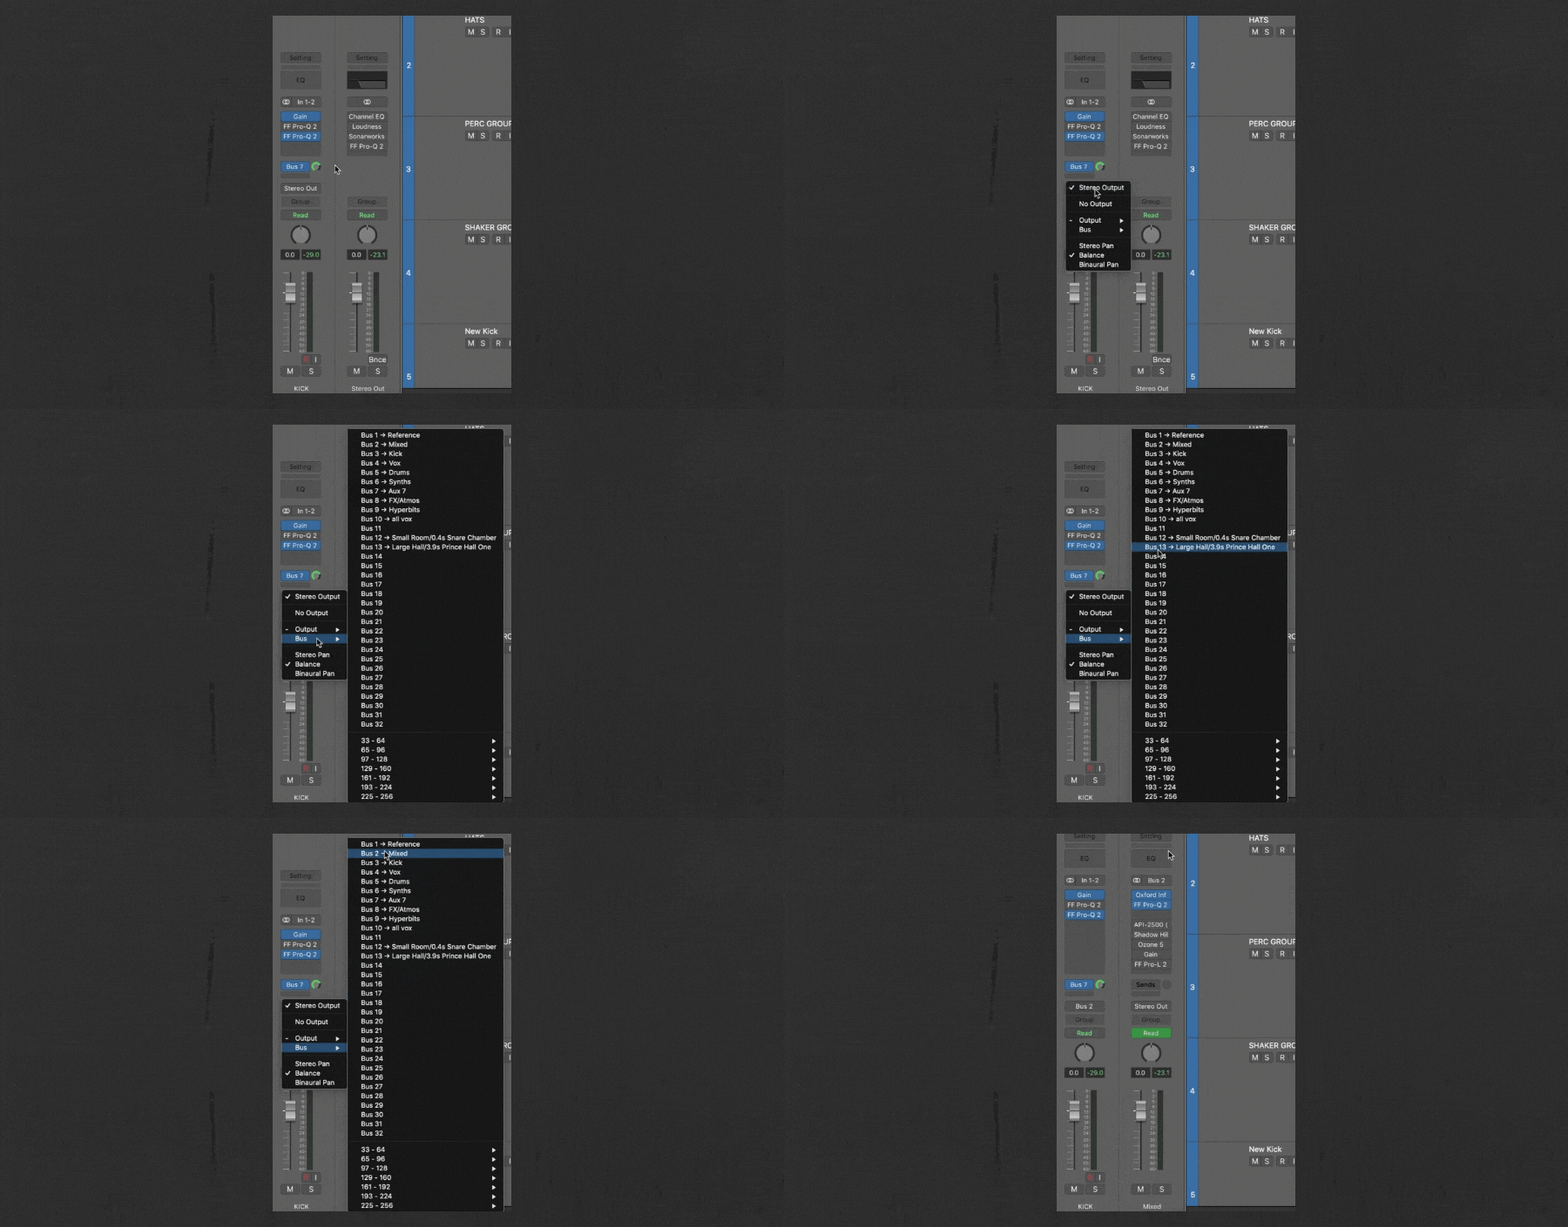
- Step 3 - Add the element that you just mixed to a group/bus called “MIXED”. This is where you will store all the elements you’ve mixed so far.
- Step 4 - Adjust the volume and make any final tweaks to this element to get it to match up with everything else that is already in the MIXED group. 5
- Step 5 - Repeat Steps 1-4 until all the elements in your song are in your MIXED group. Then, you’re done!
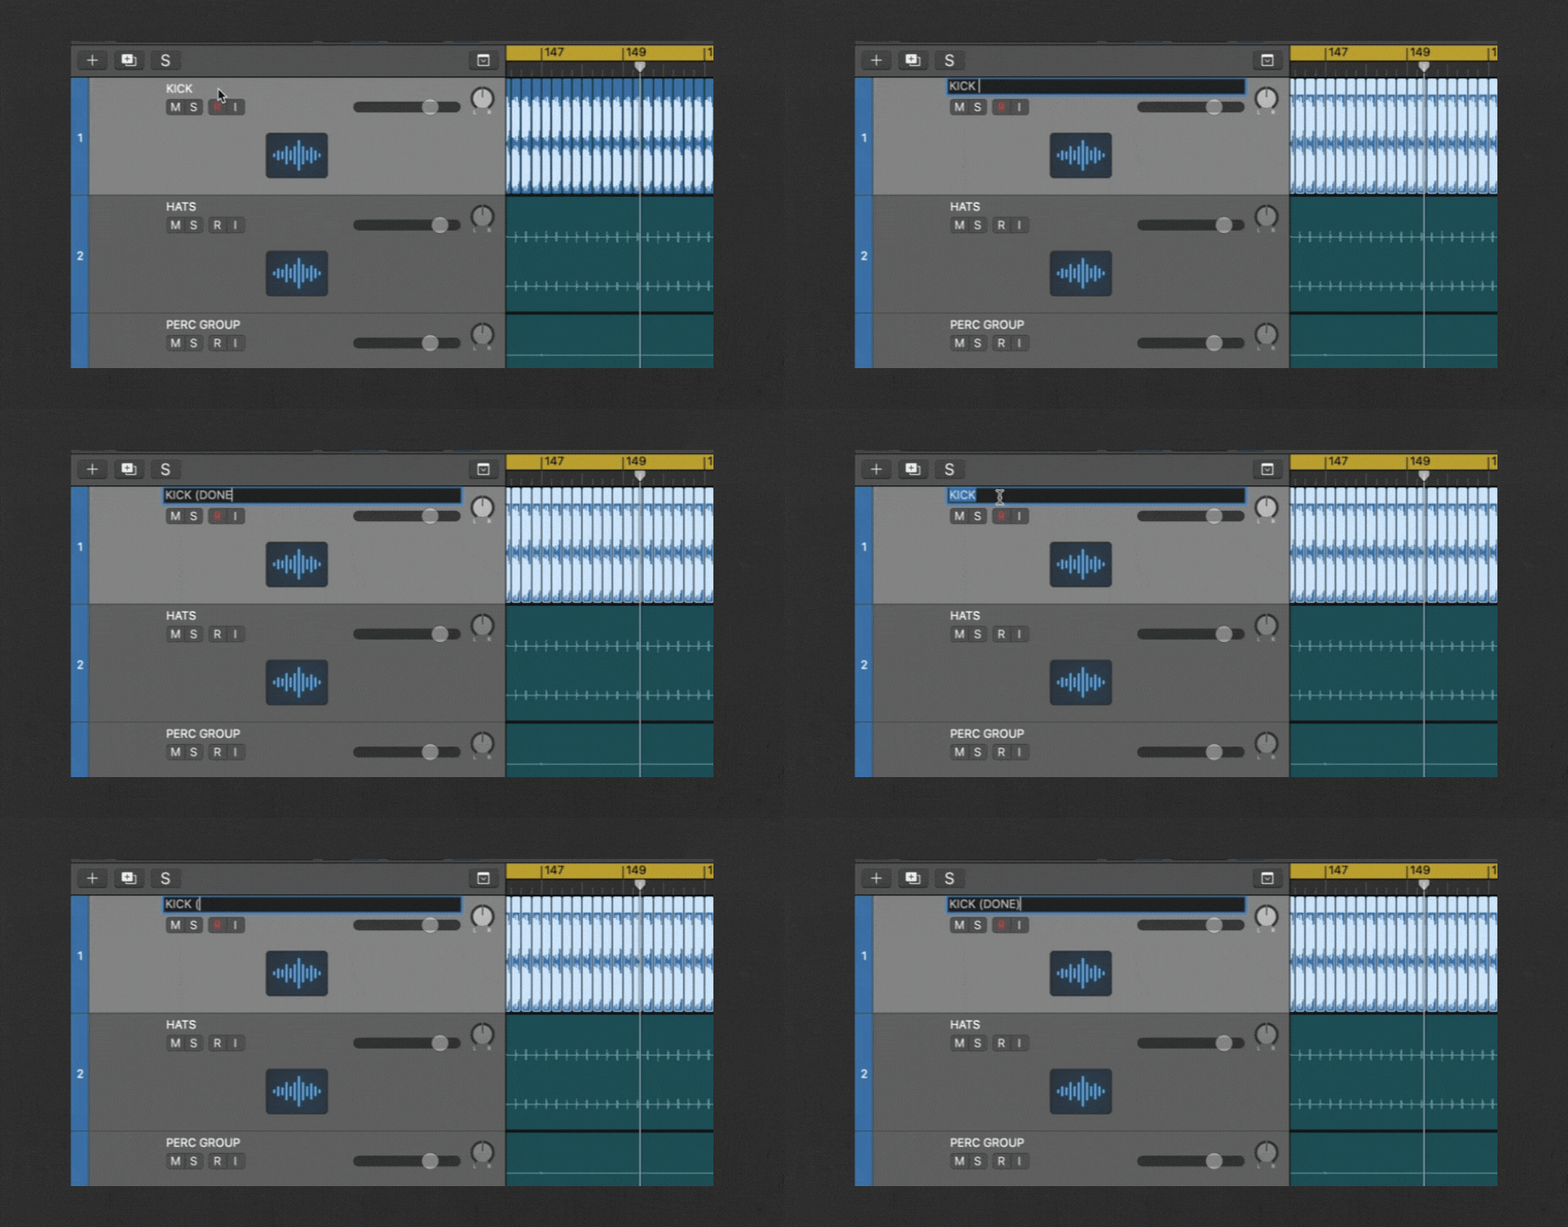
4. Once It’s Mixed, Let It Sit!
This one goes hand in hand with an order of importance mixing...
Once you’ve mixed something and added it to your MIXED bus, try not to touch it again. Instead, mix the less important elements that you’ve yet to mix to match up with the more important elements you’ve already mixed. This way, you’re never making adjustments to important things in the song to accommodate less important things.
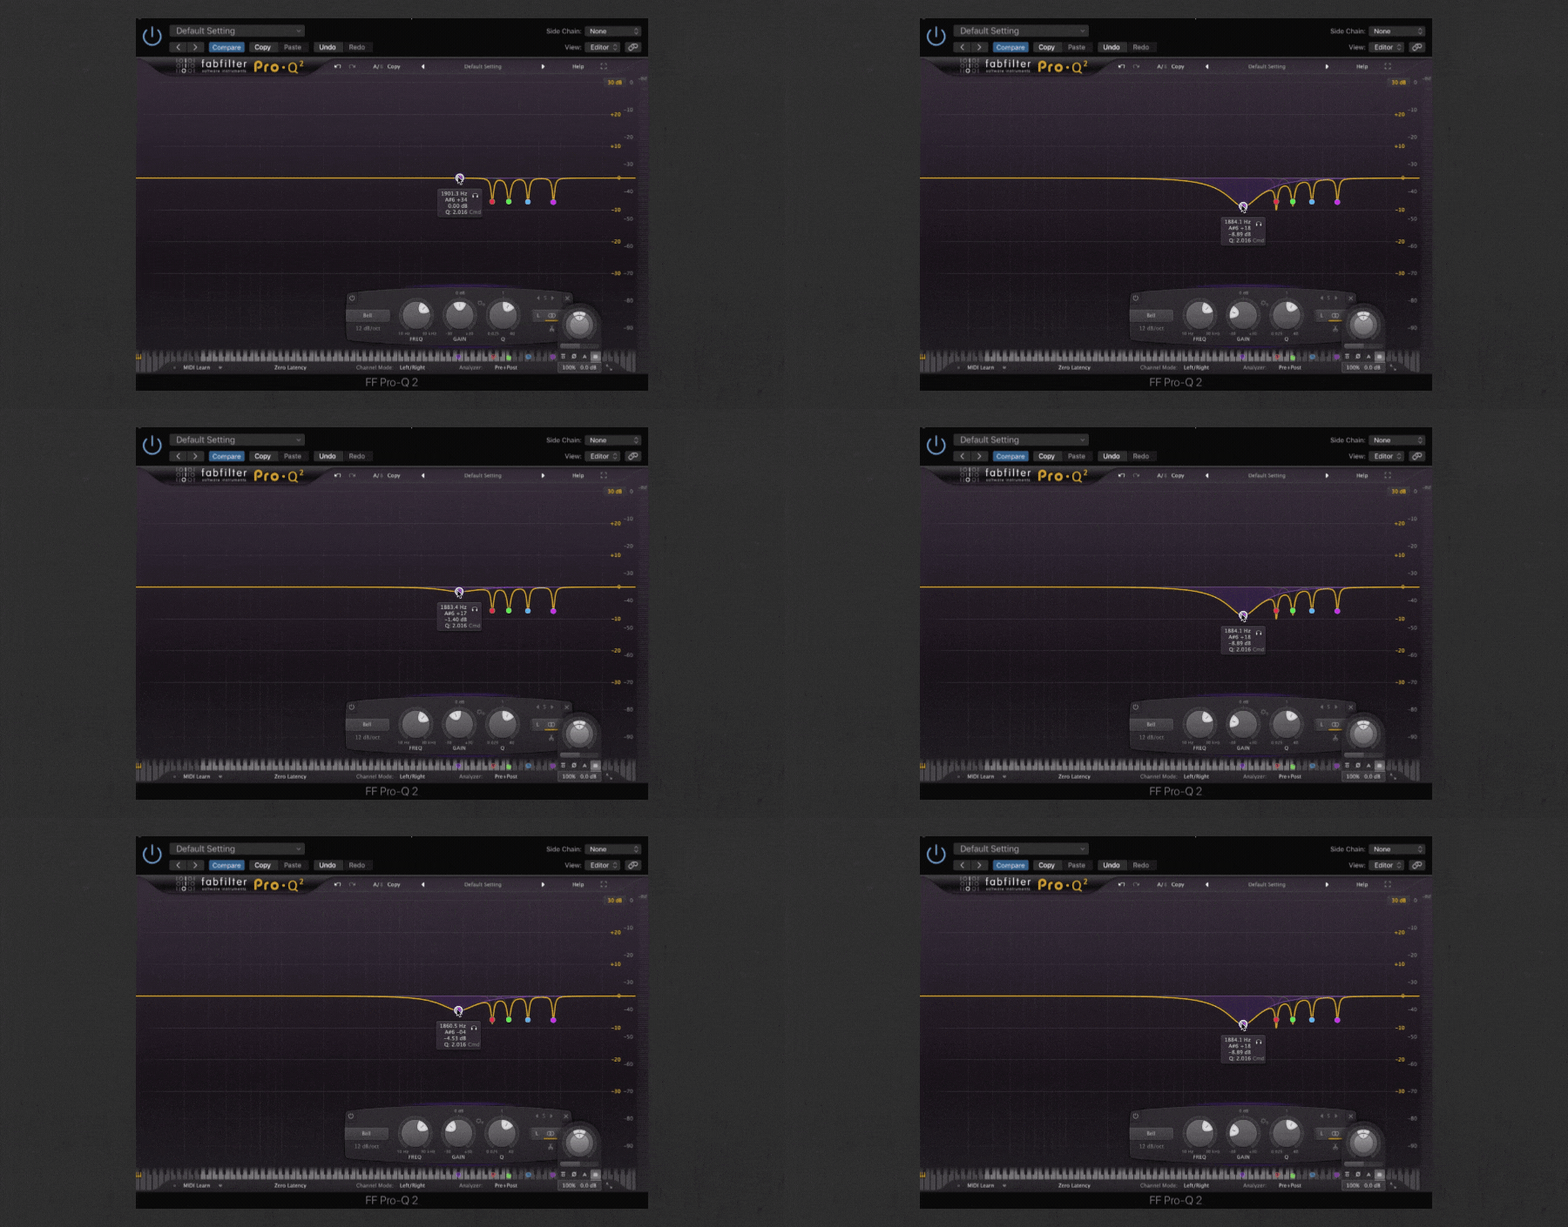
5. Reduce, Reduce, Reduce
Reductive EQ is MUCH more important than additive EQ. We use reductive EQ when we want things to sound better, which is what mixing is all about. Additive EQ, on the other hand, we use when we want things to sound different.
For each sound in your track, try to make at least a couple of reductive EQ moves. At a minimum, there should be a high pass filter on almost every track to reduce the low-end rumble in each sound. Other problem spots include the low mids on synths 200-400hz and the high mids on vocals 3-5kHz. Looking for a good EQ plugin? THESE are our favorites.
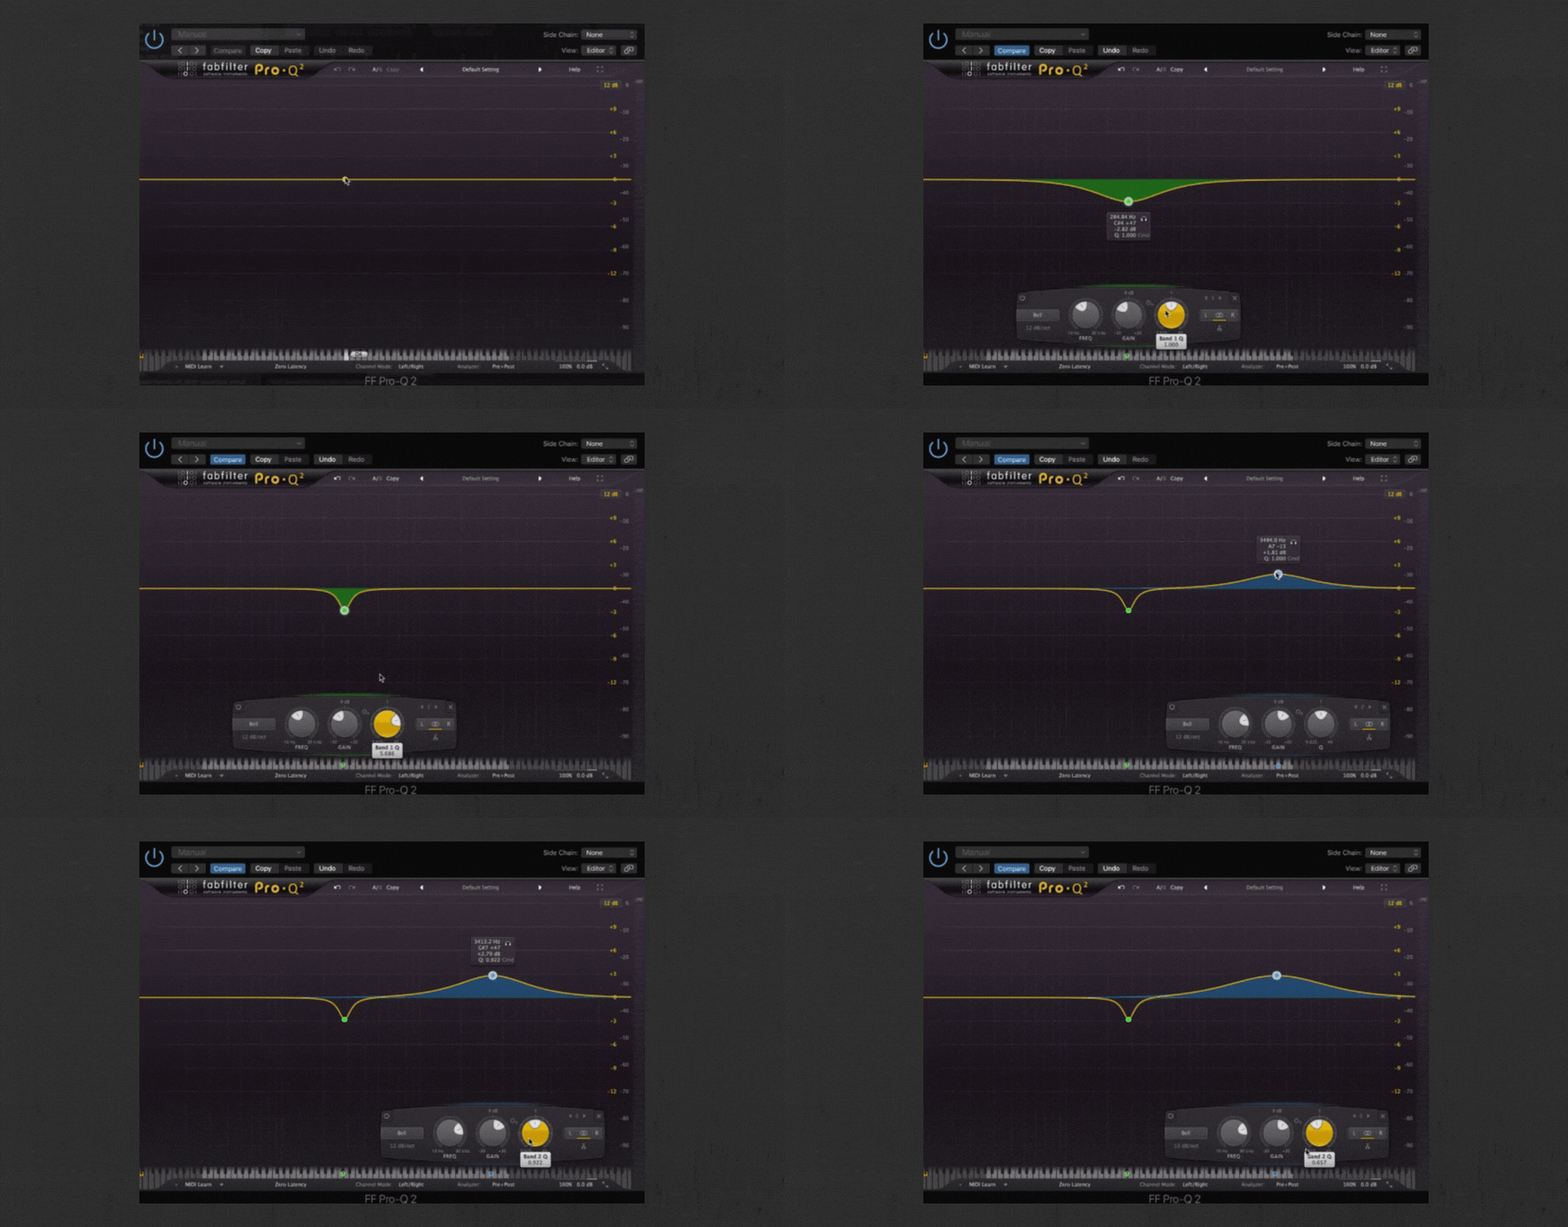
6. Reduce Narrow, Boost Wid
Following from above, we want to reduce frequencies with a narrow Q and boost frequencies with a wide Q — in other words, we want to reduce specific frequencies and boost general frequency bands.
Why this approach? When we reduce, we are seeking out problem frequencies that are making something sound bad. Hopefully, if the track is produced well, there won’t be HUGE bands that need reduction. When boosting, we do so widely because we want to change how the sound sounds — this often means using a high shelf boost to add some shimmer or low shelf boost to add some weight to a sound.
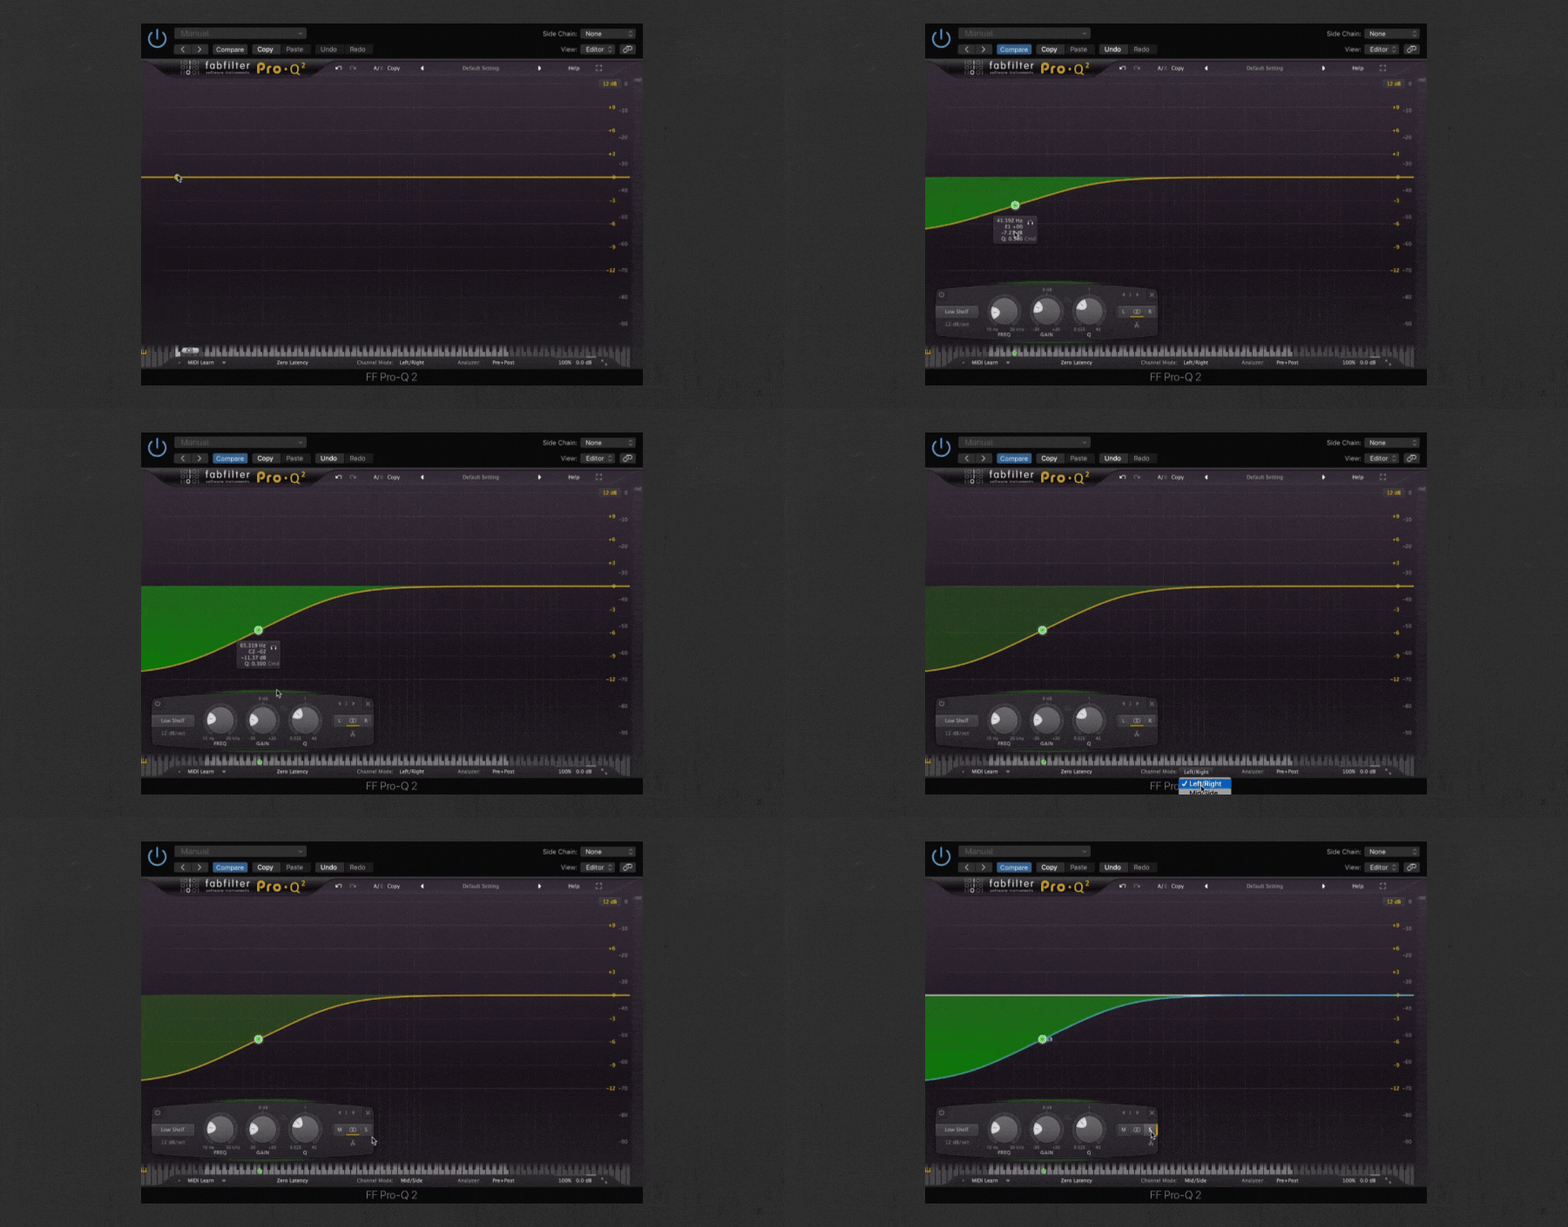
7. Tame Low Frequencies With Mid-Side EQ
Frequencies that are low and wide almost always make your mix sound muddy and cluttered. Address this with Mid-Side EQ.
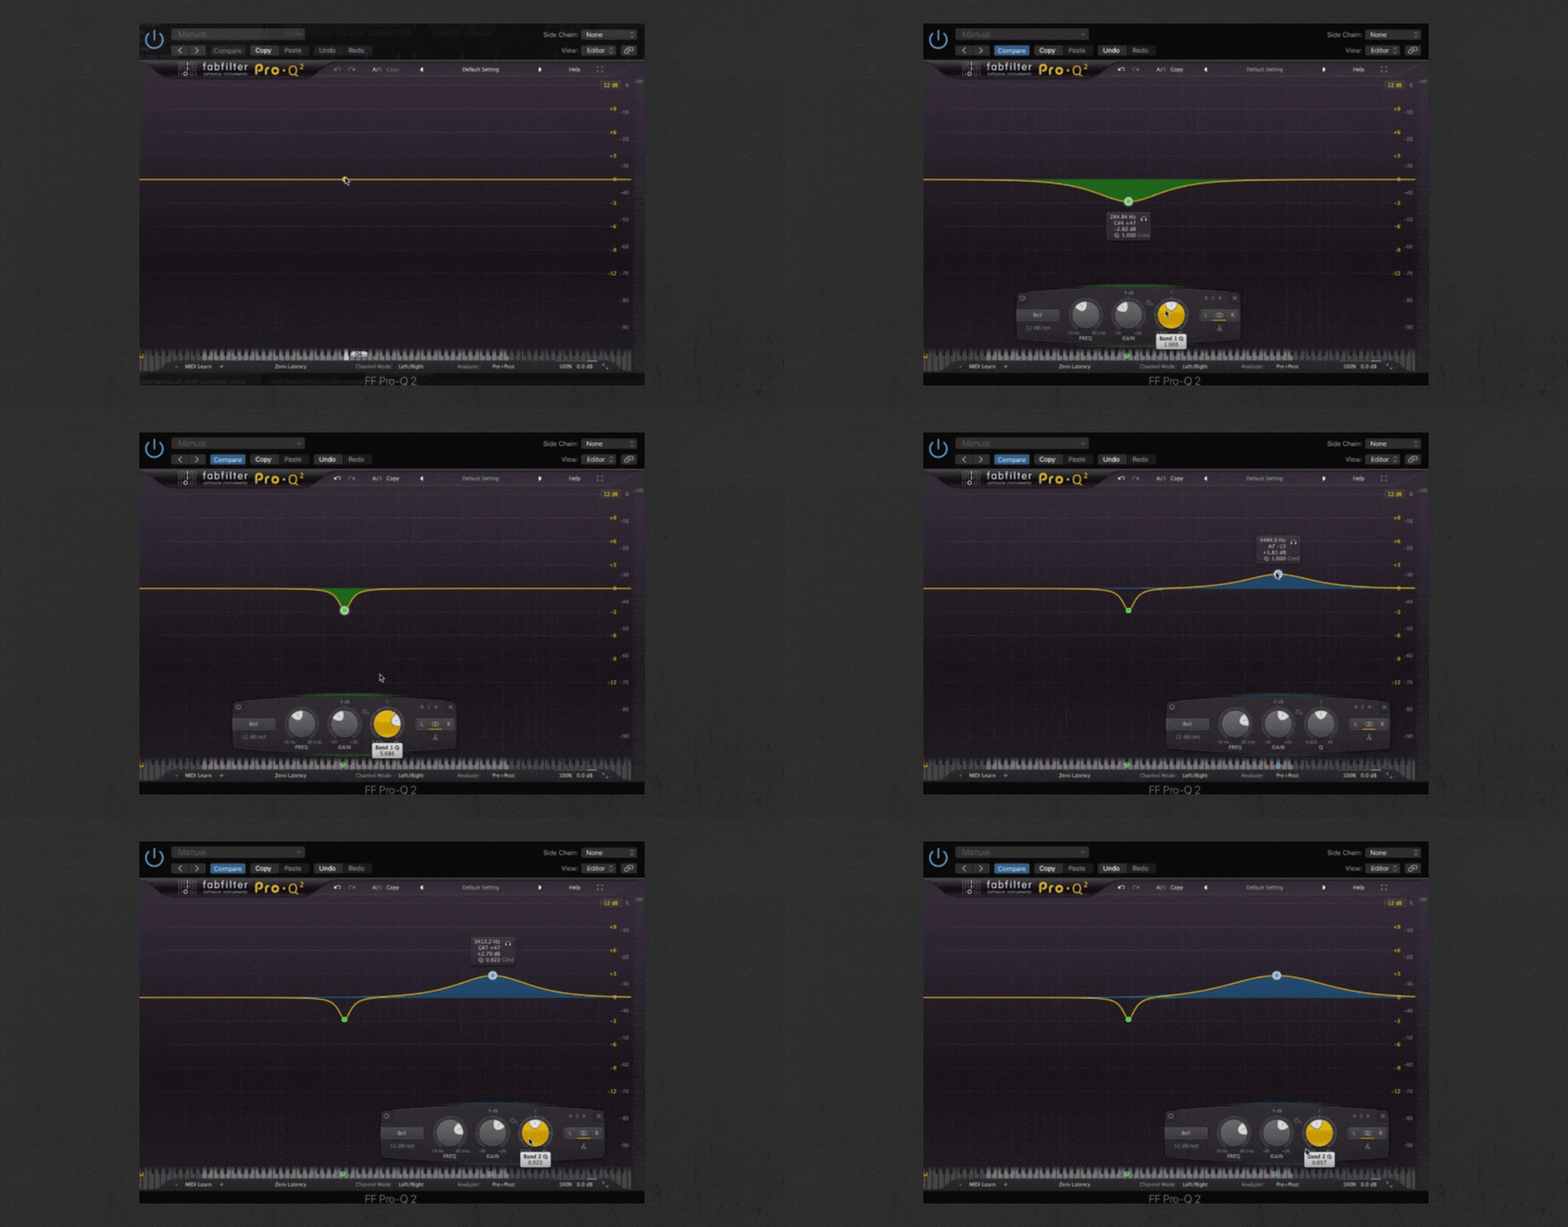
Our favorite plugin for Mid-Side EQ is Fabfilter’s Pro-Q3. Add a high pass filter to the sound, set it to affect only the sides, and adjust the cutoff to around 125hz. This will get rid of any wide low-end rumble while preserving the low-end power of your kick and bass.
8. Add A Broad High Shelf Boost To Vocals
Vocals are often the key element of a track, and nothing is worse than having your vocal buried in your mix. One strategy to address the “lost” vocal problem is a simple high-shelf boost on your vocal group.
I like to go for an API-560 emulation (Waves or UAD preferred) and boost at 16kHz around 6dB. Any EQ will do, though — look to boost the “air” on the vocal group above 15kHz a few dBs.
9. Apply Bus Compression for Glue, Warmth, And Tone
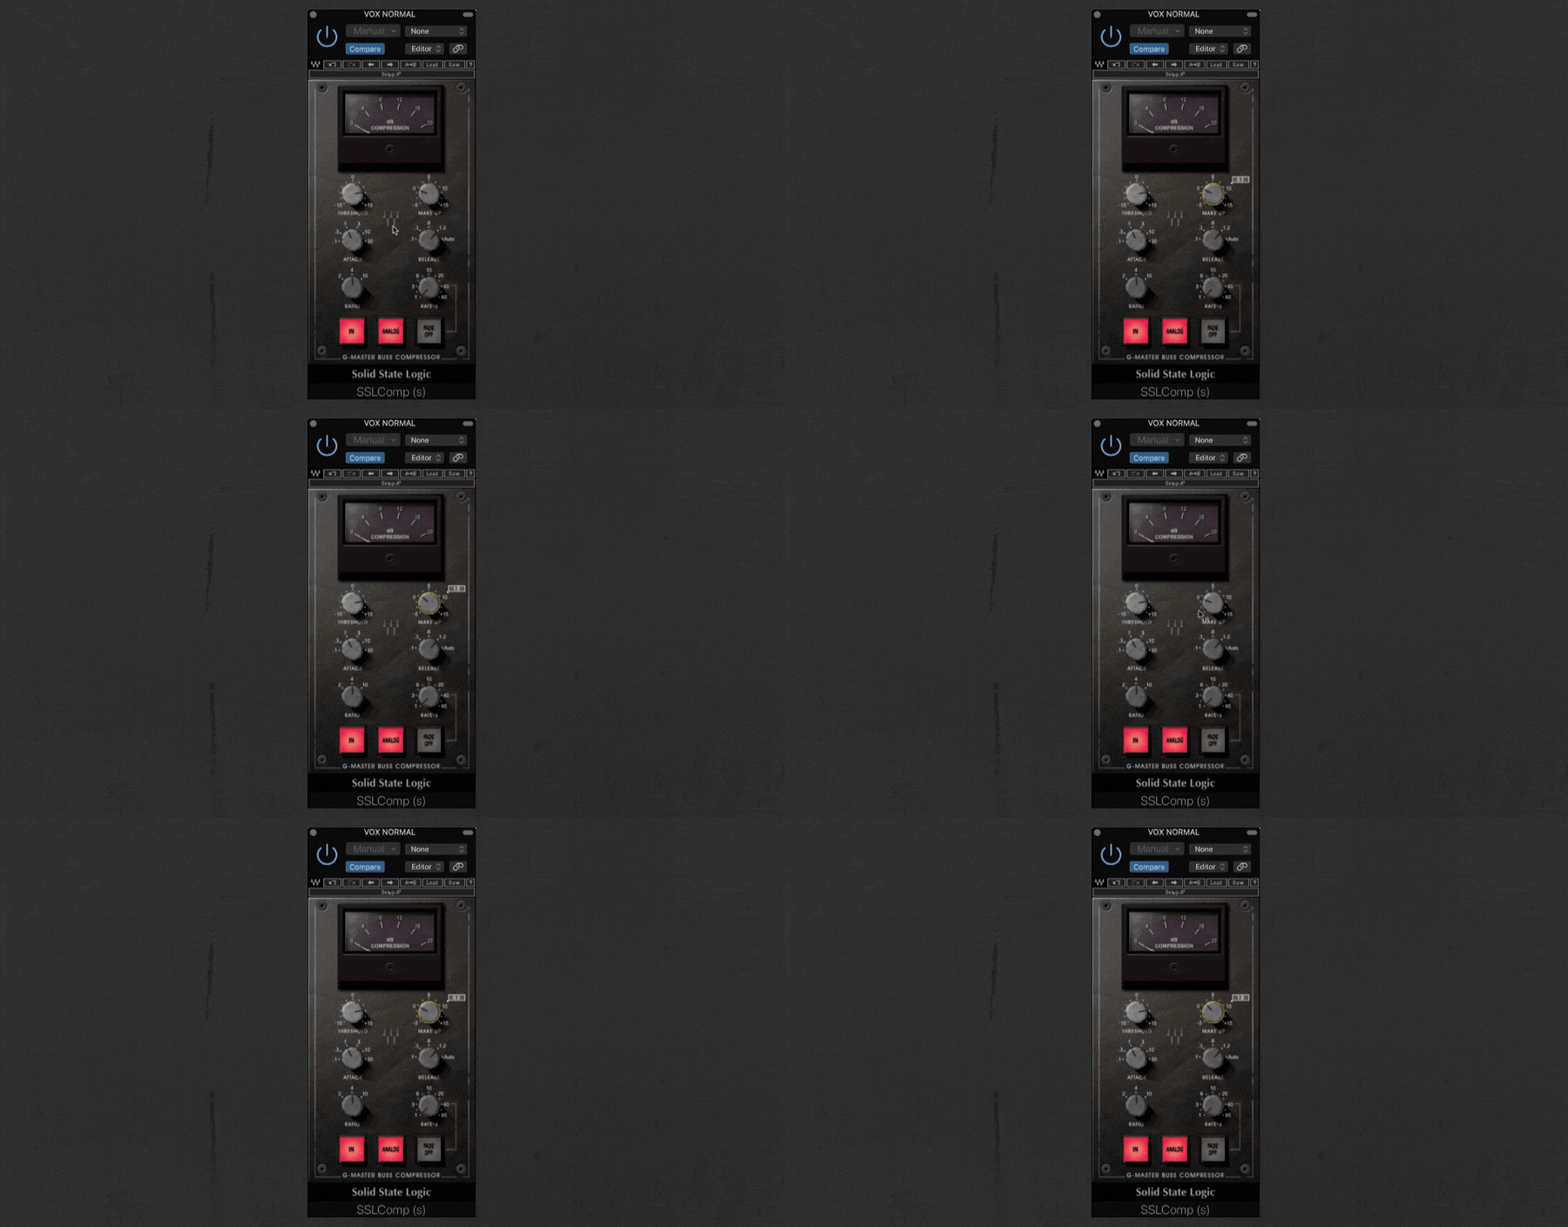
Bus (or group) compression is a topic that is unnecessarily complicated. Here’s all you need to know: the whole point of bus compression is to make all your elements gel together a little bit extra. Bus compression will not fix any issues with individual elements in the bus. It will only make the whole complete picture slightly better.
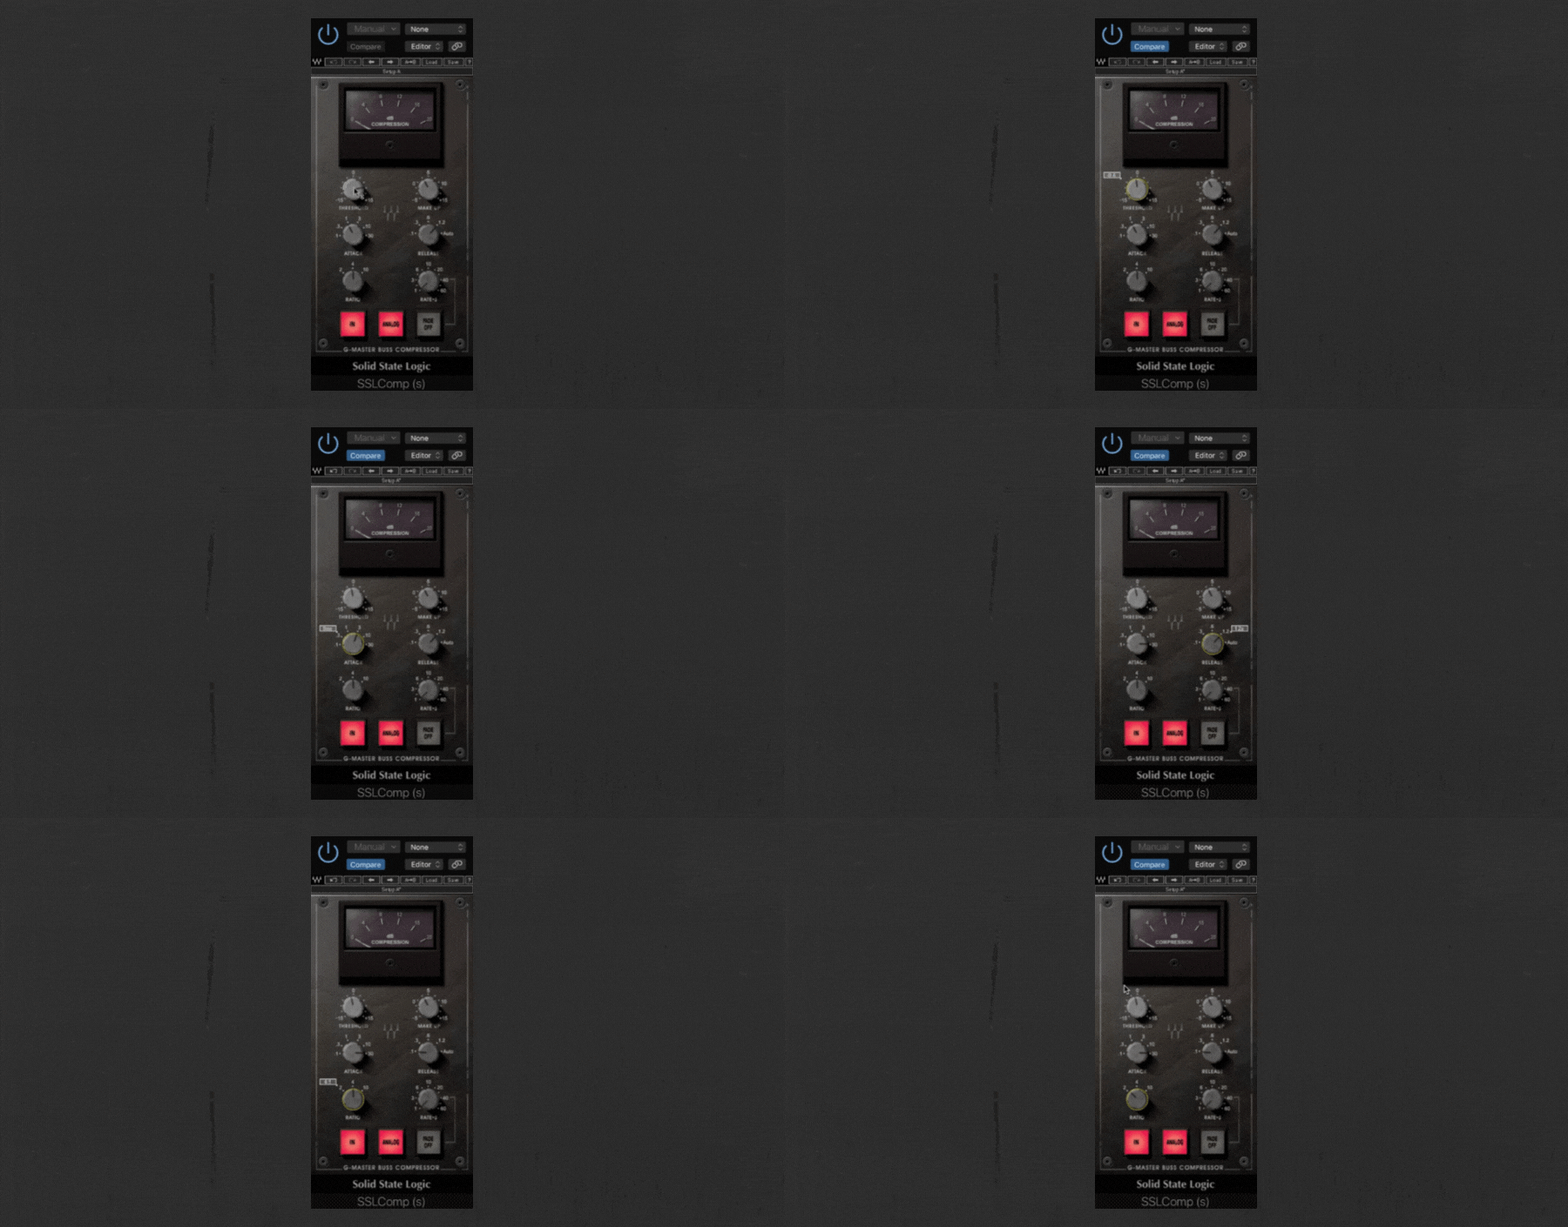
In general, my winning formula is this: slow attack, fast release, low ratio, low gain reduction. My all-time favorite setup is an SSL compressor (Waves or UAD preferred) with a 30ms attack, 10ms release, a 2:1 ratio, and about 2dB gain reduction.
Want to learn more about bus compression? We talk about it in our article HERE.
10. Use Parallel Compression On The Drum Bus
Parallel compression is a technique that gives you the benefits of compression (tighter dynamic range, more size, and body) without losing the transient punch of a sound. Parallel compression on a drum bus can make your drums sound louder, beefier, and punchy.
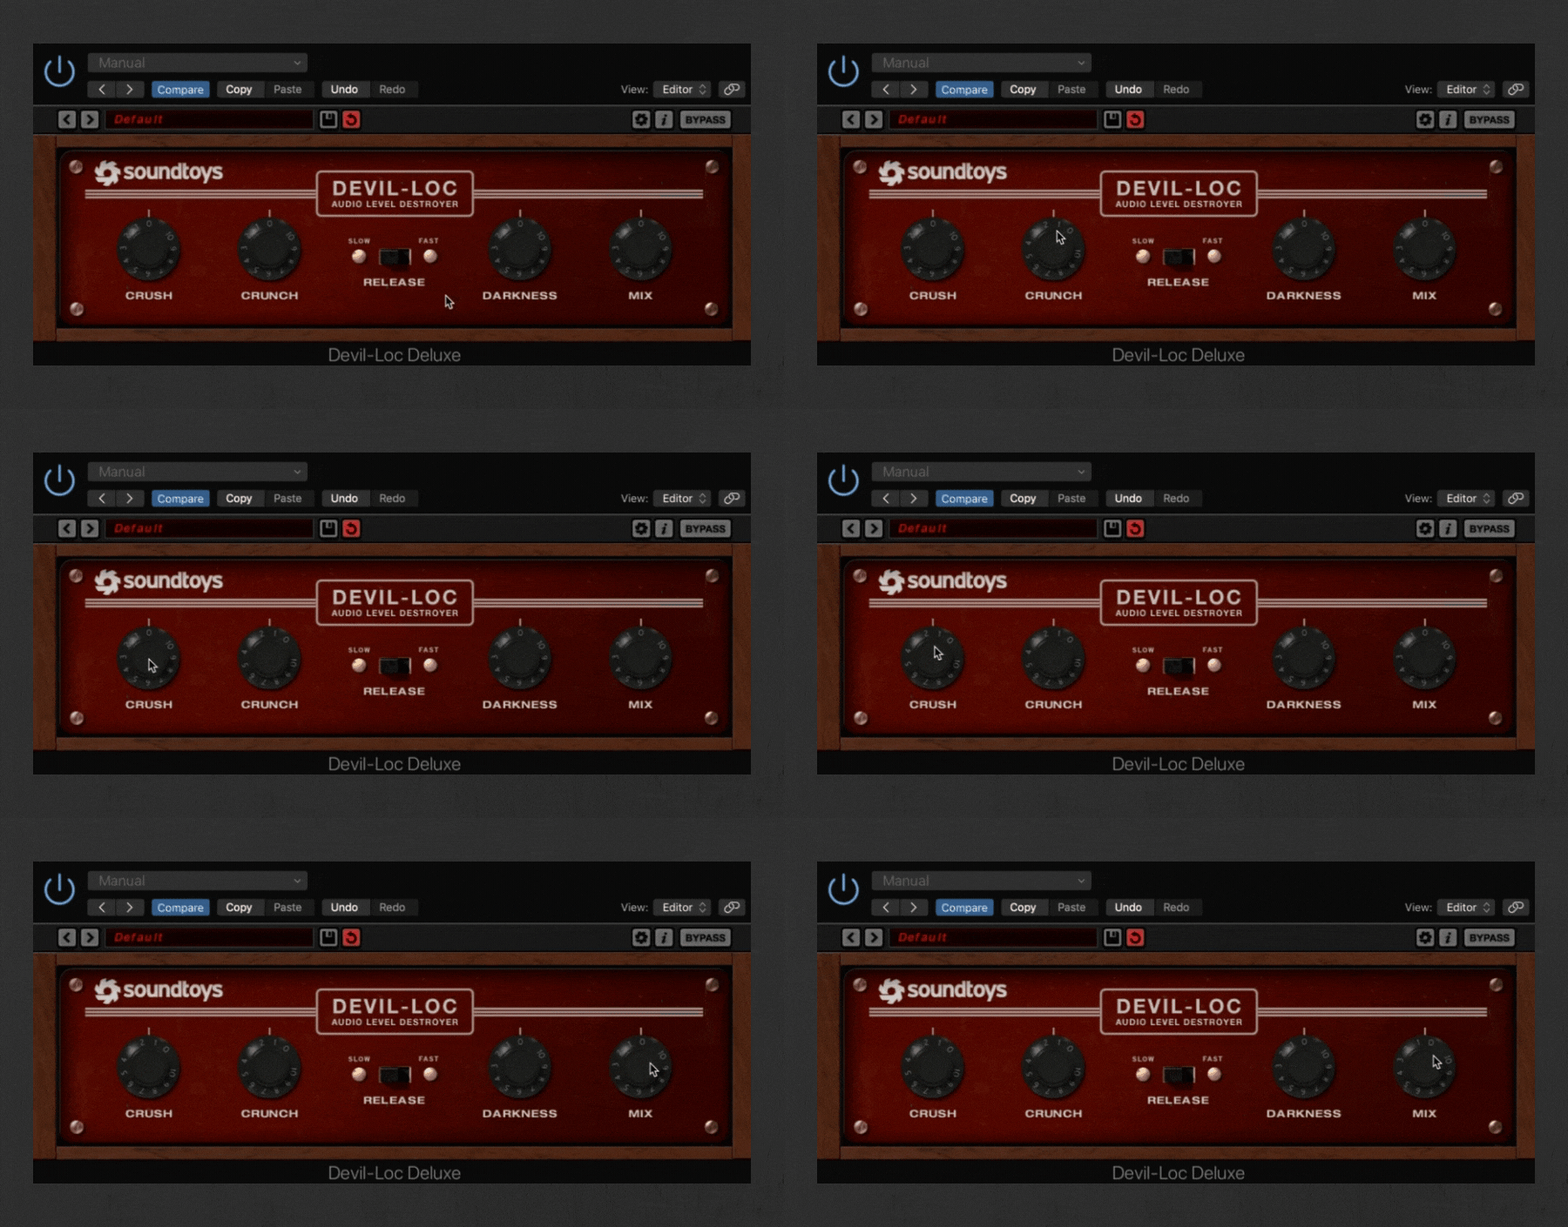
The goal is to layer together with a heavily compressed version of the drums with the dry version of the drums. I recommend using the Soundtoys Devil-Loc Deluxe — you only need about 5% wet to get a lovely boost in loudness and body. Insert the plugin onto your drum bus and tweak the MIX knob to taste.
11. Add A Limiter To The Vocal Group
Vocals are tricky to mix for many reasons — one of those reasons is the wide dynamic range that comes along with the human voice. This means that some words and syllables are very soft, but others are VERY LOUD!
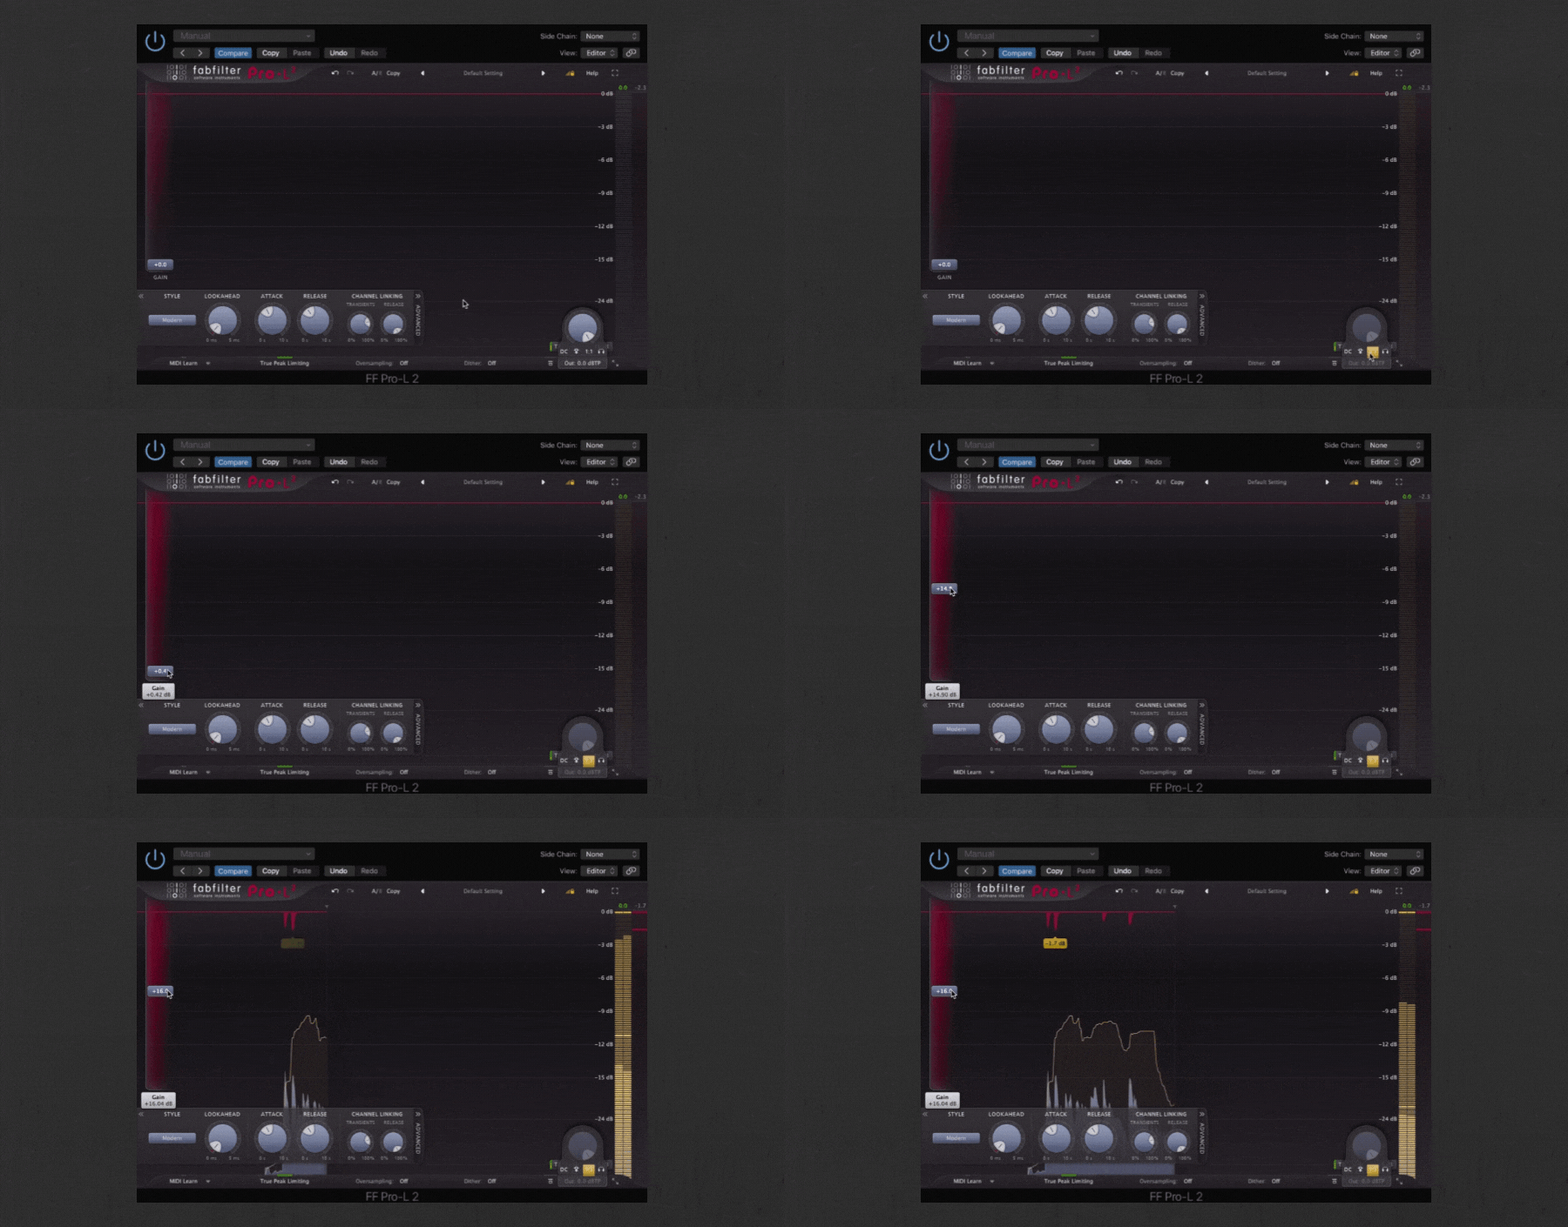
Add a limiter to your vocal group that just catches the loudest peaks of your vocals. 90% of the time, the limiter should be doing nothing. Shoot for 2-3db gain reduction, and you’ll save yourself some headroom in the end.
Here at Hyperbits HQ, we like to apply a lot of compression to vocals to tame dynamics but one essential tip for mixing vocals is to add a limiter as the final plugin on the vocal bus. Even with lots of compressors, some transient peaks can still sneak through — this can cause headroom issues down the line. See it live in action in the video below...
Watch the video above to see our signature processing being applied to vocals
12. Use Makeup Gain On Every Plugin!
Makeup gain is the unsung hero of great mixdowns. It ensures that you can actually hear what each plugin is doing, which will help you make the best mixing decisions.
If you reduce 3db with a compressor, add 3db back in makeup gain. Or, if you add 5db to your sound with saturation, reduce 5db of makeup gain after the saturation.
This ensures that you can hear the change that the plugin is producing, rather than being potentially tricked by a change in volume the plugin creates. Religiously using makeup gain will help you make better mix decisions with any type of plugin.
13. Saturate All Your Synths!
This one is easy.
Any software synth should have some kind of saturation on it, even if only subtly. Saturation adds warmth, perceived loudness, and makes your music sound more professional. It’s so important, in fact, that we compiled our 20 favorite saturation plugins HERE.
14. Use Preamps To Mimic Analog Gear
If you wanted to record an analog synth, use a real microphone, or track a bass guitar, the audio signal created from the real world needs to pass through a preamp before it gets into your computer. Preamps turn up the volume of the weak electrical signal coming from your microphone or synth to a louder level that is easy to use in your DAW. As a by-product of turning up the signal, preamps also add warmth, color, and a beautiful tone to the recorded sound.
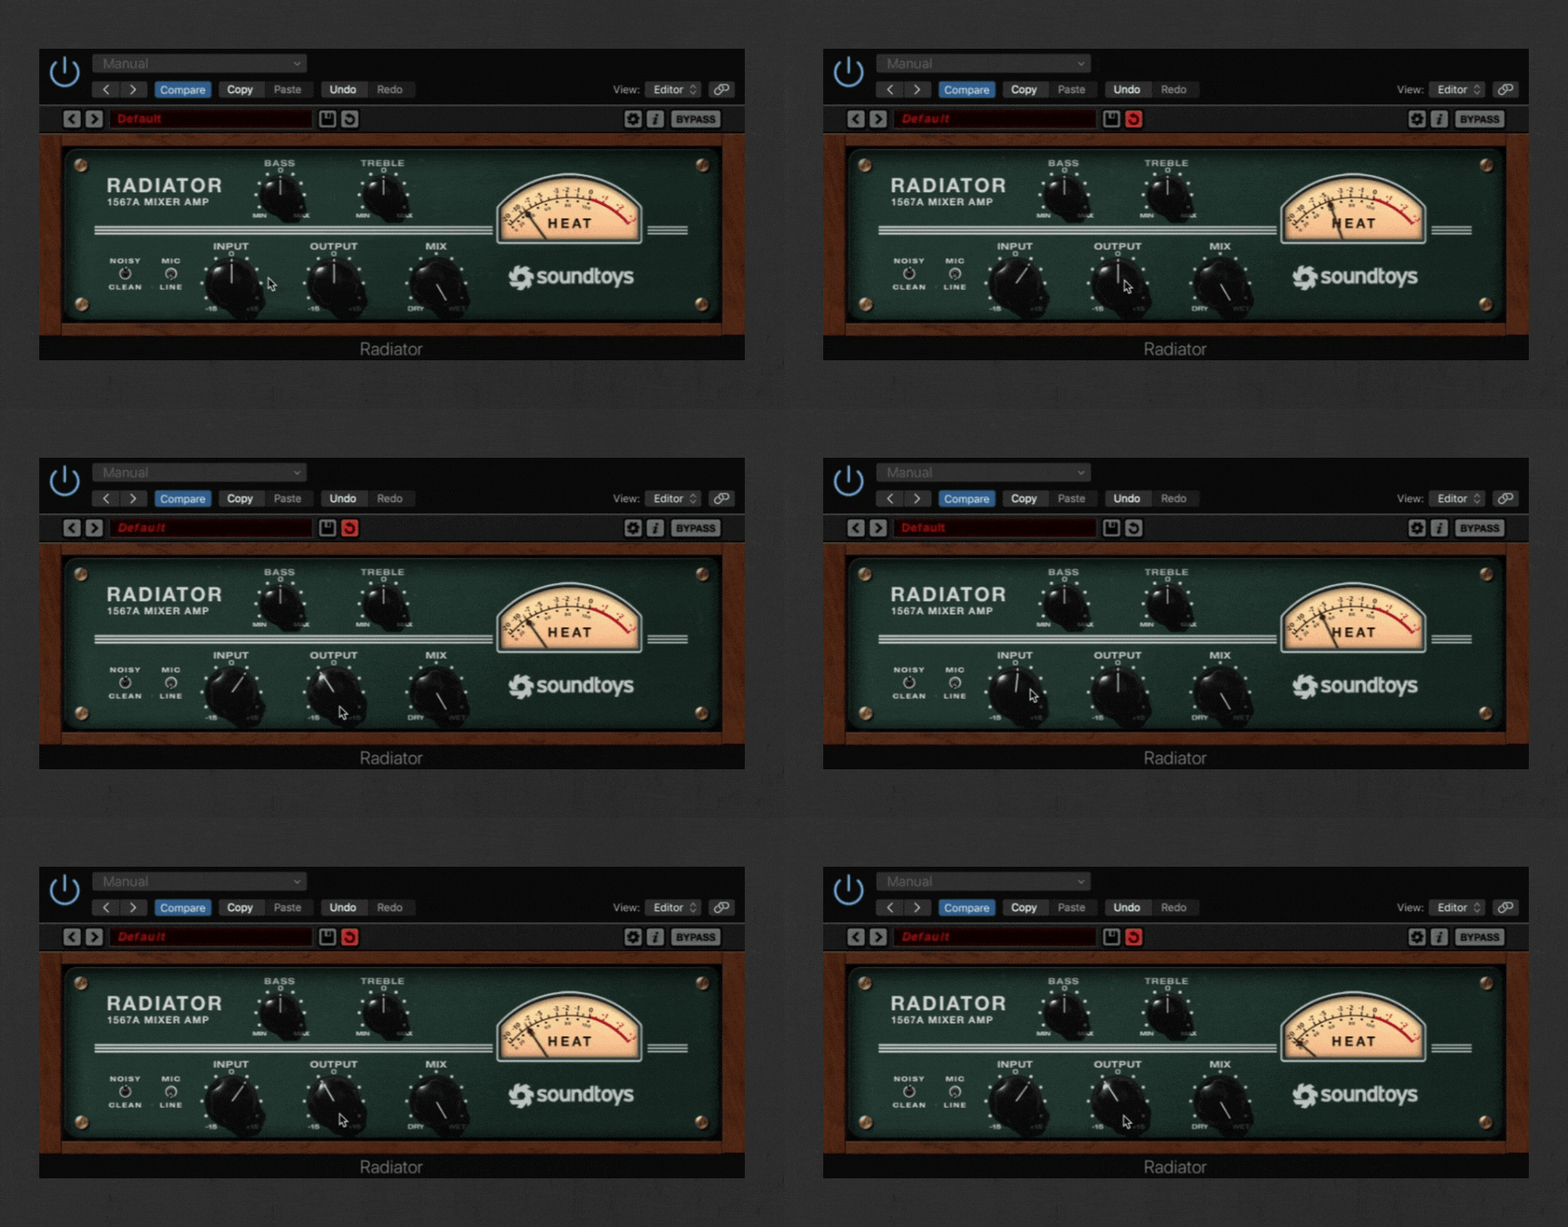
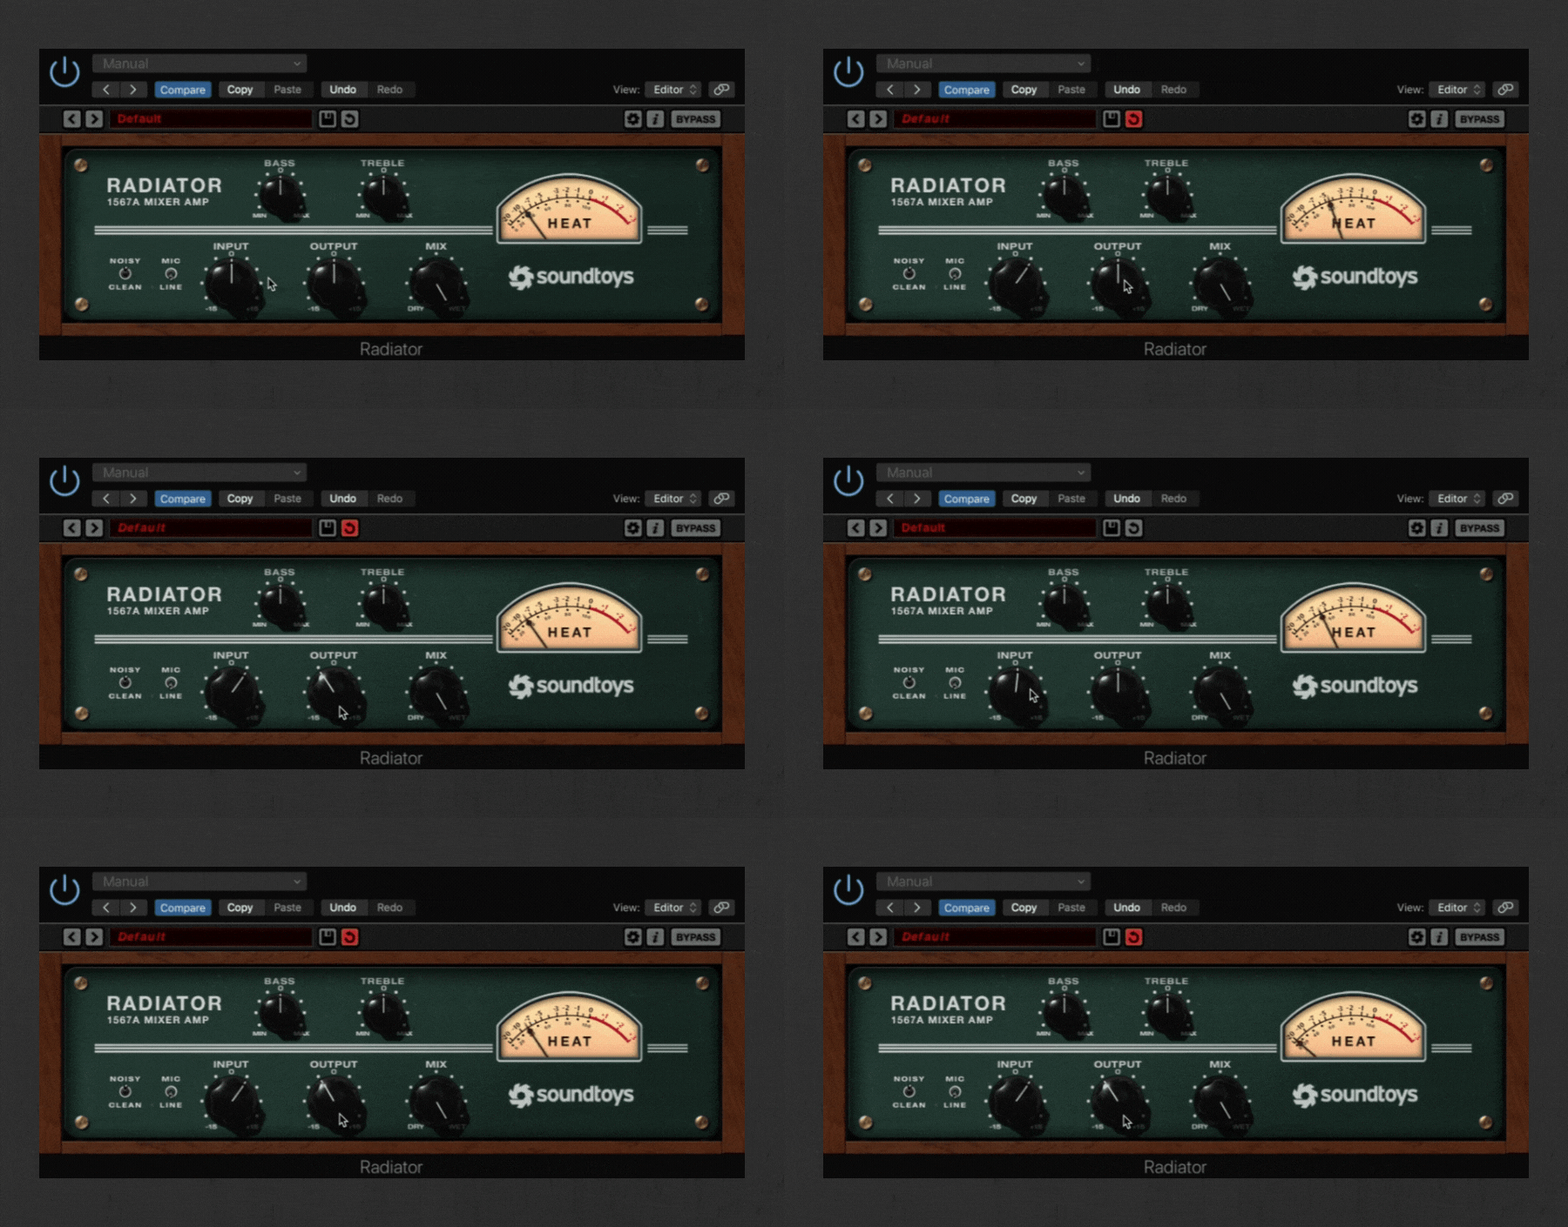
Add a preamp plugin at the beginning of any channel strip to create extra warmth in a sound. Some favorite preamp plugins include the Waves Scheps73 and Soundtoys Radiator.
15. Subtly Use Parallel Distortion for Controlled Grit and Dirt
Parallel distortion is similar in spirit to parallel compression. The idea is that you layer a distorted version of a sound with the dry version of the sound in order to capture the best each version has to offer. In general, parallel distortion allows you to combine the clarity and dynamics of a dry sound with the thickness and power of the distorted sound.
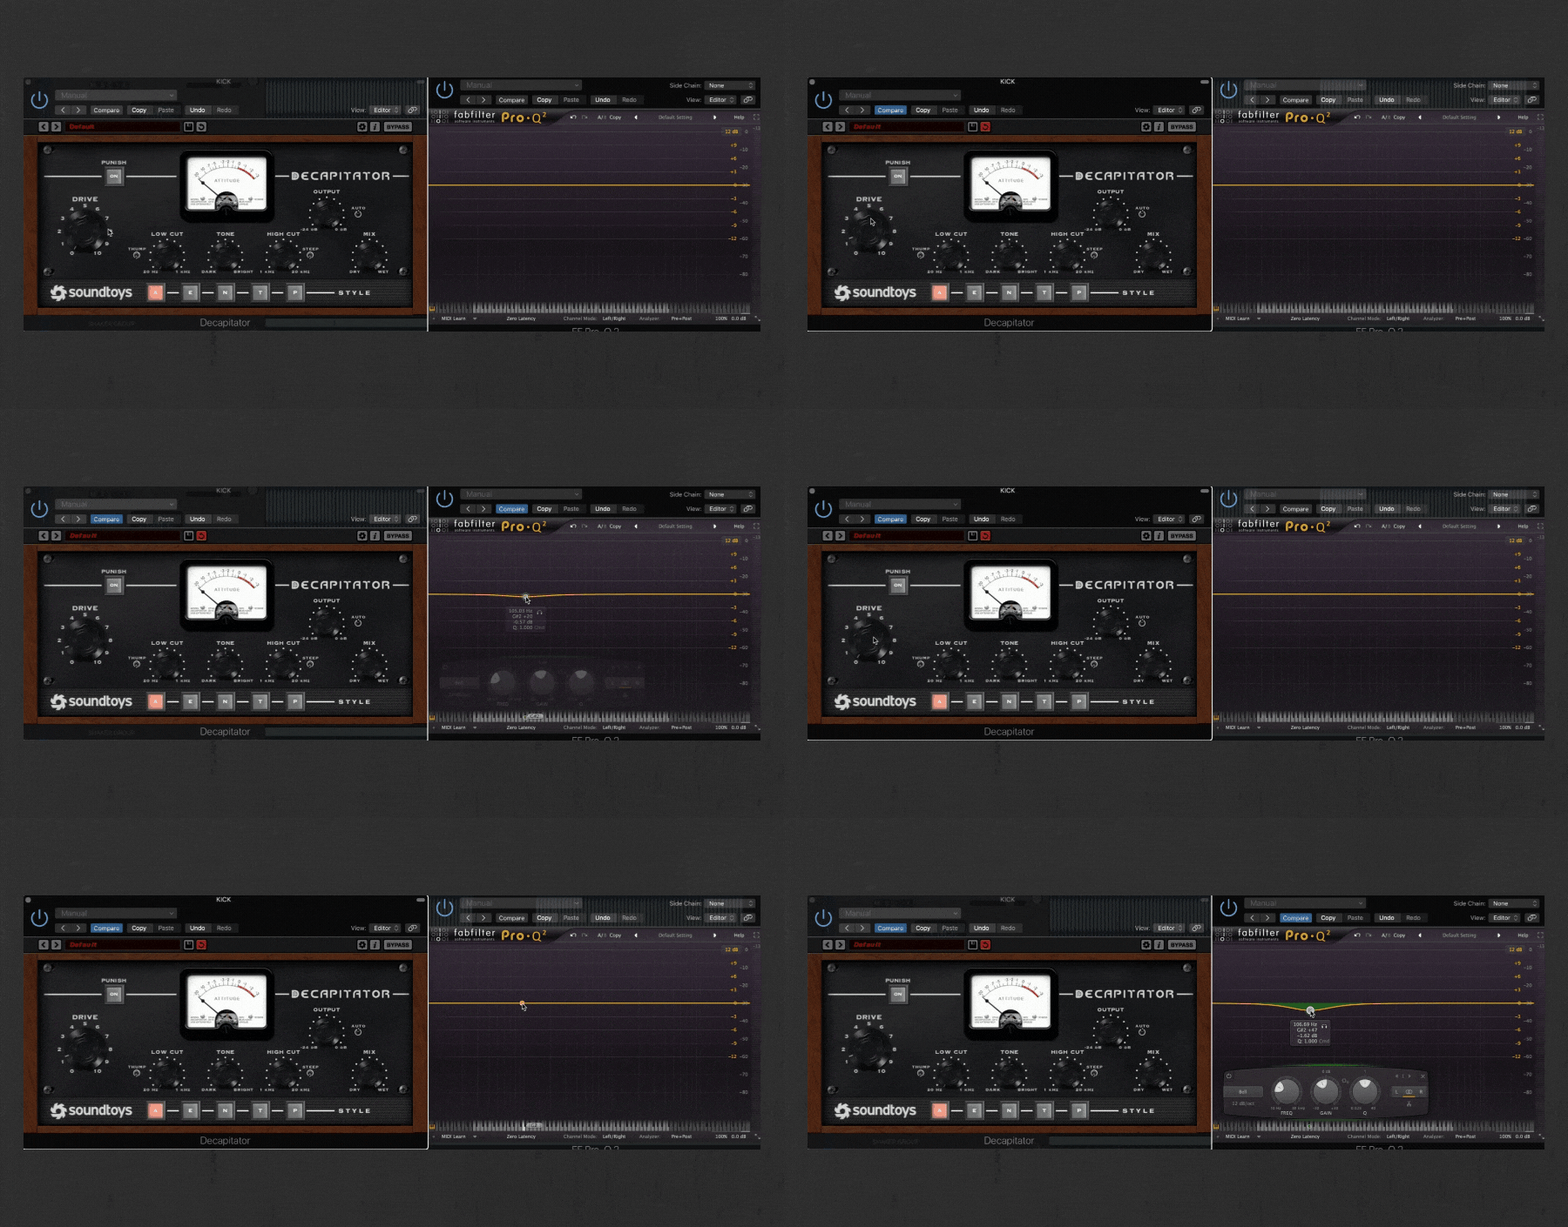
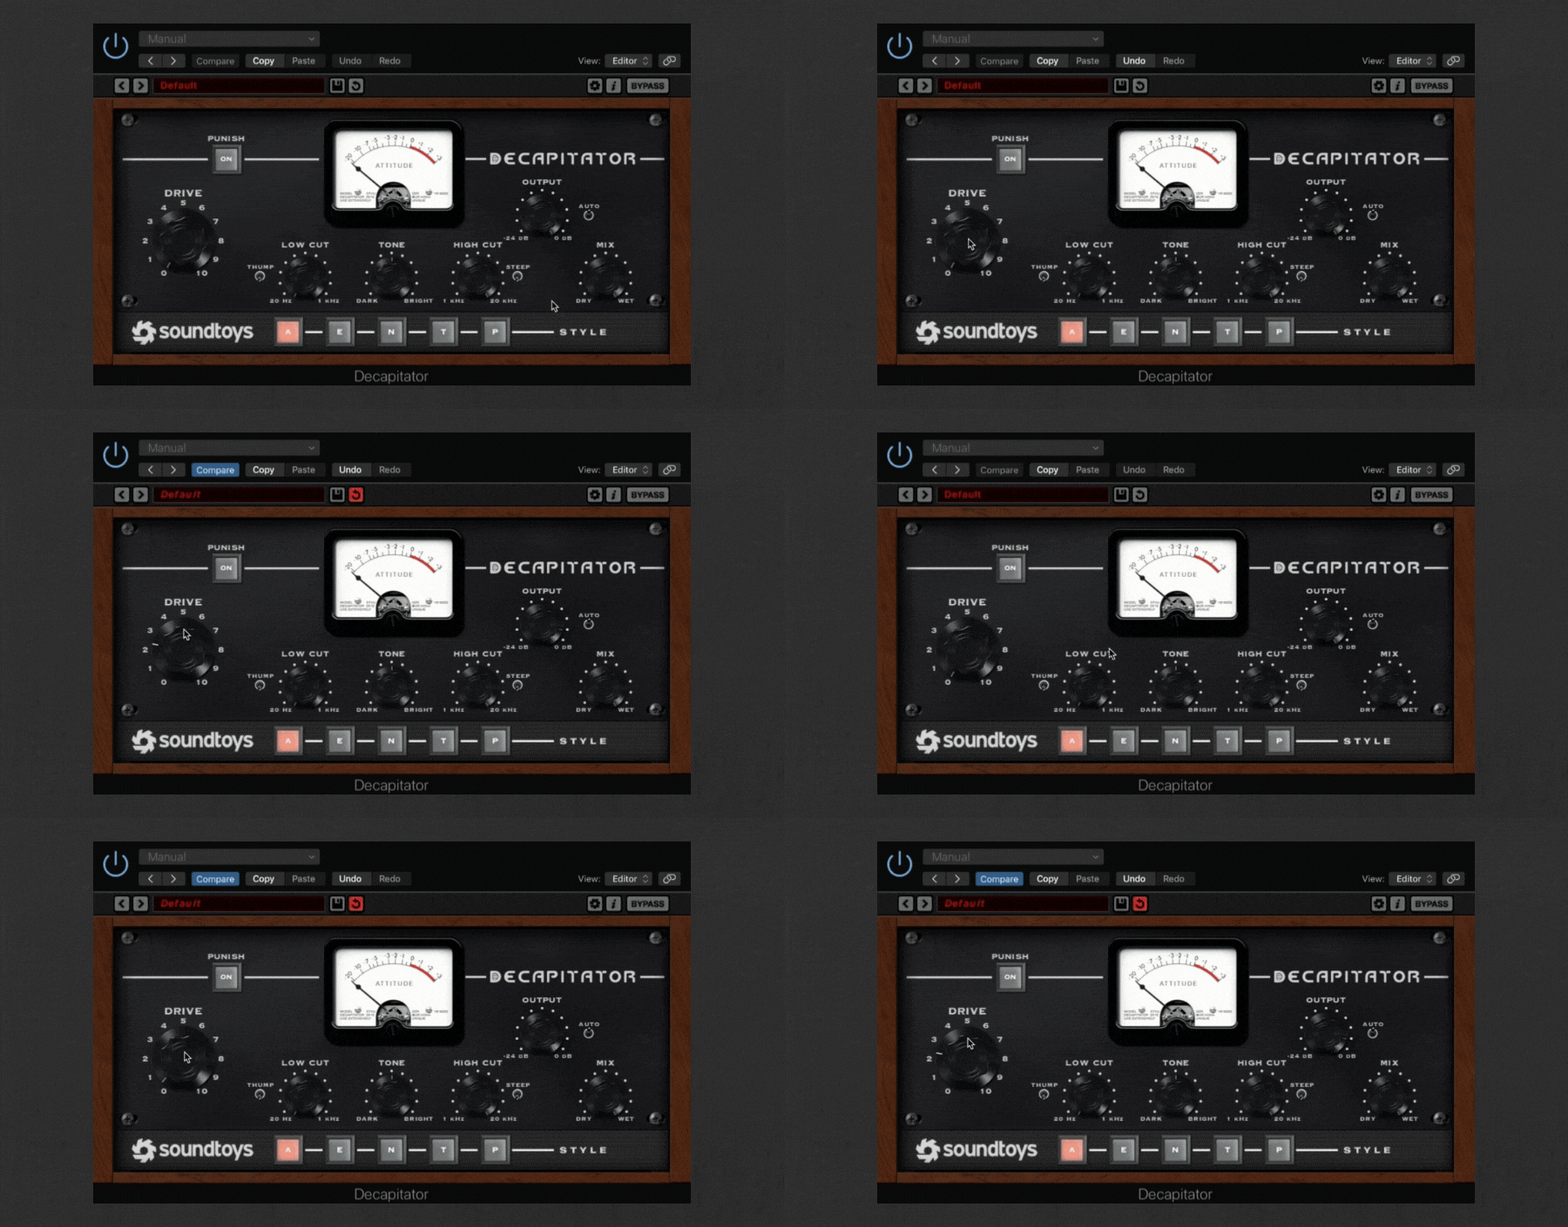
We love Soundtoys Decapitator for this. Dial-in a hefty amount of Drive and set the Mix knob to about 30%. You’ll be left with mostly the unsaturated sound, but a sprinkle of gritty crunch will bring most sounds to the next level.
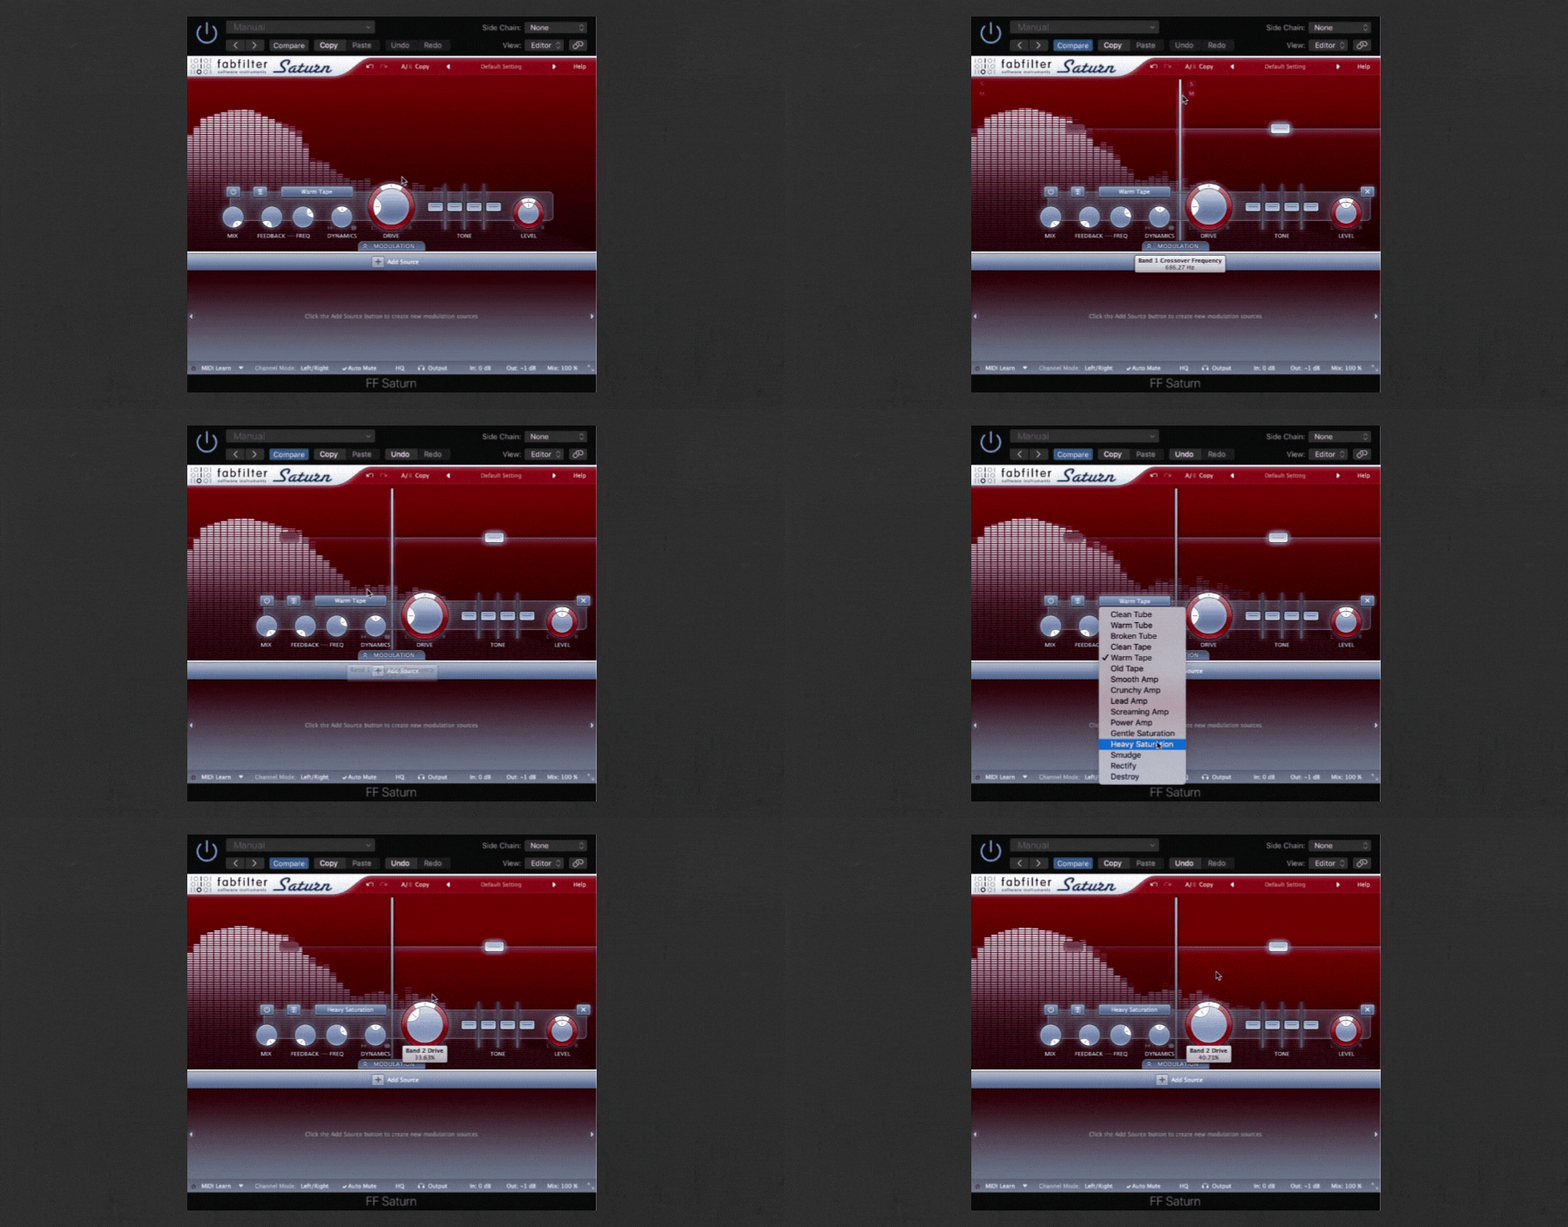
16. Distort The Higher Frequencies Of A Sub Bass
Sub basses can get lost in your mix, especially for your listeners on laptop speakers or AirPods. You simply can’t hear them! How do we address this? Well, just because sub-bass sits in a low-frequency range doesn’t mean it can’t also have somebody through higher frequencies — this helps it translate better across all speaker types.
Bring back some higher frequencies with saturation! Add saturation to the higher frequencies in your sub-bass (around 100-200hz). This will bring out some high-end buzz to help the sub-bass be more present in the mix. We love FabFilter Saturn for this, where you can easily apply saturation to a given frequency band.
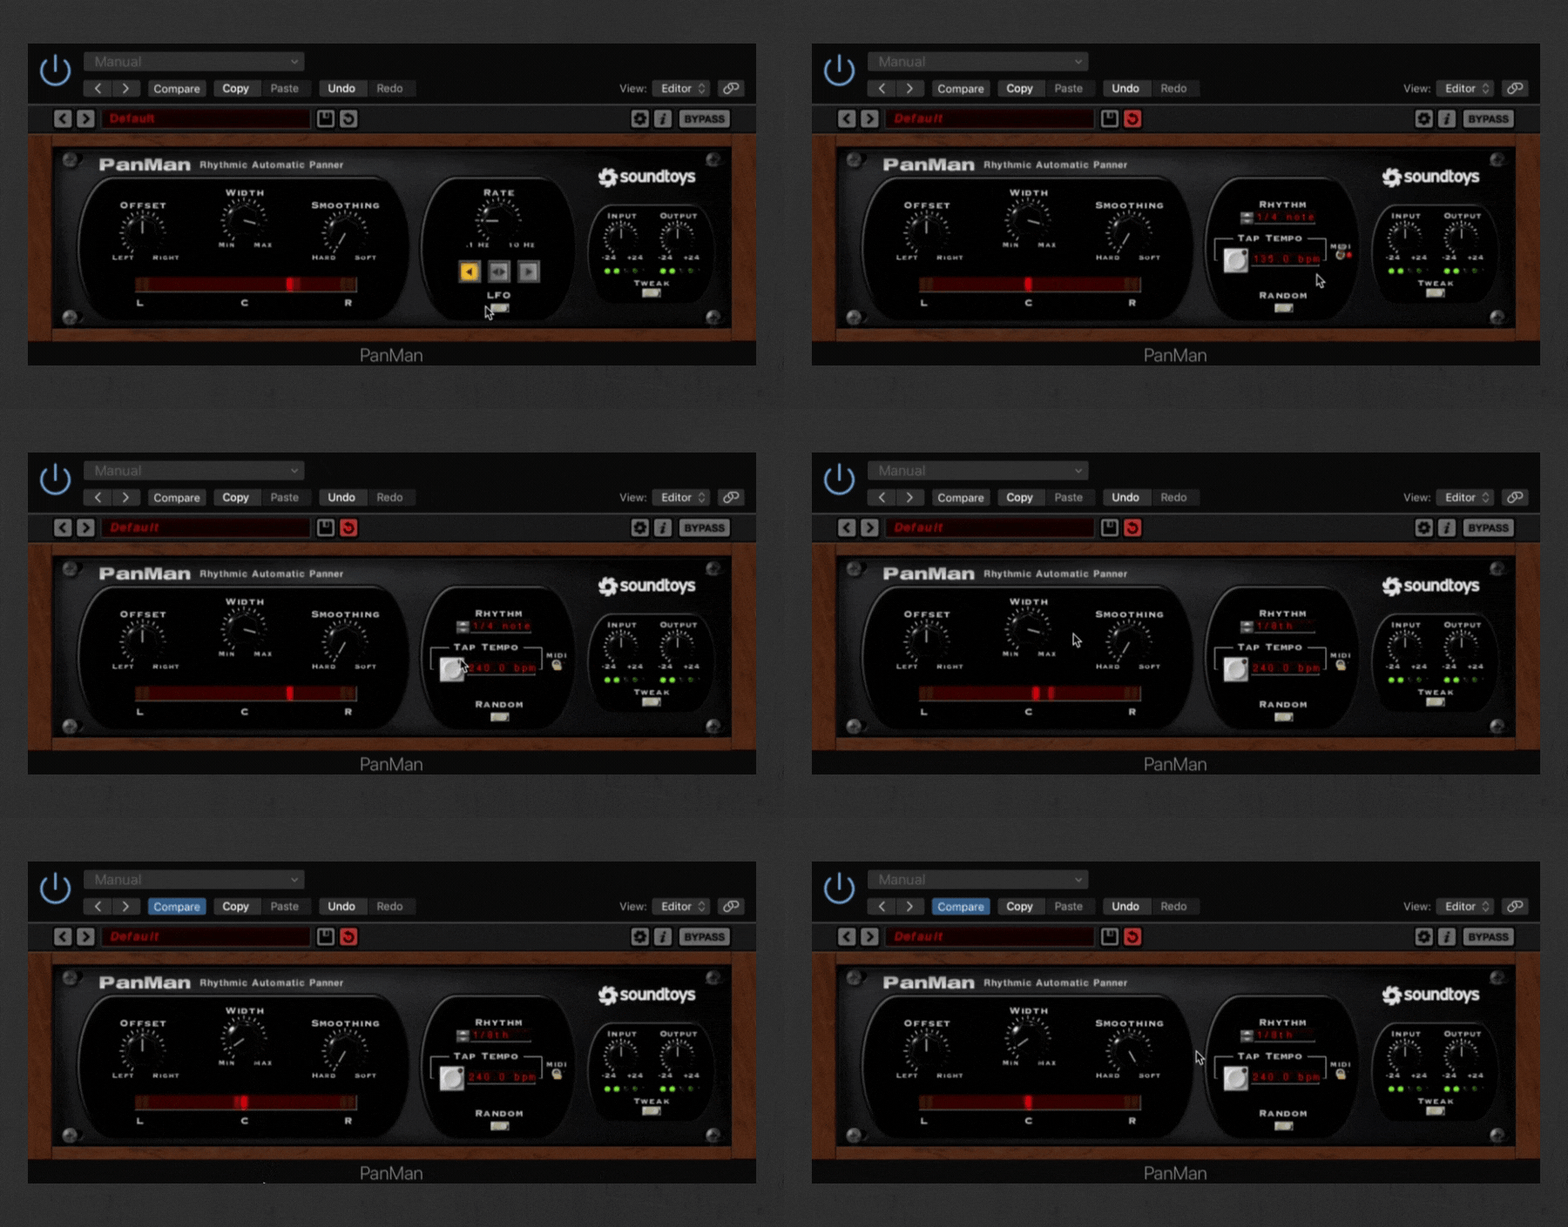
17. Create Stereo Width With Panning And Pan Automation
As an electronic music producer, one of the challenges you face is filling your stagnant, digital computer music with some movement and life. I love using panning to help accomplish this.
Before reaching for any stereo widening plugins, try creating width in your track with simple pan moves. Higher frequency sounds like hi-hats and atmospheric layers should usually be panned away from the center. Low frequency sounds like kick and sub-basses you can keep down the middle.
Then, add pan automation to make some of the sounds dynamically move around. Subtly apply Auto pan in Ableton, Tremolo in Logic, or the Soundtoys PanMan to a shaker loop or a lead synth to have it bounce left to right. Subtly is key here, I usually only go for a tiny, barely audible amount of movement. But, this subtly is all you need — a little movement will help your song come alive.
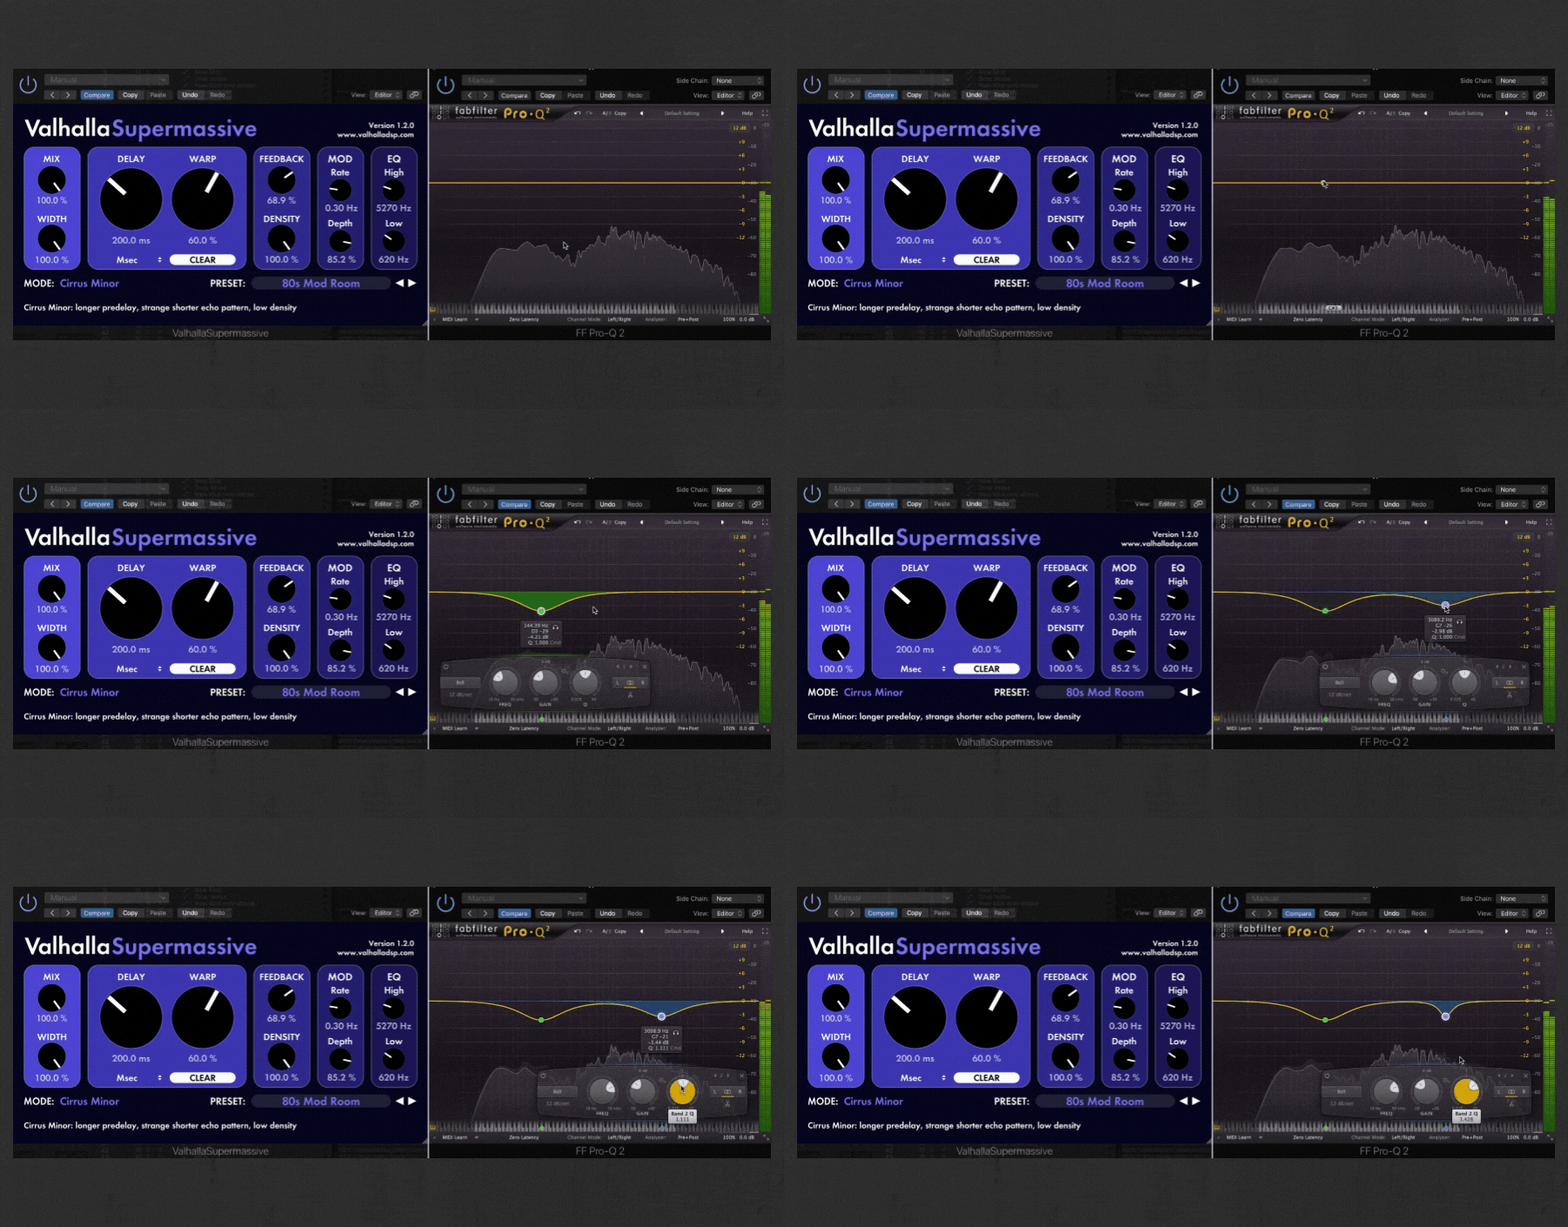
18. EQ Your Reverbs And Delays
Reverb is an instrument. Delay is an instrument. You should take the time to mix your reverbs and delays just like you would any other sound in your track.
For reverb and delay, I always add a high pass filter to get rid of any low end rumble. It can usually be helpful to use some reductive EQ on a reverb or delay in the band where the dry signal tends to sit — this ensures that the reverb or delay isn’t masking the dry signal. Finally, I always make sure to check for any resonances that a reverb plugin might be creating and reduce those as well.
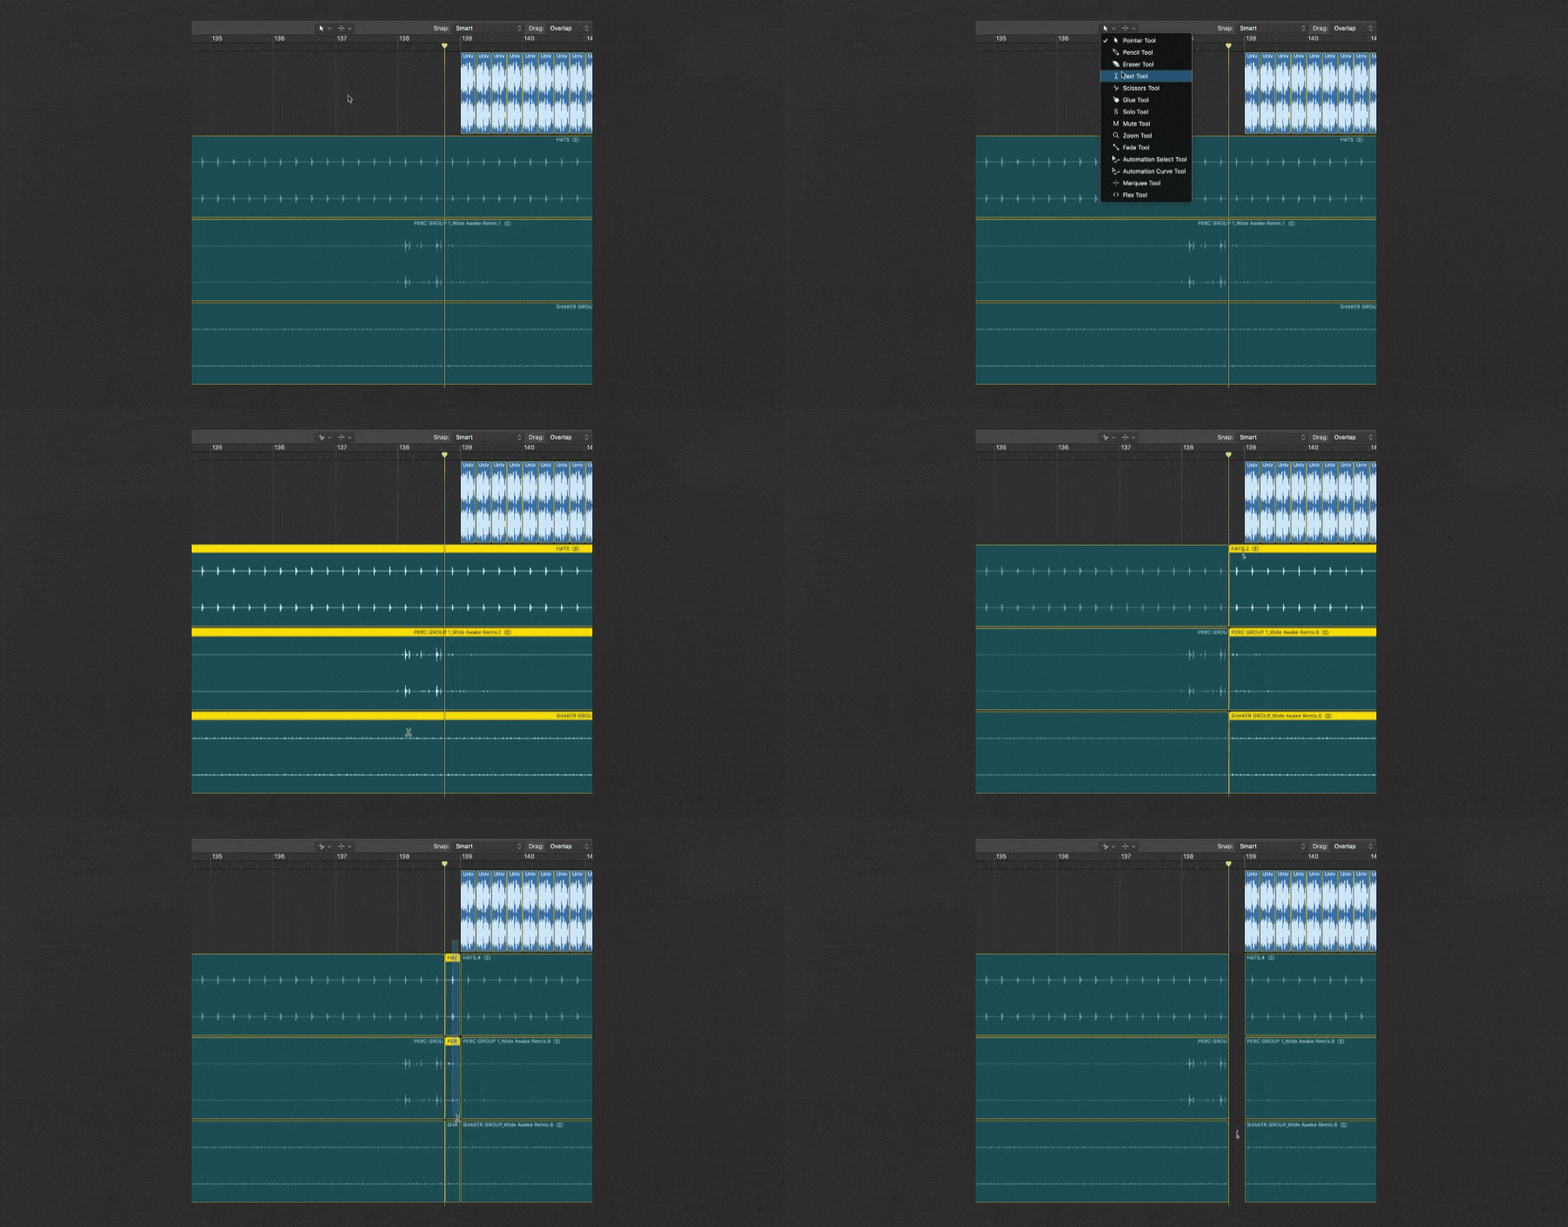
19. Less is More — Cut Things Out Before The Drop!
There are two ways to make a drop sound “bigger”. You either 1) make the stuff at the drop actually sound bigger, or 2) make the stuff right before the drop sound smaller. Producers often neglect the second option, but the best drops are the ones that make use of both strategies.
Use a high pass filter on all your synths right before the drop. I like to automate the cutoff of a high pass filter up to about 200hz over the course of the last 4-8 bars before the drop (this varies from song to song).
Silence is your friend, too. Try reducing the volume on or cutting out entirely any unnecessary sounds before the drop.
20. Delete Unnecessary Sounds
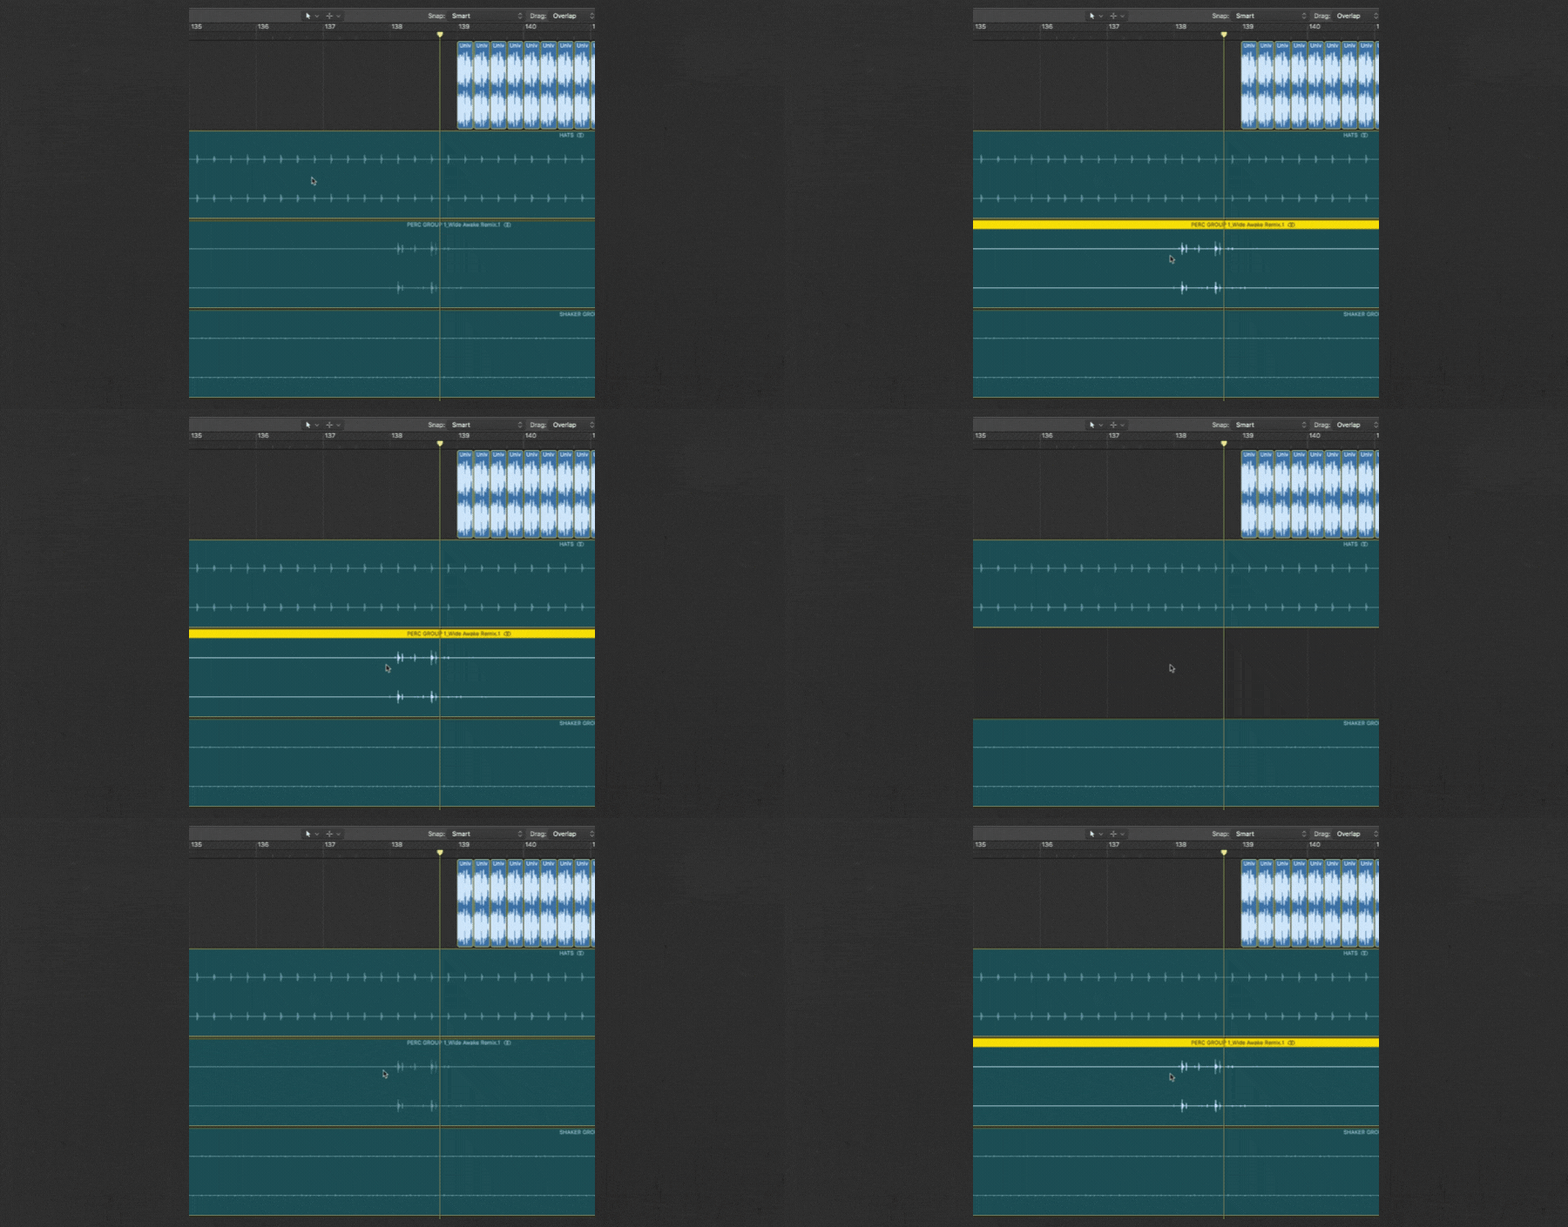
The last tip is actually the very first thing I do when I start any mixing project — I delete as many things as I can. Yes, I literally highlight and delete whole stems from other people’s songs (gasp!!).
The most important mixing rule to live by is this: less is more. One at a time, mute every single element in your track. If you can’t tell that something has been muted, delete it. If the whole song feels the same with any particular element muted, delete that element. I am always astounded by how the most interesting and intricate records are often the most simple ones.
Final Thoughts On Mixing
Mixing is an art form in and of itself that will make or break most records, regardless of genre. Give your mixdowns the attention they deserve and I guarantee your music will start sounding more professional. But it's really only one element of the hundreds that go into making professional quality music.
If you want to level up your productions by learning every single thing that goes into making music that sounds as good if not better than your favorite artists, there is no better option than the Hyperbits Masterclass.
These Might Also Interest You:
20 Lessons In Music Production I Wish I Knew When I Started


