
Jump to a section25
- The Short Answer: Yes, Waves Plugins Are Worth It
- Waves Plugin Bundles, Broken Down
- H-Series (Hybrid)
- V-Series (Vintage)
- R-Series (Renaissance)
- Waves API
- CLA
- Best Waves Plugins for Vocals
- Best Saturation/Distortion for Vocals
- Best Compressors for Vocals
- Best Additive EQ for Vocals
- Best Miscellaneous FX for Vocals
- Best Waves Plugins for Instruments
- Best Saturation/Distortion for Instruments
- Best Reductive EQ for Instruments
- Best Compressor for Instruments
- Best Additive EQ for Instruments
- Best Miscellaneous FX for Instruments
- Best Waves Plugins for Drums
- Best Reductive EQ for Drums
- Best Compressor for Drums
- Best Additive EQ for Drums
- Best FX for Drums
- Installing Waves Plugins
- Stop Guessing, Start Mixing
Waves plugins are worth it, and the smart way to buy them is a bundle during one of their constant sales. If you’re moving on from stock DAW plugins, start with the Renaissance series. The CLA-2A is one of my all-time favorite compressors, and the H-EQ is on the drum bus in almost every mix I do.
Quick picks
| Name | Best for | Why |
|---|---|---|
| Renaissance Compressor | Vocal compression | Transparent and easy, it just gets vocals sitting properly |
| CLA-2A | Vocal compression with color | Fluid opto compression that works in almost any situation |
| API 550 | Air and presence on vocals | Broad boosts that stay transparent |
| H-Delay | Vocal delays | Simple interface with delays up to 3500ms |
| J37 Tape | Warming up digital instruments | Three tape formulas and few controls to get wrong |
| F6 Dynamic EQ | Problem frequencies in bass and pianos | Catches resonances that shift from chord to chord |
| H-EQ Hybrid Equalizer | Drum bus EQ | Analog boosts and digital cuts in one EQ |
| API 2500 | Drum bus compression | Dense midrange color that brings drums front and center |
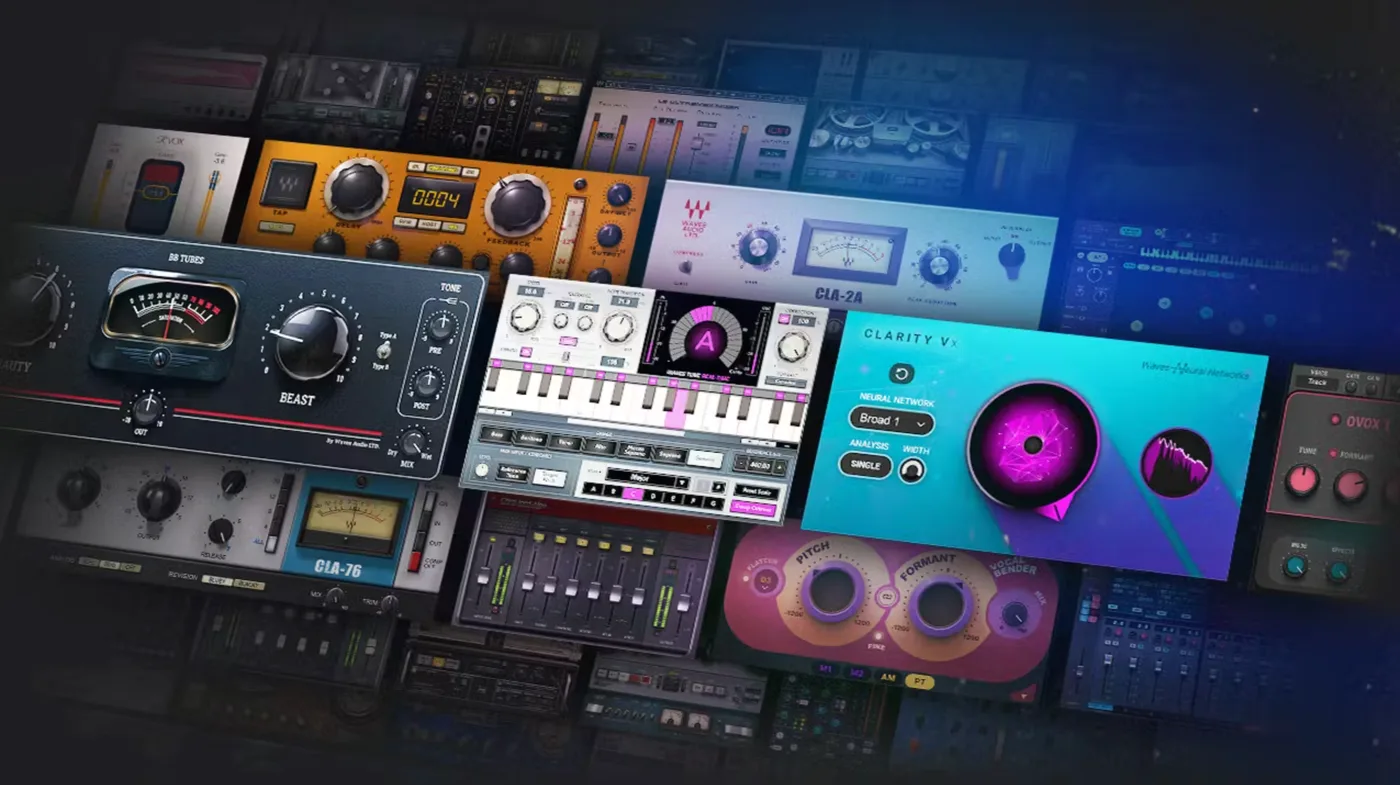
Waves plugins are some of the most useful tools in a mix engineer’s arsenal. A single bundle can open up a ridiculous number of creative and technical possibilities.
That said, they can also be intimidating.
There are hundreds of them. They’re packed with features that make stock DAW plugins look like toys. And every Grammy-winning engineer seems to know them inside and out, which can make you feel like you’re borrowing someone else’s race car without knowing what half the buttons do.
I’m going to break down everything you need to know about every Waves plugin I use in my tracks. And how I’ve applied them to mix down records with hundreds of millions of plays.
The Short Answer: Yes, Waves Plugins Are Worth It
We have a mantra at the Hyperbits Masterclass that our students hear constantly:
If you want the best results, you need to have the best tools.
Waves plugins go deep. Some of our team consider their bundles desert-island plugins.
But that doesn’t mean they’re foolproof. They are effective at what they do, but when used incorrectly, they can do more harm than good to your mixes. And with well over a hundred plugins in their premium bundles, the learning curve is real.
That’s what this guide is for. We’re going to walk through our favorites and show you exactly how we use them.
Waves Plugin Bundles, Broken Down
There’s an almost infinite number of Waves plugins you could grab (especially when they go on sale), but it gets way less overwhelming once you group them by bundle.
Quick word on how to actually buy them: Waves sells most of these in tiered bundles, and that’s almost always smarter than picking them off one at a time. Gold covers the essentials, Platinum adds the mixing and mastering workhorses, Diamond is where most engineers land, and Mercury is the give-me-everything tier. Wait for one of their constant sales and the math gets pretty silly in your favor.
H-Series (Hybrid)
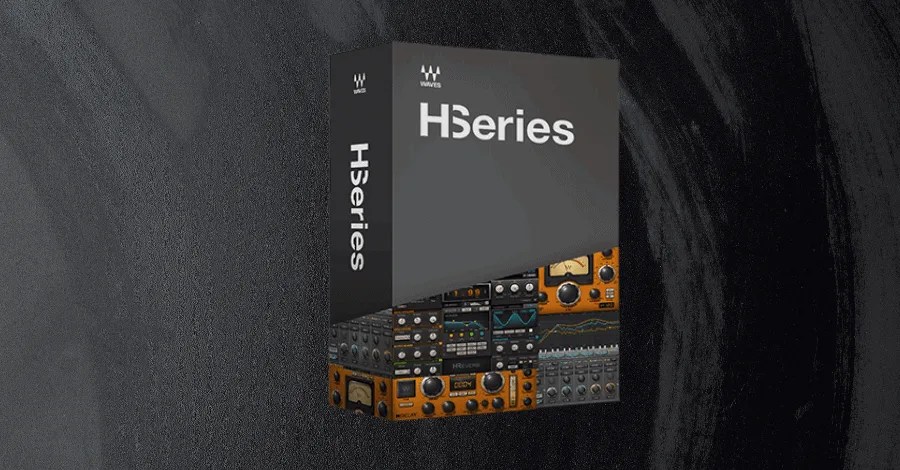
The hardest part about mixing music entirely in the box is making it sound like it wasn’t. Plenty of analog emulation software exists (much of the Soundtoys stuff, for example), but few plugins deliberately sit right between the analog and digital worlds. That’s where the Hybrid series gets its name.
The H-Series includes a delay, a compressor, a reverb, and an EQ. They’re great for adding rugged warmth to your mixes while keeping the tight precision that only digital tools can offer.
We recommend this bundle for anyone getting into analog-emulation software, especially since you can usually grab these cheap during one of Waves’ many sales. Just a heads up: they can be pretty CPU-hungry.
V-Series (Vintage)
The Vintage Series takes analog emulation a step further. These plugins are modeled after the Neve hardware consoles, which were famous for coloring the signal as much as processing it.
The V-Series is great if you want your tools to do more than their job description. The coloration these vintage plugins introduce is anything but sterile, and they’re excellent for breathing life into a signal.
R-Series (Renaissance)
The Renaissance series has become a staple of modern production. And you can hear it in action on massive records by Drake, Billie Eilish, Taylor Swift, and more.
The R-Series is the ideal bread-and-butter series for anyone ready to graduate from stock DAW plugins and wants something they can rely on for their entire career. The interfaces are simple and clean throughout the entire line. Plenty of Waves plugins have interfaces that feel convoluted, but not the R-Series.
Even the reverb is easy to use…
Waves API
The API series are a favorite among our instructors (one of them literally includes exclamation points every time he mentions them). These plugins were developed alongside Automated Processes Incorporated and are absolute workhorses.
We’ll get into specific applications later, but the short version: these plugins are great for the broad strokes of a mix. Compression on the drum bus, coloration on the vocal bus… that kind of thing.
CLA
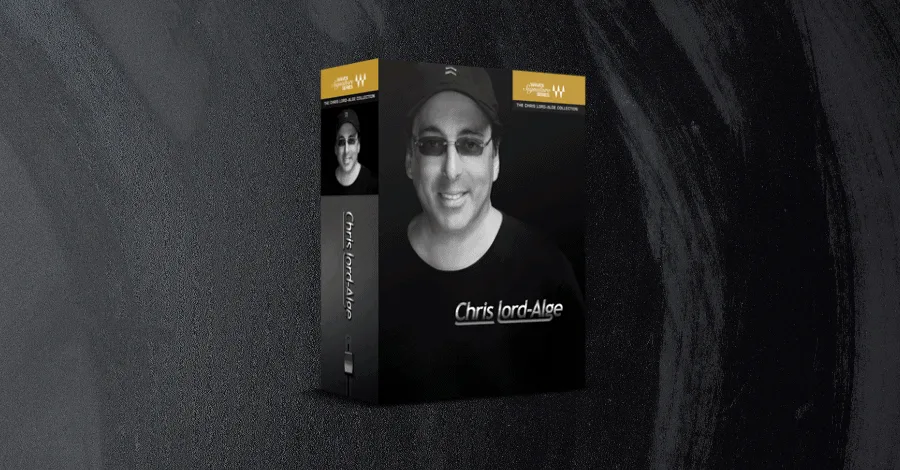
Made alongside the legend Chris Lord-Alge himself, these plugins offer quick fixes for specific bus processing. They’re modeled after his exact processing chains from his million-dollar studio, with the added simplicity of only 5-6 sliders per plugin.
I’ll be honest though, there’s a fair amount of debate around plugins like these. Some producers swear by them, others think a few faders can’t get anywhere close to a properly dialed-in mix.
Best Waves Plugins for Vocals
Human beings are wired to respond to the human voice. A well-processed vocal can completely transform a track.
But we’re also incredibly sensitive to it. Unless it’s processed perfectly, a vocal will stick out like a sore thumb.
Waves has plugins for every step of the vocal chain, and here are the ones we reach for most.
Best Saturation/Distortion for Vocals
Aphex Vintage Aural Exciter. First introduced in the mid-’70s, the Aural Exciter built its reputation on adding brightness and vibrancy to even the dullest vocal takes.
I use it to add perceived volume to a vocal without actually touching the gain knob.
Listen how the width of the vocal stem only comes from the baked-in reverb. Now listen how the exciters on the left and right vocals create heightened width.
Perceived volume is incredibly important with vocals since they tend to be the most nuanced and intricate channel group in your entire mix.
Pro Tip: We perceive width in a mix by the differences between the left and right channel. If you already have your background vocals split into two channels, further width can be introduced by adding separate instances of the aural exciter to each channel. Have one instance be a touch brighter and the other being slightly more grizzled.
Abbey Road Saturator. This saturation plugin offers everything that the Aphex exciter does not. Where the Aphex adds delicate brightness, the Abbey Road Saturator brings raw power and strength to the vocal.
Its crunchy processing is blended smoothly with solid-slate analog saturation, giving you the unexpected warmth of analog with the modeled precision of digital.
Listen how the saturator adds iconic power and crunchy warmth to the vocal signal.
Pro Tip: This plugin shines from its ‘compander’ feature. A compander compresses the dynamic range before being processed and then expands the signal post-process. It simply means that you have more control over how the frequency bands are being distorted.
Best Compressors for Vocals
Renaissance Compressor. If your vocals are too dynamic, they sound off. If they’re overly compressed, they sound off.
The R-Comp gives you transparent, easy-to-use compression that just gets your vocals sitting properly in the mix. That’s it. That’s the whole pitch.
Pro Tip: If you are trying to train your ears to hear compression, the R-Comp can be a fantastic tool. Place the R-Comp on your main vocal channel and set it to apply heavy-handed compression. Then ease up, and notice how the sound changes.
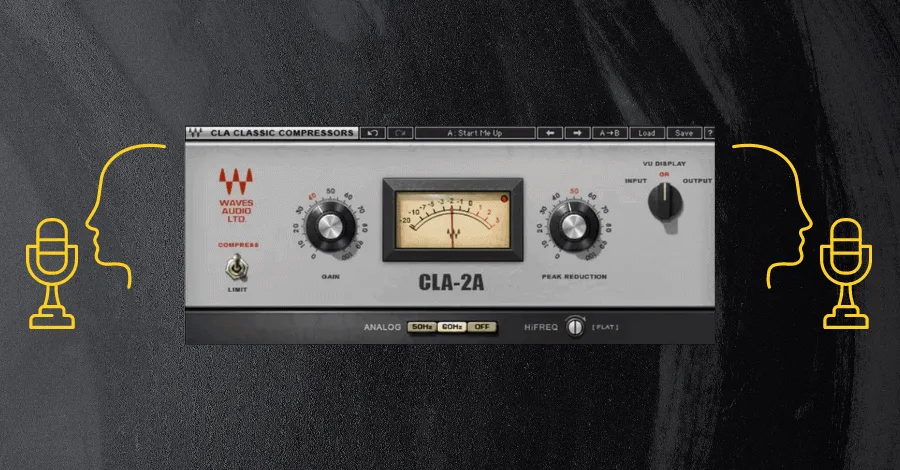
Waves CLA-2A. This compressor is one of my all-time favorites, for almost any situation. Its electro-optical emulation controls dynamics in an incredibly fluid way, and the coloration it adds to the signal is second to none.
The saturation element is key here. The more compression you apply, the more the upper mid-range frequencies get attenuated. That matters for vocals because that frequency range is where clarity, presence, and overall confidence in the performance live.
Pro Tip: The ‘opto’ setting emulates older hardware compressors triggered by LED lights that flicker and brighten in reaction to the voltage of the signal. Basically, it gives a more fluid and non-linear compression, which is precisely what you want with something with as much movement as vocals.
Best Additive EQ for Vocals
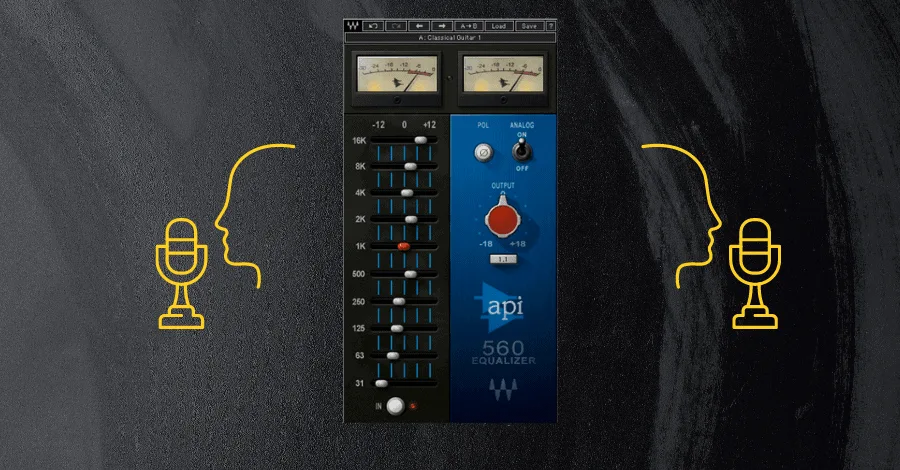
API 550. When processing vocals, everything you do needs to sound transparent, even if you’re being heavy-handed behind the scenes.
This is especially true with EQ. Huge cuts and drastic boosts are painfully obvious when you’re using digital EQs. But the broad-stroke boosts and cuts that the API 550 offers can make all the difference.
This is my preferred EQ for adding air and presence to the higher frequencies on a vocal.
Pro Tip: If you’re not treating your auxiliary/send busses like instruments on their own, you’re missing an opportunity. The API 550 works great to add a bit more air to the reverbs you are using for your vocals.
Best Miscellaneous FX for Vocals
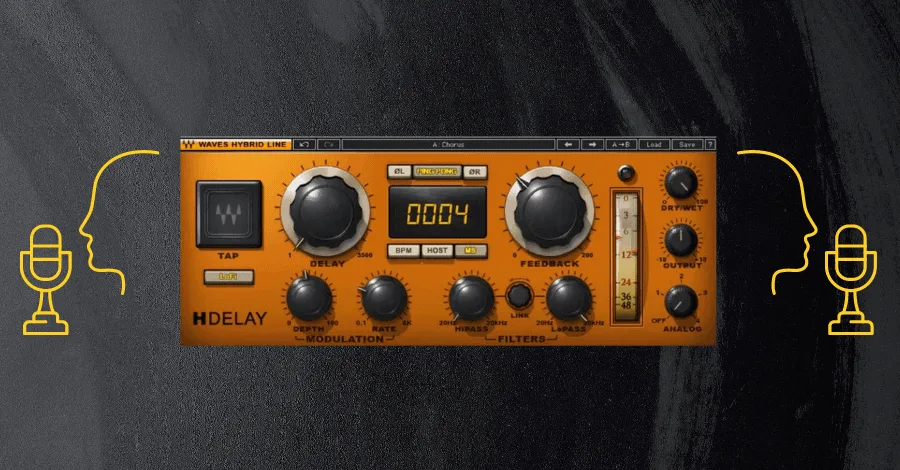
H-Delay. Vocal delays can be incredibly difficult to dial in. Get it wrong and you’ll get phasing issues, a ruined groove, a cluttered mix, or a cool sound turned generic and cheap.
But the H-Delay’s interface makes it straightforward to use while still getting a ton of originality out of your vocal.
Before: Listen how the space between the lead synths makes you think another layer is needed.
After: Listen how H-Delay now fills that space, removing the need for more elements and focusing on what's already there.
What makes this plugin our favorite for vocal delays is its ability to serve multiple roles simultaneously. It adds width and space like any classic delay while also introducing coloration and texture with its analog modeling. And H-Delay’s ability to create delays up to 3500ms means modulating this knob can turn a simple slapback delay into a washed-out stutter that works great for transitions and ear candy.
Pro Tip: The LFO-controlled pitch modulation that H-Delay offers is great to get more mileage out of simple vocal performances, allowing a single vocal phrase to fill more space in even more interesting ways.
Best Waves Plugins for Instruments
Processing your instrument busses does two things: it cleans up your mix, and it shapes your signature sound.
Two producers can use the same five plugins to process their instruments and get wildly different tones. Same hammer, completely different furniture.
Artists like Lane 8 or Deadmau5 have a distinct sonic character apart from just the music itself, and that is thanks solely to how they process their sounds.
Best Saturation/Distortion for Instruments
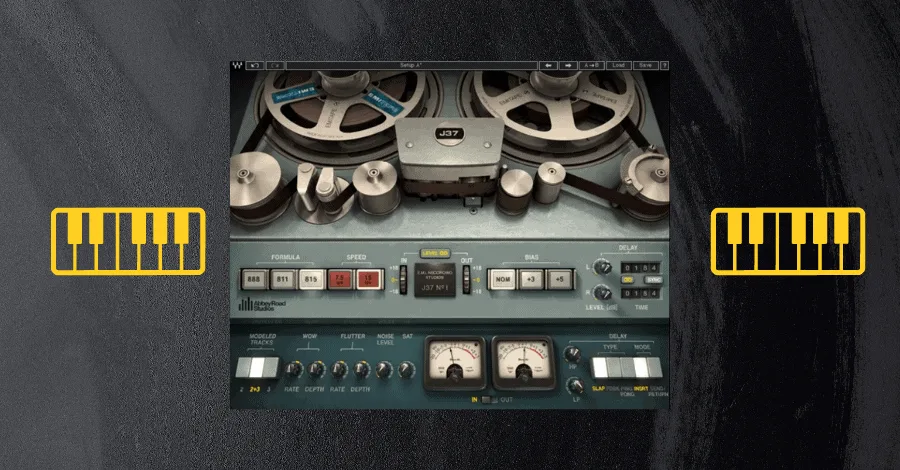
Waves J37 Tape. If you want to make sterile, digital VST instruments sound warm and analog, tape saturation is step one.
Digital instruments are great at precision and accuracy. But they also lack the randomness, warmth, and character you get from hardware.
I reach for the J37 because its interface only has a few points of modulation (less room for user error, which is always a good thing).
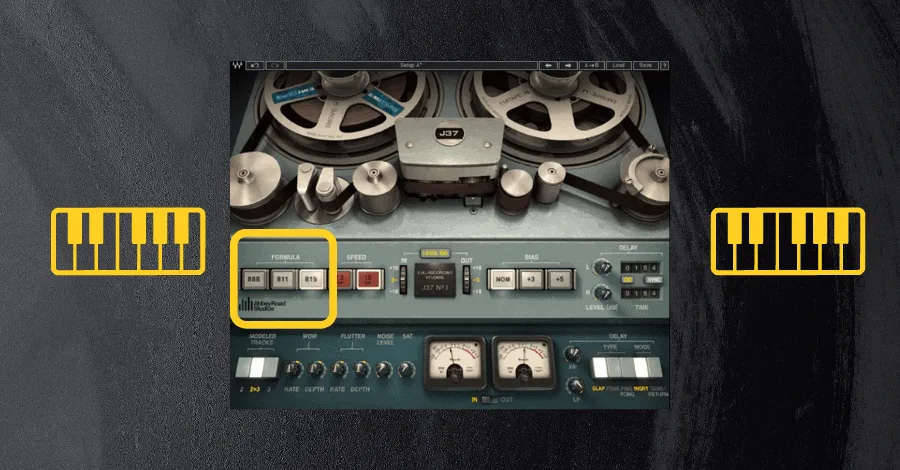
The three tape formulas:
- 888. Modeled after EMI tape machines from the mid-50s to early 80s. Best for instruments with a lot of low-mid frequencies (basses, low pads) because it adds increased distortion around the 1kHz-8kHz range.
- 811. Early 60s tech with higher fidelity in the upper frequencies and less blatant distortion. Ideal for lead synths and strings. Fun fact: the Beatles’ first album was recorded on this model.
- 815. Popularized in the early 70s. Flattest frequency response across all frequencies. Personally love this model on high percussion channels like hats and cymbals.
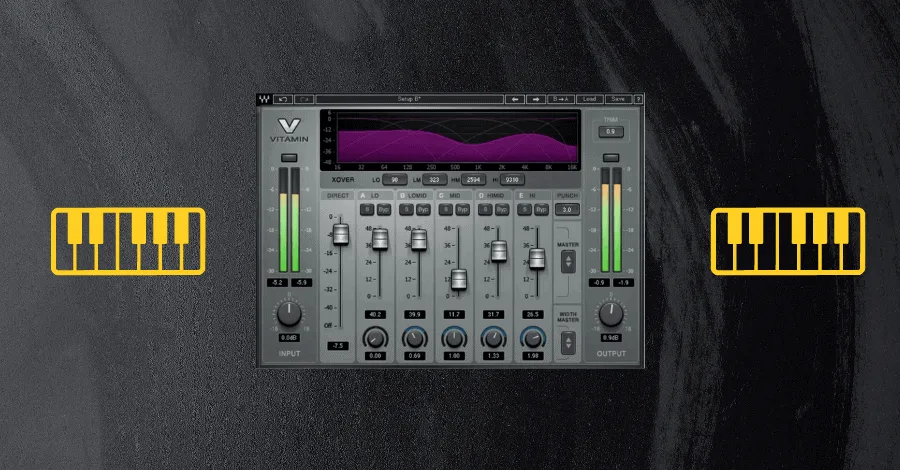
Vitamin Sonic Enhancer. This saturator softly brightens the signal without introducing obvious distortion.
I use it to gently round out overly bright digital synths and bolster the upper mids on thinner patches. What makes it stand out is its multiband functionality, which is surprisingly rare.
Before: Listen on headphones to this generic drum mixdown. It's good but could be better.
After: Listen on headphones to how the Vitamin Enhancer nudges certain bands into place, creating a wider and more interesting mix of the drum bus.
Pro Tip: The ability to pan individual bands is huge. We perceive a mix as wide when there’s a difference in signal between the left and right channels. Adjusting the distortion independently for each side can achieve the same width effect in a more interesting way.
Best Reductive EQ for Instruments
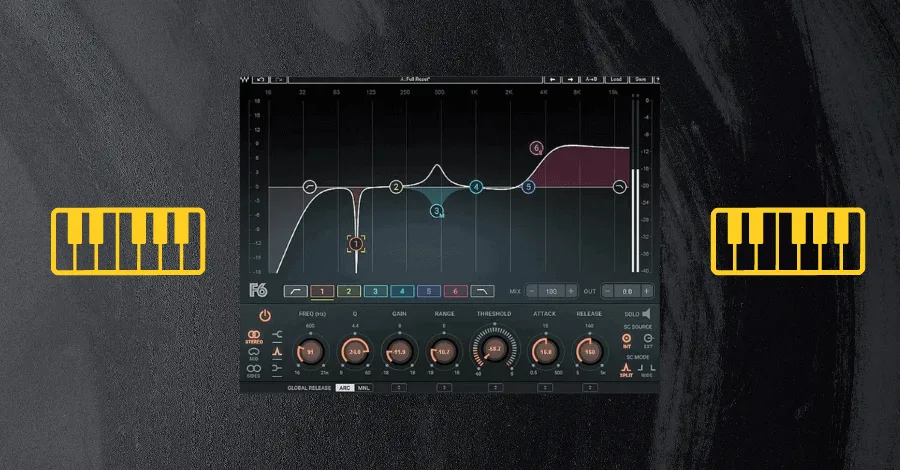
Waves F6 Dynamic EQ. Dynamic EQs have a steep learning curve, no question. But once your ears can hear the subtle changes across frequency bands, you’ll find yourself reaching for them constantly.
Dynamic EQs are great for leveling off lower frequencies on bass before running it through a limiter. And they’re also my go-to for removing problematic frequencies in pianos.
Static EQs might fix a resonance on one chord but then leave the next chord sounding empty as the frequencies shift.
Pro Tip: Mastering the art of mid/side dynamic EQs can be a sure-fire way to create incredibly intricate mixes. Using this Dynamic EQ to heighten the transients on a shimmering arp sequence can be a great way to heighten the width of the mix.
Best Compressor for Instruments
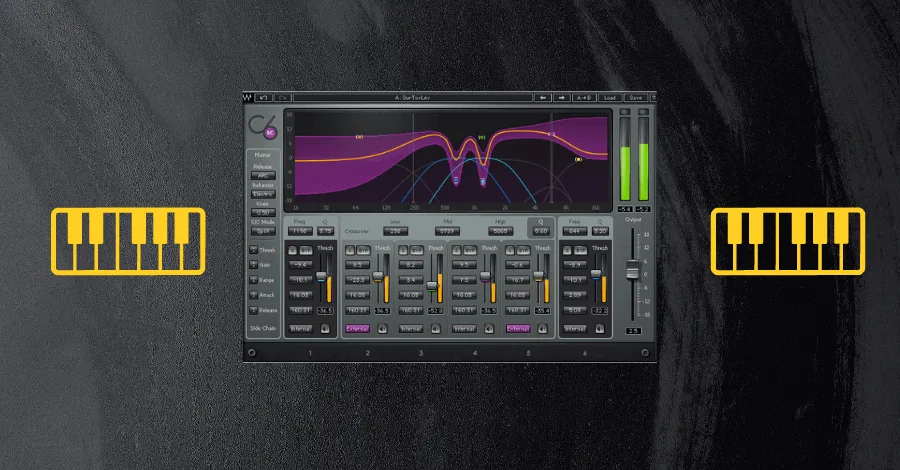
Waves C6 Multiband Compressor. Fair warning: multiband compression is not for beginners. Unless you know what you’re doing, it’ll probably cause more damage than good.
But once you get a handle on hearing compression, applying it across multiple bands is incredibly powerful.
The C6 is my go-to compressor for any evolvingly dynamic instrument I want front and center in the mix. By evolvingly dynamic, I mean synths with a medium attack, acoustic strings, textural pianos, and evolving pads.
Pro Tip: Apply a bit of automation. Ease up on the amount of compression during the sparser sections of your arrangement, such as the breakdowns and verses. But as the arrangement fills back up during the more dense drop or chorus sections, having more control over the dynamics allows you to place these instruments exactly where you want in the mix.
Best Additive EQ for Instruments
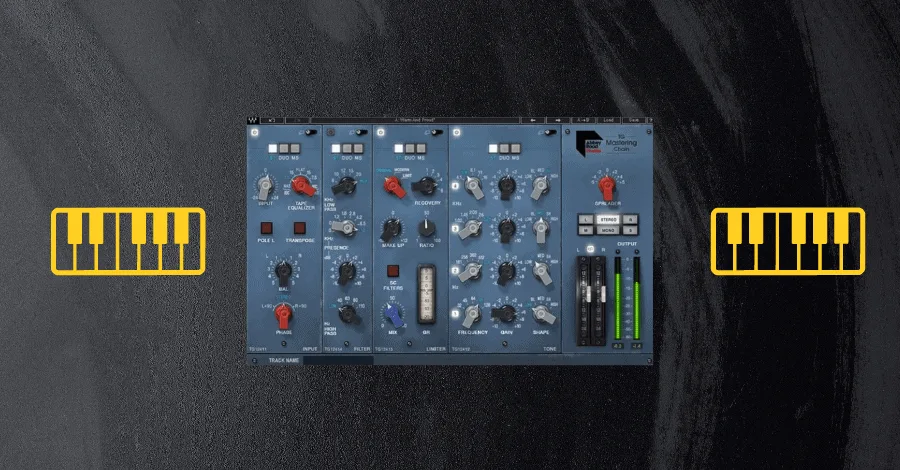
Abbey Road TG Mastering Chain. Channel strips are often overlooked as the final piece of a processing chain, but the right one at the right time is invaluable.
While this is labeled as a mastering strip, adding it to individual instrument channels still brings some great analog modeling to whatever it touches.
What makes it one of the best for instruments specifically is its tonality. I’ve always found it to be warmer, thicker, and slightly duller as it carves out the highest frequencies.
It creates a natural pocket in those upper frequencies that can be filled with elements that actually deserve to be there (hi-hats, spatial effects, and the like), and it does it in a far more musical way than basic EQ ever could.
Pro Tip: I find myself placing this plugin on my synth bus overall, adding a sense of cohesion and polish to all of my synths at once (leads, arps, pads, and more simultaneously).
Best Miscellaneous FX for Instruments
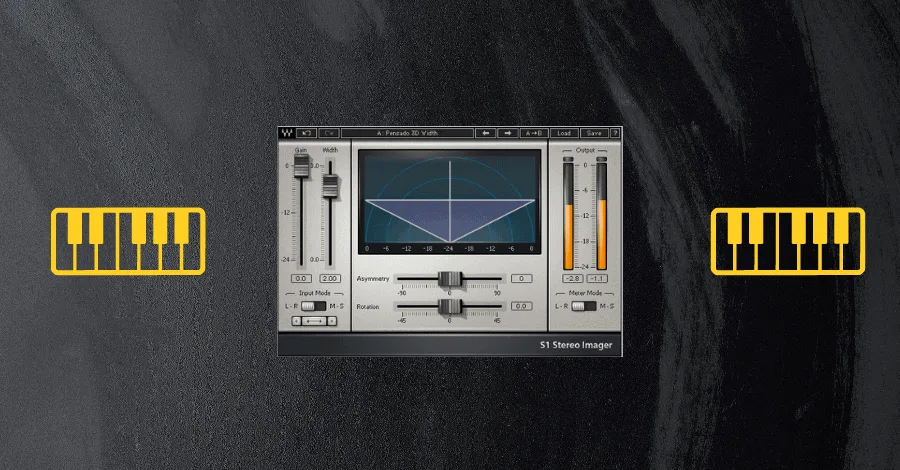
S1 Stereo Imager. I’m a sucker for a good stereo imager, but I learned early on that you shouldn’t rely solely on one to achieve a wide mix.
What makes the S1 my favorite for instruments is the rotation and asymmetry parameters. They open up interesting panning options that aren’t available in the standard pan pots of most DAWs. And it introduces no phasing issues (which is common with frequency-dense instruments).
Pro Tip: Never rely solely on an imager like this to achieve width in a mix. Instead, rely on layering techniques, delays, distortion, and more to achieve a mix that appears wide on its own and THEN apply this imager to help sweeten the final product.
Best Waves Plugins for Drums
Drums are a completely different beast. They can need aggressive coloration, harsh shaping, delicate spatial effects. And an overall life of their own if they’re going to earn their title as the backbone of the track.
The plugins you choose matter on these channels more than anywhere else, and a careful blend of digital precision and analog flavor will always get the best results.
Best Reductive EQ for Drums
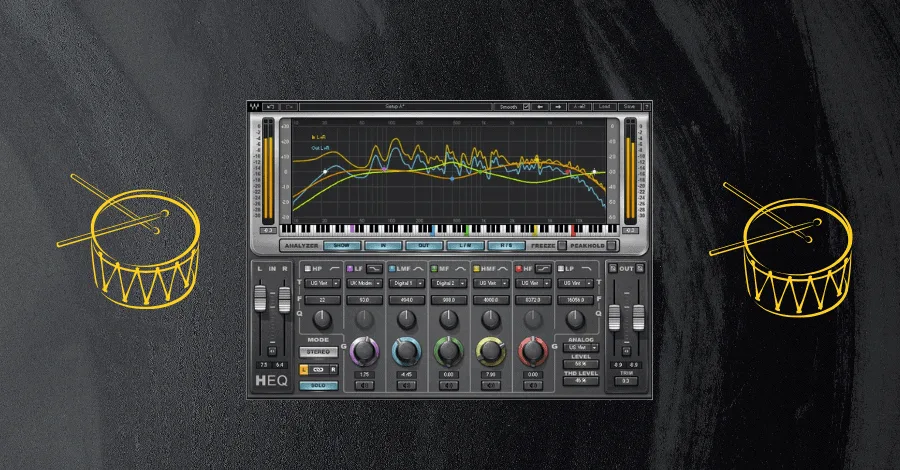
H-EQ Hybrid Equalizer. When you’re working with percussion, having a plugin that can serve two purposes at once is incredibly valuable.
The H-EQ is on every drum bus in almost every mix I do. Being able to apply different EQ modeling to each frequency band opens up serious creative potential, letting you add powerful analog boosts to the midrange while introducing crisp digital brightness to the upper registers.
Pro Tip: Try applying this EQ to your kick drum. The soft, warm, and analog boosts to the low end will help add power and weight to the kick when boosted by only a few dB, and the digital surgical tones are great at removing the most problematic bands (I almost always dip out a small cut somewhere around 400-800Hz).
Best Compressor for Drums
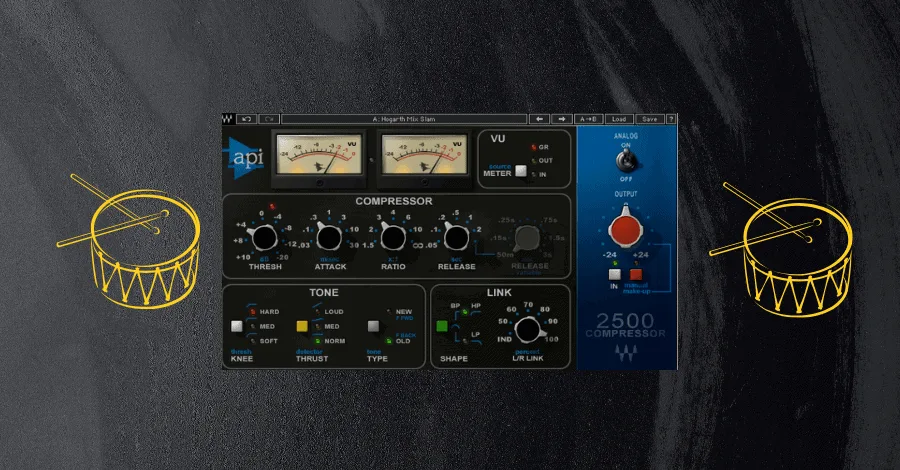
API 2500. Picking my favorite compressor for drums was nearly impossible. There are too many great options, and each can serve wildly different roles in a mix.
But the API 2500 is an absolute beast.
Its analog modeling doesn’t just control dynamics with precision. It adds dense coloration and power in the mid-range of the drum bus, which brings your percussion front and center (right where you want it in most genres of dance music).
Pro Tip: When doing broad-stroke processing on an entire drum bus, use multiple compressors in your chain. Stack a couple of different ones to get the best qualities of each without forcing any single compressor to work too hard.
Best Additive EQ for Drums
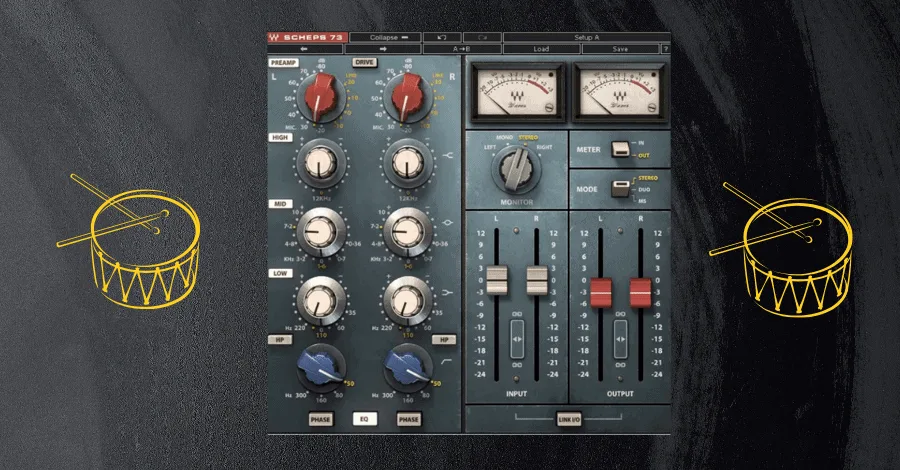
Scheps 73. I’m picky about my analog emulation EQs, but the Scheps 73 has stood the test of time as one of my go-to plugins for the drum bus.
Its attentive frequency bands and built-in saturation make it the easy choice when you want to add cohesion, bite, coloration. And presence to all of your drums at once.
Pro Tip: Being able to access mid/side processing in an analog emulation EQ is a standout feature rarely seen in other units. Boosting the high frequencies of the side signals really helps open up the mix overall.
Best FX for Drums
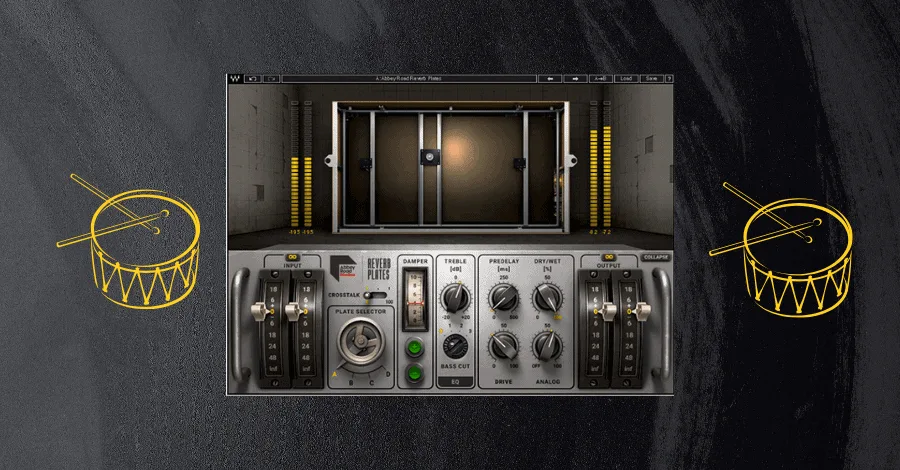
Abbey Road Reverb Plates. Not every reverb is created equal. Each style is completely different and should be used in different situations.
Plate reverbs are the go-to for drums. The shorter tails and more brittle tonality add brightness and shine, creating an illusion of proximity and nearness. That’s the opposite of what hall or chamber reverbs do, which add depth and distance.
Pro Tip: Automating the parameters on the drum reverb can be a great way to add another level of complexity to your arrangements. Unlike most other plugins, the coloration and tone of a reverb tend to respond in unpredictable ways when automated in real-time.
Installing Waves Plugins
Installation is slightly more involved than other popular bundles (like Soundtoys or FabFilter), but it’s straightforward once you have Waves Central installed.
- Create a Waves account on their website.
- Register your serial number from the confirmation email (check spam if it doesn’t show up quickly).
- Download Waves Central, their desktop app for managing all your plugins, licenses. And settings.

- Install your plugins from within Waves Central. They’ll appear in your DAW the next time you open it.
Pro Tip: You can change the installation location of all of your plugins in the settings tab. This is great for those producers who wish to keep all of their plugins and samples on an external hard drive.
Stop Guessing, Start Mixing
Waves plugins are a powerful piece of any producer’s toolkit. They’re incredibly capable, affordable when purchased on sale, and can handle mix issues across the board, no matter your skill level.
There are a few competitors at this price point, but Waves has something for engineers and producers at every level.
Making professional music is damn hard, and processing sounds is one of the trickiest parts of the whole process (even with tools as powerful as these).
If you’re serious about producing music that stands up to the artists you look up to, the Hyperbits Masterclass is where we teach this stuff in depth, from signal flow to final mixdown.
Heads up: some of the links below are affiliate links. If you buy through one, we earn a small cut (costs you nothing extra). But we'd point you at this exact gear whether we made a dime or not.