
Jump to a section14
- What is Music Production?
- What Does a Music Producer Do?
- 10 Steps to Producing and Releasing Your First Song
- Step One: Choose Your DAW
- Step Two: Get Production Equipment
- Step Three: Songwriting and Idea Generation
- Step Four: Sound Design
- Step Five: Finding Great Samples
- Step Six: Recording Your Own Audio
- Step Seven: Processing and Mixing
- Step Eight: Mastering
- Step Nine: Getting Your Music Online
- Step Ten: Building a Brand
- Music Production Is a Long Game
What is Music Production?
Music production, in the modern sense, is an umbrella term for many moving musical parts coming together, but with the singular goal to bring a song to life. This means that music production requires us to wear many hats simultaneously. Some stages of the process require songwriting and composition, while others require us to dial in knobs on a synth to produce that PERFECT sound.
But that is just the beginning. We then move into the compositional phase of the process (which is an art that holds its own category at the Grammys). The battle is only half over, as the technical elements like mixing and mastering a record for commercial release require an entirely different skillset.
What Does a Music Producer Do?
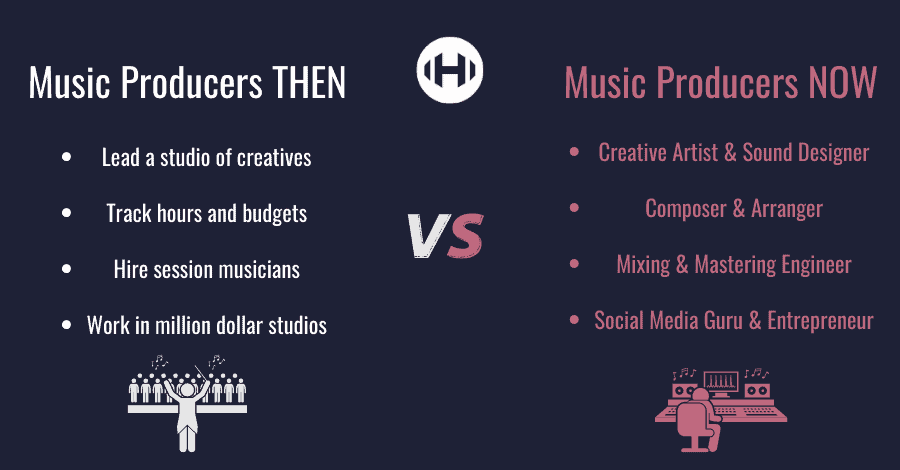
Back in the old days (AKA the 90’s), a music producer would work with a band or another artist to help them turn their musical ideas into finished songs. These are people like Rick Rubin, Jimmy Iovine, and Timbaland. You, an artist, would go to the studio to work with a producer who would help you complete your songs.
These kinds of producers still exist. But nowadays, a music producer’s role has expanded to include so much more. A music producer might go to an artist with a “beat” that the artist finishes, or even create music entirely by themselves.
You may have guessed it, but most electronic producers fall into the latter category. Chances are, that’s where you’ll begin: making your own music from start to finish. In the world of dance music, the artists and the producers are one and the same. You are responsible for coming up with your own musical ideas, creating the sounds you need for a song, and executing the technical steps to make your song sound commercially polished and radio-ready.
10 Steps to Producing and Releasing Your First Song
Step One: Choose Your DAW
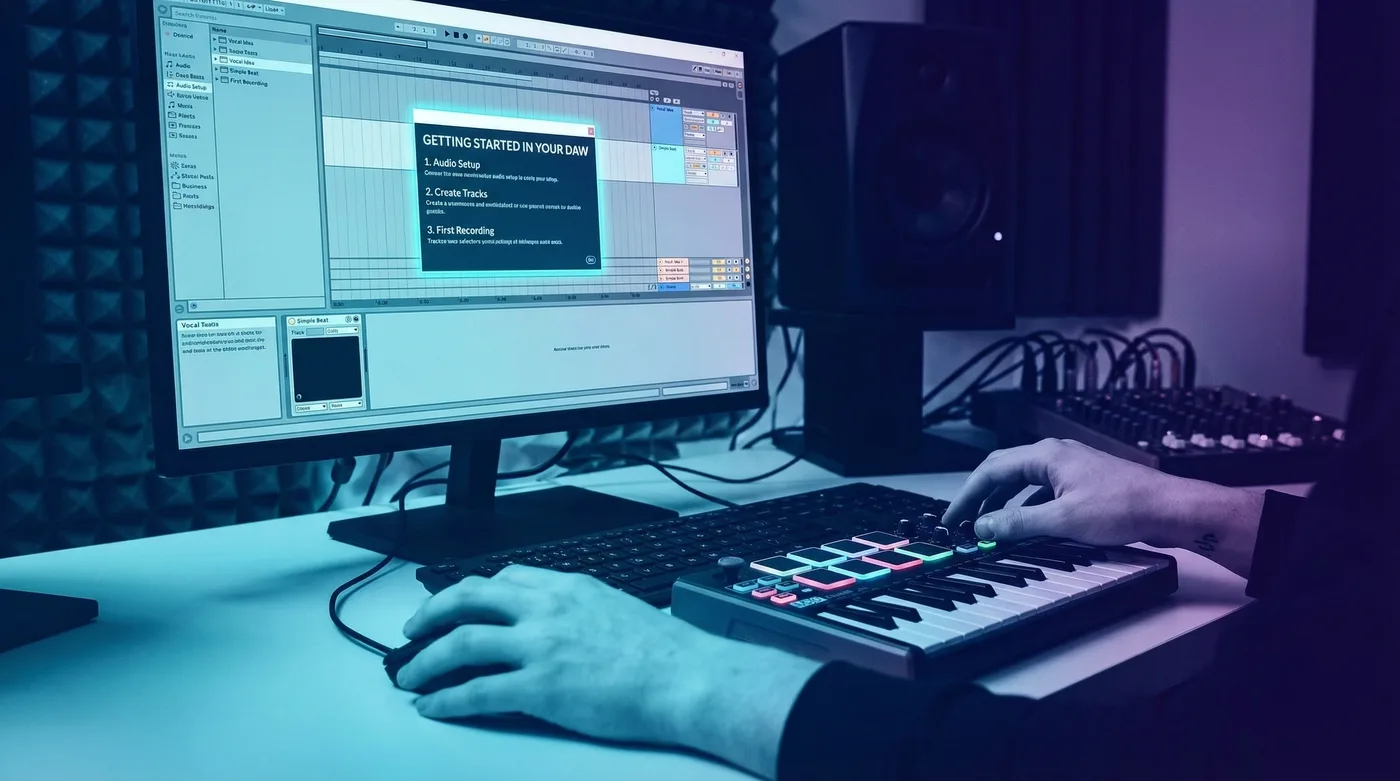
A DAW (Digital Audio Workstation) is the program on your computer needed to create music. Many programs on the market allow you to create music in a digital space, but only a few are deemed go-to. Don’t assume that you need one specific DAW to make the genre of music you want; hit records can be produced in any of them.
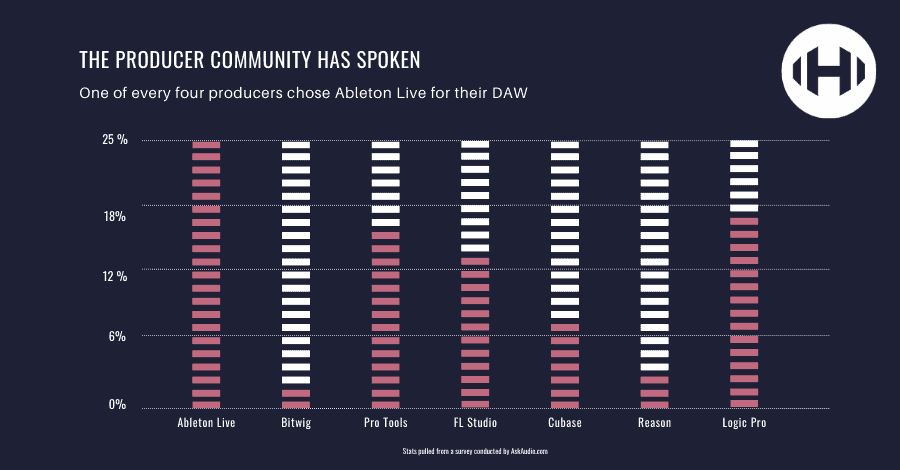
Far and away, the most popular choice for electronic producers is Ableton Live (nearly half of Hyperbits Masterclass students use Ableton). It was designed with electronic producers in mind and is an excellent choice for many newer producers. Other popular choices are Logic Pro (made by Apple and a professional extension of GarageBand), FL Studio, and Pro Tools.
Want a detailed breakdown of which DAW fits your workflow? Check out our complete guide to choosing the best DAW.
Step Two: Get Production Equipment
I’m going to preface this section by saying that you don’t need any hardware to make fantastic music. That said, a few gear pieces will make it MUCH easier to produce music and lead to a far more natural and better sound.
The most essential piece of gear is a MIDI keyboard. This is a little USB keyboard that you can plug into your computer to play melodies. Having a tactile instrument to play helps facilitate creativity more fluidly than merely clicking in the notes with your mouse. And yes, you should still get one even if you don’t play the piano!
The best part about making a midi keyboard your first purchase is that they have a wide range of price points, meaning entry-level ones are very easy to find. We recommend either the Akai MPK Mini or the Arturia Minilab. They’re affordable, and they simply get the job done. I still often use the Akai I got over 10 years ago!
A common misconception is that you need an expensive pair of studio monitors to make great music. This is false. A pair of production headphones will allow you to accurately hear the music you are producing at a fraction of the price. Keep it around $100 to start by reaching for the Audio-Technica ATH-M40x.
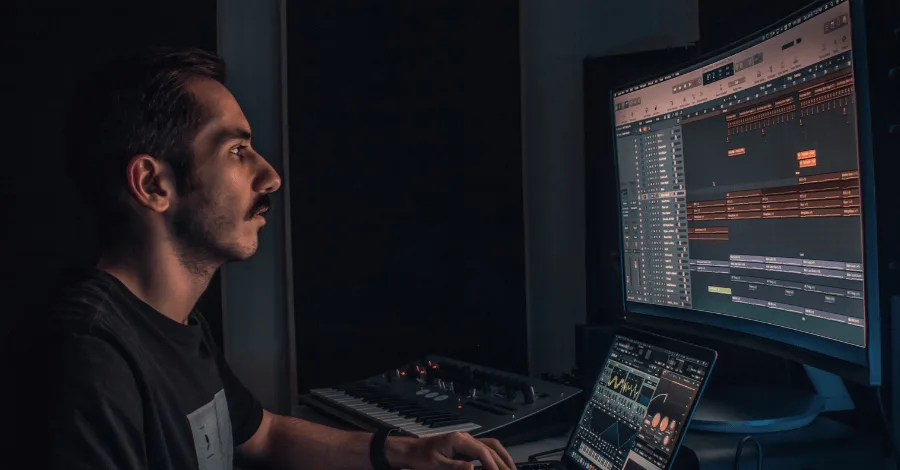
There are lots of other pieces of gear to help you on your music production journey, but this is literally all you need to get started! Check out our full guide to home studio gear for everything worth adding down the line.
Pro Tip: Resist gear acquisition syndrome early on. A $50 MIDI keyboard and a borrowed pair of headphones are enough to make your first ten tracks. The gear can grow with the skill.
Step Three: Songwriting and Idea Generation
Now comes the fun part, where we start putting that DAW to good use. Now is when you grab your new MIDI keyboard, plug in your headphones, and start playing out some ideas (again, it’s okay if you don’t play the piano!). Don’t stress if the music doesn’t “fit” together. Music is a language best learned through theory, which you can brush up on with these following resources:
- 12 Songwriting Tips For Music Producers
- The Best Way to Learn Music Theory
- Professional Construction Kits
- 8-Step Music Finishing Checklist
MIDI packs can also be a valuable resource to help generate ideas and get inspired quickly, even if you don’t yet have a solid understanding of theory. We always find ourselves reaching for Unison Audio’s MIDI Chord pack for that very purpose.
Finally, the last piece of the compositional puzzle is the arrangement, which is the process where you decide which parts of your song will contain a particular sound.
To go deeper on song structure, check out our essential guide to EDM song structure.
Step Four: Sound Design
The next step of producing music is sound design, where you can start shaping what a certain melody actually sounds like (also called a sound’s ‘timbre’). Most sound design takes place using a synthesizer, and good news, these exist in every DAW!
Is it going to be a Martin Garrix-style plucky lead? Or a trance-like supersaw chord synth? Or a dubstep-fueled bass wobble? Taking the music you’ve written and creating the sounds that play it is the art of sound design.
We HIGHLY recommend using sound banks, which are collections of premade settings for synthesizers that will automatically produce quality sounds. Many banks exist that seek to emulate your favorite genres or artists. Our free Serum presets list covers some of the best banks for one of our favorite synthesizers.
You don’t need to be a professional sound designer to get polished-sounding results. By layering presets found in these banks, we can quickly come up with polished-sounding patches that are just as unique as if we had spent hours dialing in just one synth by itself.
Here’s a quick look at layering in action, one of those techniques that sounds complicated but clicks immediately once you see it:
Once you start layering, it becomes one of the most addictive parts of the whole production process.
Step Five: Finding Great Samples
Another way you will create sounds in your DAW is by using samples. Whereas synthesizers create brand new sounds from scratch, samples are audio clips (think of a regular mp3 or WAV file) of prerecorded sounds. A sample could be a recording of a clap or snare drum, a guitar lick, or a person singing “Oh yeah!”.
The conventional way to obtain these samples would be to purchase sample packs. These are large libraries of professionally recorded samples that you can instantly drop into your DAW. We have some exclusive Hyperbits sample packs to get you started, which you can download for free.
But the company Splice changed the game for sample libraries. Their platform allows you to browse and preview individual samples from thousands of different libraries, purchasing them individually instead of having to buy an entire $50 library only for a single kick drum that you like. We highly recommend Splice as a great place to start looking for samples.
Pro Tip: Before spending money on Splice credits, exhaust all the free samples built into your DAW first. Ableton, Logic, and FL Studio each ship with thousands of quality samples. Most producers don’t touch 10% of what’s already there.
Step Six: Recording Your Own Audio
You’ve made some sounds from scratch using a synthesizer. You’ve added in some supporting samples.
Now, this brings us to the third and final way of introducing sounds into your production: by recording it yourself. Do you play an instrument? Are you a singer (or do you know one)? Do you hear a cool sound in the real world that you want to add to your track?
In a world where everyone has access to the same synths and samples, recording your own audio ensures your music’s individuality. You need some kind of microphone to record your own audio, and we have lots of recommendations depending on your goal:
- Adding in a high-quality recording of a vocalist or instrument? Check out our top microphones for vocal production.
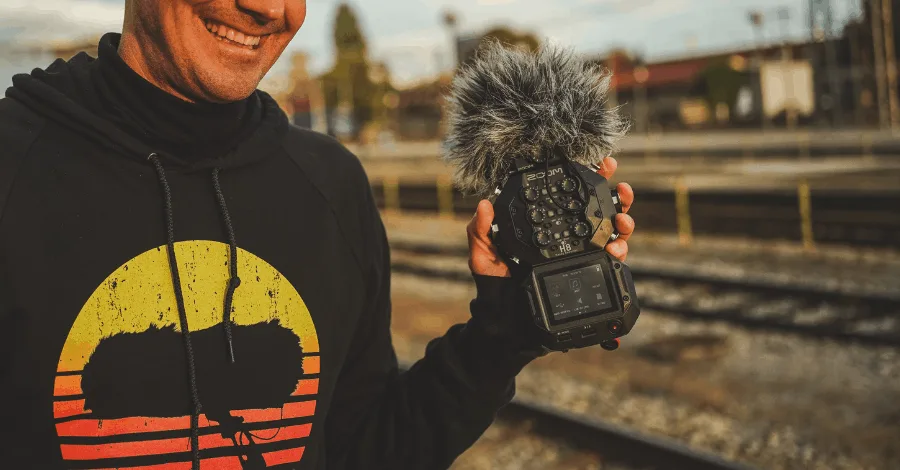
- Want to bring in the soft sounds you hear on your city walks into your track? Pick up a Zoom H1n field recorder and always keep it in your backpack.
- Want to just add a little natural ambiance or room tones to your music? Your phone might do the trick, as long as the recording doesn’t need to be crystal clear.
Step Seven: Processing and Mixing
This step is essential for producing great-sounding music. You’ve now created your musical idea and added all the sounds you want into your DAW, but they sound MESSY and lack the proper definition you hear in professionally-produced music. This brings us to arguably the most challenging part of music production: processing and mixing.
Using various effects to carve out frequencies and manipulate the audio, we can make things sound clean, warm, full, crisp, and professional. To do this, we use little tools inside your DAW called plugins. Some plugins control how loud audio is (ex: Compressors), others control the frequencies that exist in a certain sound (ex: Equalizers), and some plugins control when you hear a sound (ex: Delays).
All DAWs have tons of plugins included for free. These are called stock plugins. There are also third-party plugins that you can buy or download from other manufacturers. These plugins often come with a hefty price tag, but you certainly get what you pay for.
We have tons of resources dedicated to processing and mixing:
- Mixing & Mastering Electronic Music
- How to Mix Music: 8 Technical Steps for Beginners
- How to Use a Compressor: The End All Guide
- How to Achieve the Ultimate Kick-Bass Relationship
- Drum Mixing for Tight & Powerful Percussion
- Demystifying Reverb & Delay
Want even more? Check out our course Mix Master Flow. With over 25 hours of content spanning well over 100 videos, our intensive, self-paced mixing course gives you a zero-fluff approach to getting your music polished and radio-ready.
Related tool: Mix Master Flow: Three producers. 145M+ combined streams. 9 full tracks mixed and mastered in real time. Then finish yours.
Step Eight: Mastering
Mastering is the final step of producing music. It’s when you take your processed and mixed track and add some final tweaks to make it ready for distribution. Perfecting this stage of the process can be difficult, but getting results that are commercially viable shouldn’t be too complicated. Writing a good song is the thought part, this step is all about lifting up what’s already there.
This two-minute walkthrough covers the core chain and gets your productions loud and competitive fast:
Once you’ve watched that, you’ll have a foundation to start experimenting with your own master chain.
Step Nine: Getting Your Music Online
Great! You’ve finished your first track. Now what?! There are two ways to get your music onto streaming platforms and purchase sites like Spotify and Apple Music.
Release with a record label. Labels will handle your distribution, getting your music out to various streaming and purchase platforms. The upside is that they do the work for you, and they have networks of contacts to help you get more exposure. The downside? They take a percentage of the revenue, almost always greater than 50%.
Release on your own. You can also do your own distribution and release your music independently. The upside is that you keep all the revenue! The downside is that it is harder to get exposure, and you have to do the work of distributing the music yourself.
If you choose to self-release, you should sign up with a distributor like Distrokid or Tunecore. These sites charge a small fee to send your music to streaming services and stores: Spotify, Apple Music, iTunes, Amazon Music, Tidal, and more.
A handful of websites like Soundcloud and YouTube allow you to directly upload your music. While you should absolutely be doing this, don’t forget to release your music on all the other sites as well.
Step Ten: Building a Brand
Once you make your first track, you undoubtedly will want to start on your second. The process of building your artist brand is fun, exciting, and admittedly a little complicated. This is where music begins to collide with the business end of the industry.
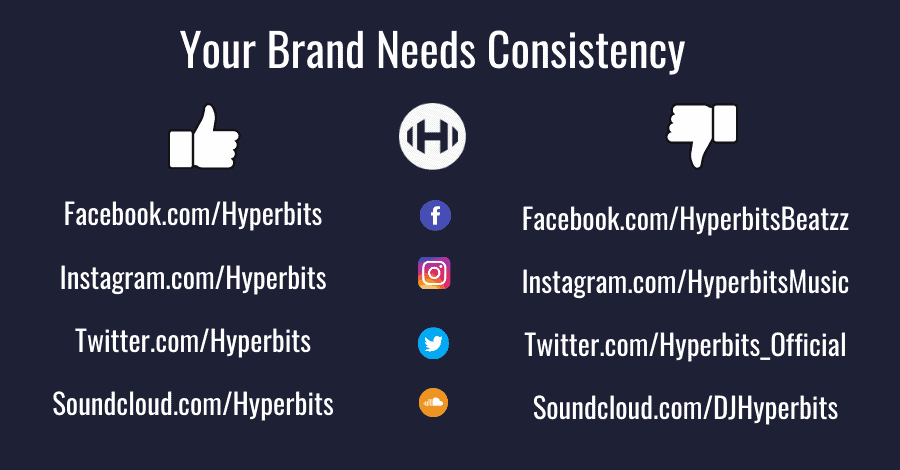
Start by picking an artist’s name. You want something that is searchable. Open up an Incognito window, and type the name idea into Google.
What comes up? A searchable name will mean that there isn’t much on the internet about that name already. This means that when you launch your project, you’ll quickly rise to the top of search results. Don’t pick a name somebody else is using, or else you risk losing continuity as you compete for social media handles.
Next, build out your visual identity. Ask a photographer friend to shoot some professional photos of you. Add them to your social media pages. Write a short bio. Pick a few of your favorite artists and use them as examples.
And last but not least, start building out your network. Make producer friends in your local city and reach out to others online. These are the people you will learn from and grow with. This process is insanely important, so much so that we wrote a whole article about it in our music industry connections guide. Long story short, it’s all about WHO YOU KNOW.
So start early getting to know as many people in the industry as possible.
Music Production Is a Long Game
Music production takes time. Overnight successes don’t happen, even with a low barrier to entry. It takes commitment, dedication, and genuine passion.
Soon you’ll be wondering where to go next. Look to The Hyperbits Masterclass, which helps you not only learn, but essentially conquer music production. The in-depth knowledge covered throughout our 8-week course digs DEEP into everything you need to be making music that is as good, if not better, than the artists you look up to.
It’s designed for advanced producers, but its lifetime access allows newer producers to grow alongside the course for years to come. Regular updates to the Masterclass’ content ensure that you evolve as quickly as the music industry does.
Now get out there and go make that first song!
Heads up: some of the links below are affiliate links. If you buy through one, we earn a small cut (costs you nothing extra). But we'd point you at this exact gear whether we made a dime or not. As an Amazon Associate, we earn from qualifying purchases.